PSA 🍹: Some of the links in this post are affiliate links. If you click and make a purchase, we may earn a small commission at no extra cost to you—just enough to fund our next mezcalita (or two). All opinions are our own. Just good vibes and better drinks. Cheers and happy travels! 🍸💃
If you’re looking for inspiration for your own January Mexico itinerary, you’ve come to the right place! We’re sharing our ultimate 2 week itinerary for Mexico in January, so you can experience the best this incredible country has to offer and make every moment count.
Mexico is a dream destination, bursting with history, natural beauty, rich culture, and incredible food. Chichen Itza and the country’s vast array of cenotes had long been on my bucket list, and when faced with London’s long, dreary winters, Sherry and I knew we had to escape somewhere warm. Choosing Mexico for our January getaway was one of the best travel decisions we’ve ever made!
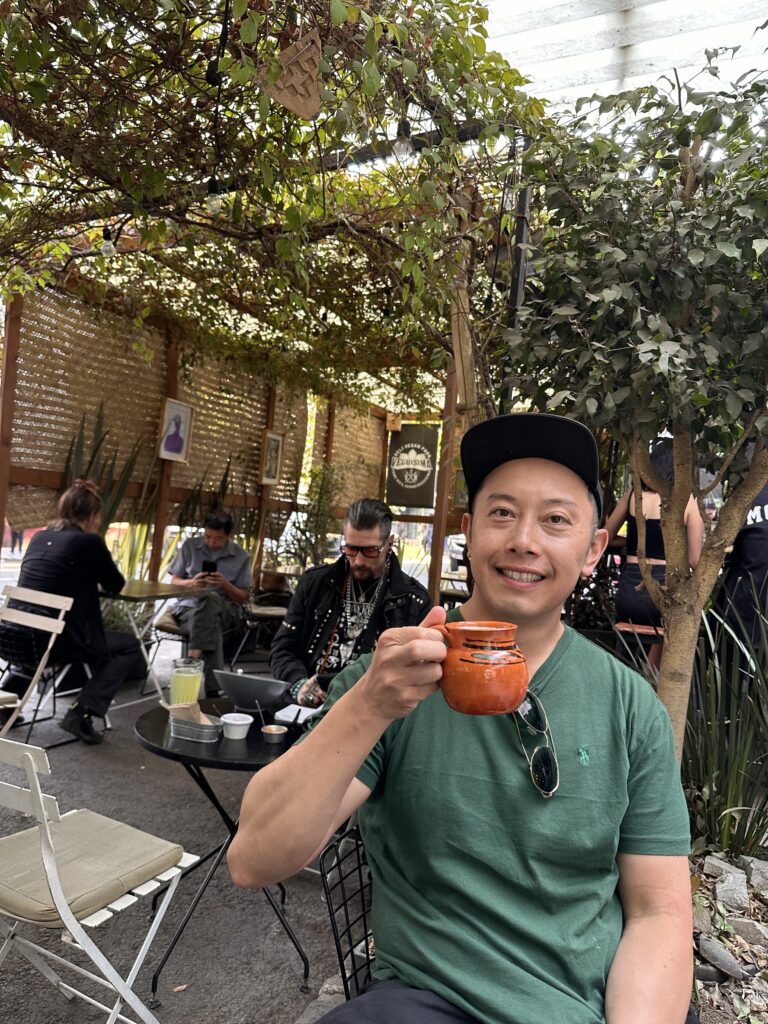
By the end of our trip, we found ourselves debating—had Mexico just become our favourite country? I had gone a few shades darker in search of the perfect tan (and a few inches wider in search of all the tacos). Sherry, meanwhile, kept noticing striking similarities to her birth country, Vietnam—even in the heart of Mexico City (CDMX – Ciudad de Mexico), where the sound of a large hand bell signalled the neighbourhood that the garbage truck had arrived, just like back home. We fell in love with Mexico so much that it inspired us to start Escapes Unfold!
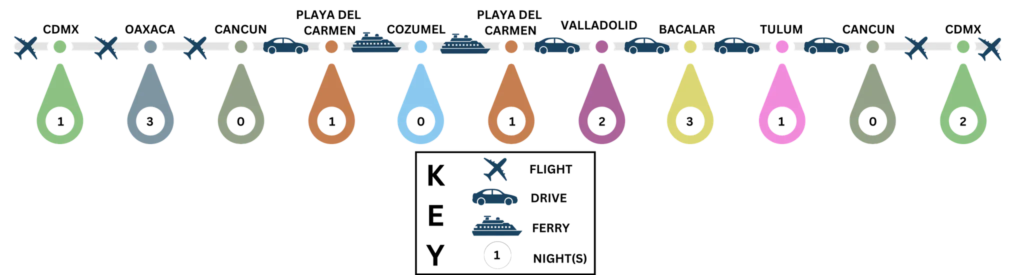
Below is a sneak peak of our exact 2 week January Mexico itinerary to get you excited before we dive into the details:
- Hot Tips We Wish We Knew Beforehand (You Are In Luck!)
- General Tips
- The Perfect 2 Week January Itinerary for Mexico
- Day 1: Arrival and check in. First Night in CDMX.
- Day 2: Domestic flight to Oaxaca, check out the Noviembre 20 Market.
- Day 3: Take a free walking tour. Explore Oaxaca city and try street food.
- Day 4: Day trip to Hierve el Agua. Last night in Oaxaca with dinner at Levadura de Olla.
- Day 5: Fly to Cancun and start the road trip. Drive to Playa Del Carmen.
- Day 6: Take the ferry to Cozumel and do a snorkelling tour. Have tacos at El Fogon.
- Day 7: Check out the beach. Drive to Valladolid and relax in Cenote Zaci.
- Day 8: Explore Chichen Itza and visit Chef Rosalia Chay.
- Day 9: Drive to Bacalar and have drinks by the lagoon at La Playita.
- Day 10: Take a boat tour and explore the Bacalar lagoon.
- Day 11: Visit Los Rapidos and swim in Cenote Azul.
- Day 12: Drive to Tulum and relax at the beach.
- Day 13: Fly to CDMX and enjoy sunset views at Torre Latinoamerica.
- Day 14: Take a free walking tour and attend a Lucha Libre match.
- Day 15: Last Day in CDMX. Have lunch at Contramar, explore Chapultepec Castle.
- FAQs
- Planning a trip to Mexico?
Hot Tips We Wish We Knew Beforehand (You Are In Luck!)
Short on time? Here are the golden nuggets from our 2 week January Mexico itinerary — essential tips to help you plan smarter, avoid surprises, and enjoy Mexico to the fullest.
Planning & Logistics
- Mexico has four standard time zones! Flying from Oaxaca to Cancun, the clock adjusted forward an hour. Driving along the east coast to Playa Del Carmen from Cancun Airport took an hour elapsed time, but the two hour drive inland to Valladolid turned into one hour elapsed because the clock adjusted back an hour. As we then made the drive down to Bacalar, the clock adjusted forward an hour again. Keep this in mind when making any reservations!
- For domestic flights, we went with carriers Aeromexico and Volaris. All flights left on time and the experience was good. If flying back to NLU, the destination on the flight boards will display Santa Lucia. This caused Sherry and I a bit of confusion as we couldn’t spot Mexico City in the departures board. This is because NLU was originally named Santa Lucia Airport Base and only opened for civilian use in 2022.
- When flying domestically back to CDMX, aim for a flight landing at Mexico City International Airport (MEX) instead of Felipe Ángeles Airport (NLU). While NLU is modern, it’s much further out and getting an Uber can be a hassle. We found no Uber at all on the app when landing at around 2pm local time, so we had to book a taxi from the official booths inside the arrivals hall, which ended up costing nearly double the price of an Uber from the city to NLU. To put it in perspective: Taxi from NLU to the city was MX$800 (~1 hour); Uber to NLU was MX$450 (~1 hour); Uber from MEX was MX$250 (~30 minutes). When comparing flight options, be sure to factor in both the extra cost and travel time if you’re landing at NLU!
- Be mindful of restaurant and bar reservation openings for the ones you’ve bookmarked. Reservations for the Gran Terraza Bar opened a fortnight before. Reservations for Contramar opened 30 days beforehand and because of the time zone differences to London, they were quick to book out. We managed to get a reservation at noon for our last day so make sure you plan ahead!
- If interested in a Lucha Libre match, join a guided tour in your native language. The walking tour we went on had a Lucha Libre tour for $US30 which included pulque (which is a traditional Mexican alcoholic beverage made from the fermented sap of the agave plant that you should also try!), shepherding to the safe side of the Arena after the match for you to order an Uber, and most importantly a guide. We didn’t choose this option, and although we enjoyed the energy of the crowd and the theatrics of the performers, we didn’t understand what the hell was going on!

Getting Around
- We recommend staying in Rome Norte or Condesa in CDMX. The areas are leafy and filled with cool cafes and bars. We felt safe walking around in the early evenings, but use Uber if in doubt. Uber is very affordable in the city and it is readily available via the app.
- When filling up petrol in Mexico, stay in the car. The service attendant will ask whether you want the tank filled to full and proceed with cleaning your windscreen. The attendant would have thought me a fool when I first filled up, as I proceeded to exit the vehicle, open the petrol door and stand awkwardly making small talk as he connected the nozzle.
- For access to a private beach in Tulum, head to Delek Tulum. There will be parking lots along the way but if you tell the valet you’ll eat/drink at the restaurant, the valet will allow you to park in their car park. You’ll have to show your receipt when you leave.
Food & Experiences
- There is only 1 cafe after the security gates at Oaxaca airport. Therefore, ensure you are well fed and not needing to rely on the limited choices on offer.
- Book a Cozumel snorkelling tour with a company along 10 Avenida Norte in Playa Del Carmen. We pre-booked our tour on Get Your Guide, but found a deal that involved a catamaran with a bathroom on board, and was inclusive of reef taxes and the ferry cost to get to Cozumel. Unfortunately it was too late to cancel for us but hopefully you can strike a good deal!
- There is a MX$50 fee for anyone bringing a goPro or photography equipment like a gimbal into Chichen Itza. Your bag is checked before entrance when you scan the ticket and they will look out for these items.
- Panoramic 360 views at Torre Latinoamerica are on the viewing deck on the 42nd floor. The entrance fee is MX$200. One floor below, there is a restaurant offering the same views but without the crowd and the fee. Advise the lobby/lift attendant you’re after the restaurant and enjoy the views with some drinks or food.
General Tips
Travel Essentials
- Get an eSIM to avoid costly data roaming charges. We went with Mayamobile, easy to use and easy to top up.
- Use Uber or have your hotel arrange a taxi in CDMX. If using a taxi, agree the fee prior to starting your journey.
- Brush up on your Spanish. Some simple phrases will help you get by, and a translator app on your phone will help in areas where English may not be spoken.
- Bring Mexican Pesos to use at markets and street vendors. Most places accept credit cards but it’s good to have some cash on hand.
- Tipping is expected. Some restaurants we went to had automatically allocated 15% tip to the bill. If you can do tip in Mexican Pesos instead of US Dollars, otherwise they would still have to do the exchange themselves which can fluctuate depending on the varying rate.
- Tour companies reach Chichen Itza from 10am, with the area opening from 8am. It is best to get there early if you want to avoid the crowd and have the best photo opportunities.
- Make sure to pack insect repellent in this Mexico itinerary, especially if you’re heading to rural areas. Mexico still has a risk of Zika-transmitting mosquitoes, so if you’re pregnant or trying to conceive, it’s best to research further and take extra precautions.
Health & Safety
- Don’t drink tap water, don’t even brush your teeth with it. Bottled water is cheap and plentiful. We used this to brush our teeth and refill our reusable water bottles.
- Get full car insurance if hiring a car for peace of mind. There are A LOT of massive potholes stretching across freeways and roads, and many speed bumps, some of which aren’t marked and indistinctly the same colour as the road. We went with Alamo via Discover Cars and had no issues, even though I thought it had a tiny scratch on the front rims because of a speed bump we didn’t notice.
- When doing water based activities, do not use conventional sunscreen because it can harm the environment. Instead, use biodegradable sunscreen or wear protective clothing. This applies (but is not limited to) swimming in cenotes, in Cozumel and in Bacalar Lagoon. Life jackets are provided for these activities, and are mandatory in many cenotes.
- Don’t keep all cash on you, keep a small amount in your wallet. Split the rest amongst yourselves and amongst your luggage. Avoid driving at night and have a photocopy of your passport on you.
- Be cautious with card payments and check the amount that has been inputted into the machine. It didn’t happen to us thankfully but we’ve heard that people could be adding extra without you noticing so just double check the amount you are authorising.
Average Spend
For a rough idea on spending for food for 2 hungry people:
- Street vendors (Tacos, Tlayudas, Tamales etc) – MX$150
- Breakfast/Lunch at restaurants (including a couple of coffee/drinks) – MX$900
- Dinner at restaurants (including a couple drinks) – MX$1200
The Perfect 2 Week January Itinerary for Mexico
For those still playing along, here are the highlights and recommendations from our 2 week January Mexico itinerary that we are so excited to share with you!
Day 1: Arrival and check in. First Night in CDMX.
We landed in Mexico City International Airport. Sherry quickly purchased an eSIM using the free airport Wi-Fi and ordered an Uber to swiftly transport us to our hotel. After a 12-hour flight, we checked into our Roma Norte hotel and immediately went searching for some much-needed tacos.
Pro Tip
Get an eSIM to avoid costly data roaming charges. We went with Mayamobile, easy to use and easy to top up.
Use Uber or have your hotel arrange a taxi in CDMX. If in a taxi, agree the fee prior to starting your journey.
We recommend staying in Rome Norte or Condesa in CDMX. The areas are leafy and filled with cool cafes and bars. We felt safe walking around in the early evenings, but use Uber if in doubt.
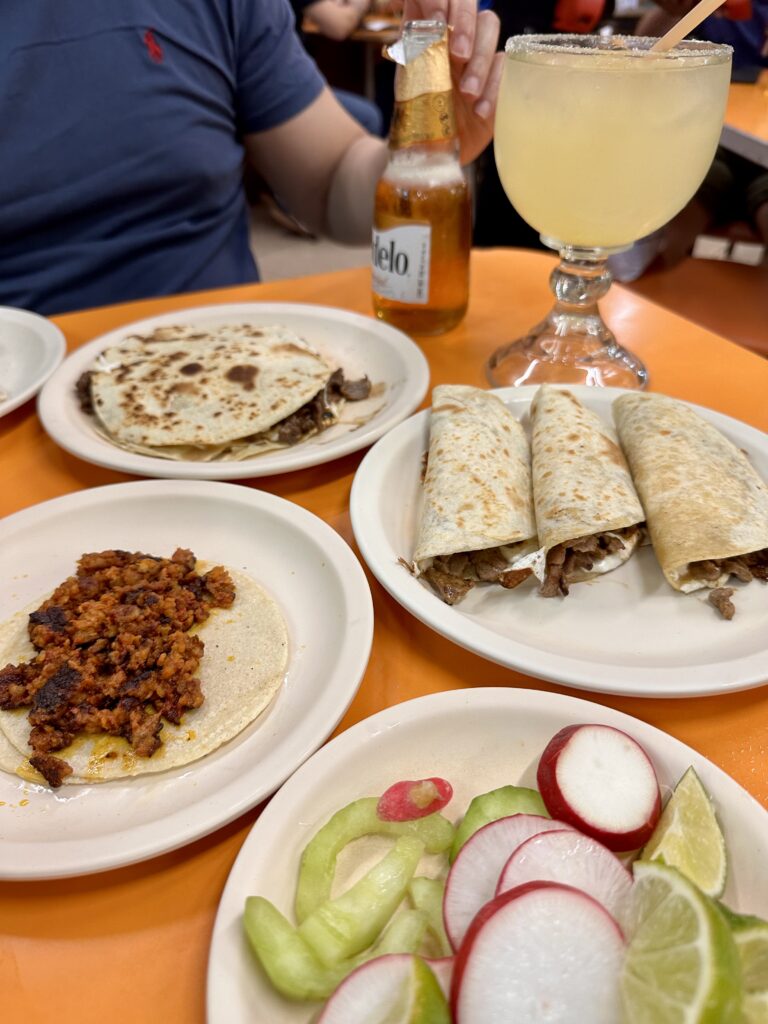
We headed to Taqueria Orinoco and noticed the menu in Spanish. We ordered chicharron (fried pork skin or pork belly) and al pastor (pork). You know it is a good place when it was still full of locals at midnight! We definitely recommend adding this spot to your Mexico itinerary if you’re on the lookout for fresh, delicious tacos.
Pro Tip
Brush up on your Spanish. Some simple phrases to let you get by and a translator app on your phone will help in areas where English may not be spoken.
A waiter brought a selection of sauces and accompaniments as well as our tacos. The fresh corn tacos tasted amazing, and they have the corn-iest taste out of all the tacos in this whole trip. Full to the brim, we picked up a bottle of water on the walk back and called it a night.
Pro Tip
Don’t drink tap water, don’t even brush your teeth with it. Bottled water is cheap and plentiful. We used this to brush our teeth and refill our reusable water bottles.
Day 2: Domestic flight to Oaxaca, check out the Noviembre 20 Market.
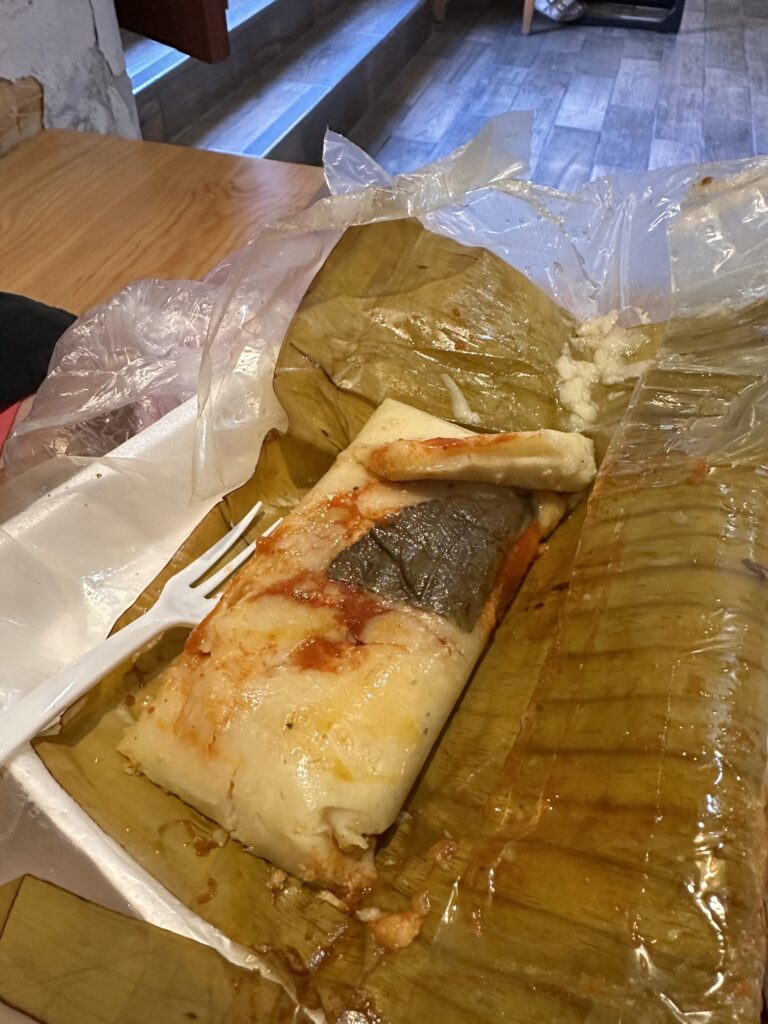
We were flying to Oaxaca today—so glad we included this food capital of Mexico in our itinerary. We found a cute cafe for breakfast, the trendy Panaderia Rosetta. The coffee here was very good. I ordered the chilaquiles, a Mexican (and my soon to be) breakfast staple. It consists of fried corn tortilla pieces cooked in salsa, accompanied with a mixture of beans, cream, cheese and protein. Sherry ordered a tamale, a filling inside corn dough, wrapped in corn husk or bamboo leaves. It was underwhelming and not what was expected. We’d soon have better tamales from a street vendor at our next destination, Oaxaca.
We got the Uber to NLU where we took a flight to Oaxaca. After grabbing our bags, we booked a shared shuttle to the city for MX$120 each at the Arrivals lounge counter. There was no Uber at Oaxaca airport but you could just book transfer options at several counters.
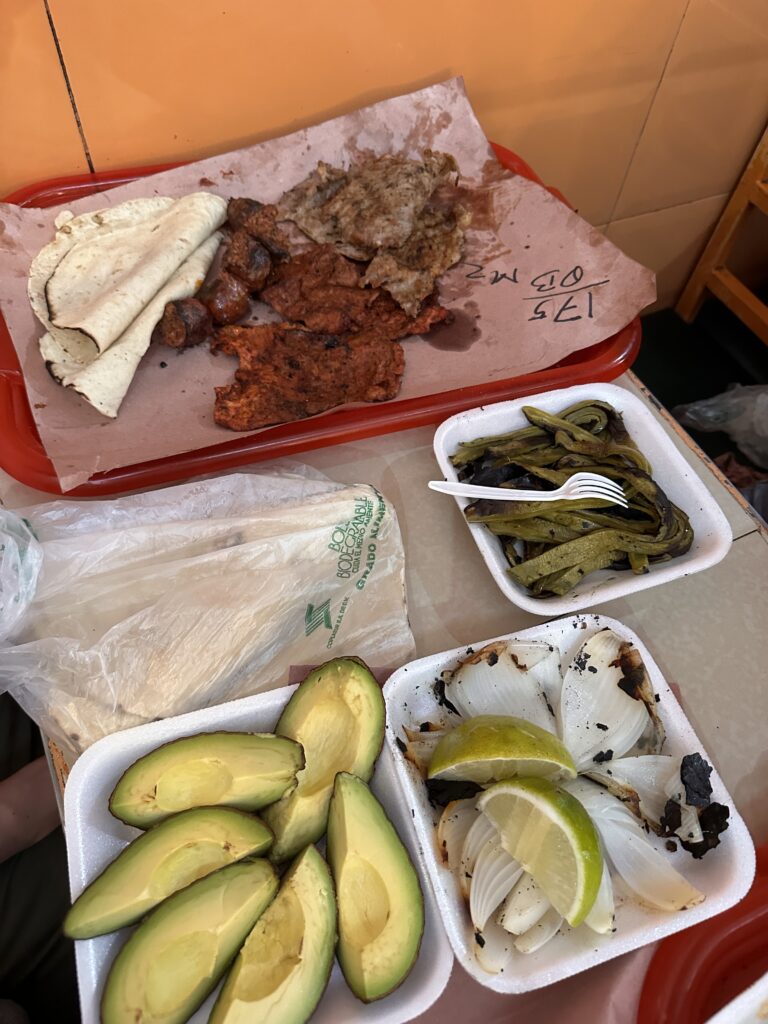
After checking in, we made our way to Mercado 20 de Noviembre and looked around at food options. This fantastic market deserves a spot on your Mexico itinerary, with plenty of food and souvenir options to explore. Drawn to the hanging meats in Smoke Hall, we ordered a meat combo with tortillas, onions, limes, and cactus sides. This is our first time trying cactus and we LOVED it – a definite must try.
Pro Tip
Bring Mexican Pesos to use at markets and street vendors. Most places accept credit cards but it’s good to have some cash on hand.
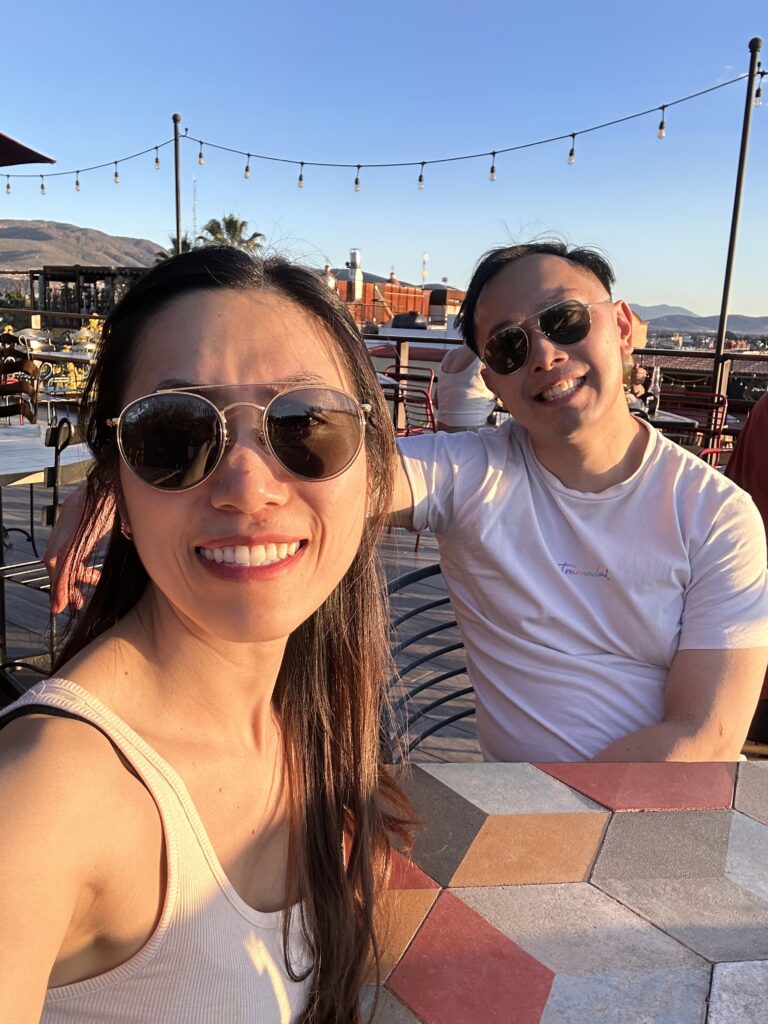
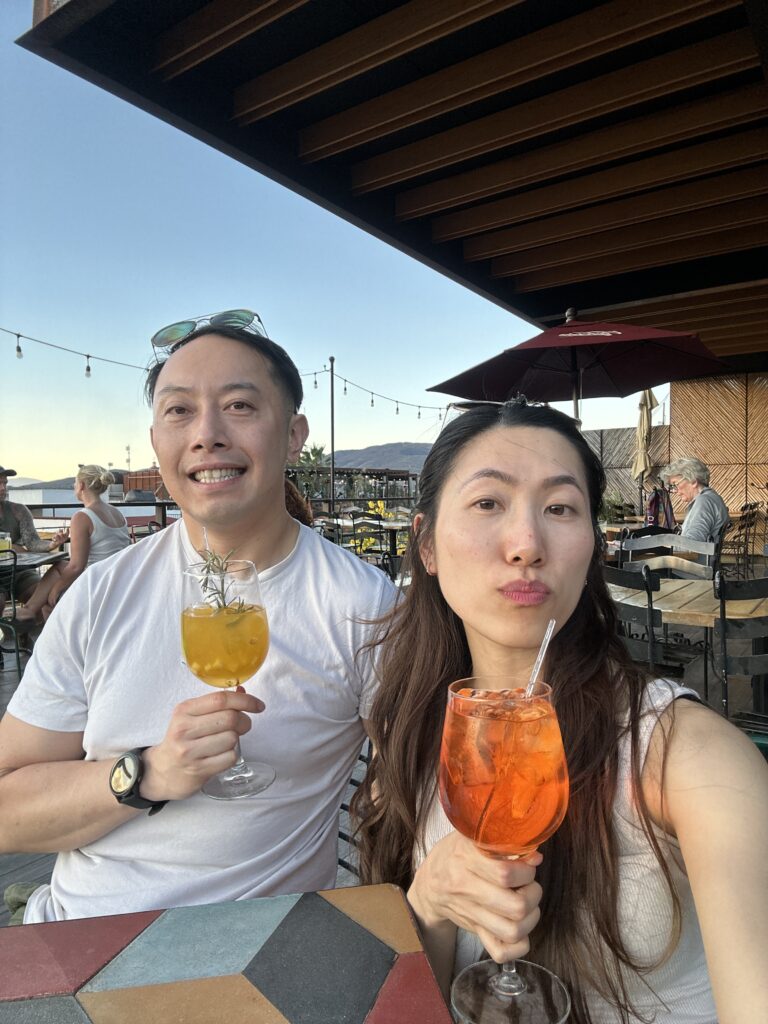
After the market, we checked out the zócalo (public square) which was full of life, with street markets lining up walkways selling trinkets and souvenirs. Whilst chilling by the fountain, we selected Gozobi Restaurante Bar to settle for drinks on the rooftop and soak in the beautiful sunset views. They had a live band and the cocktails were good.
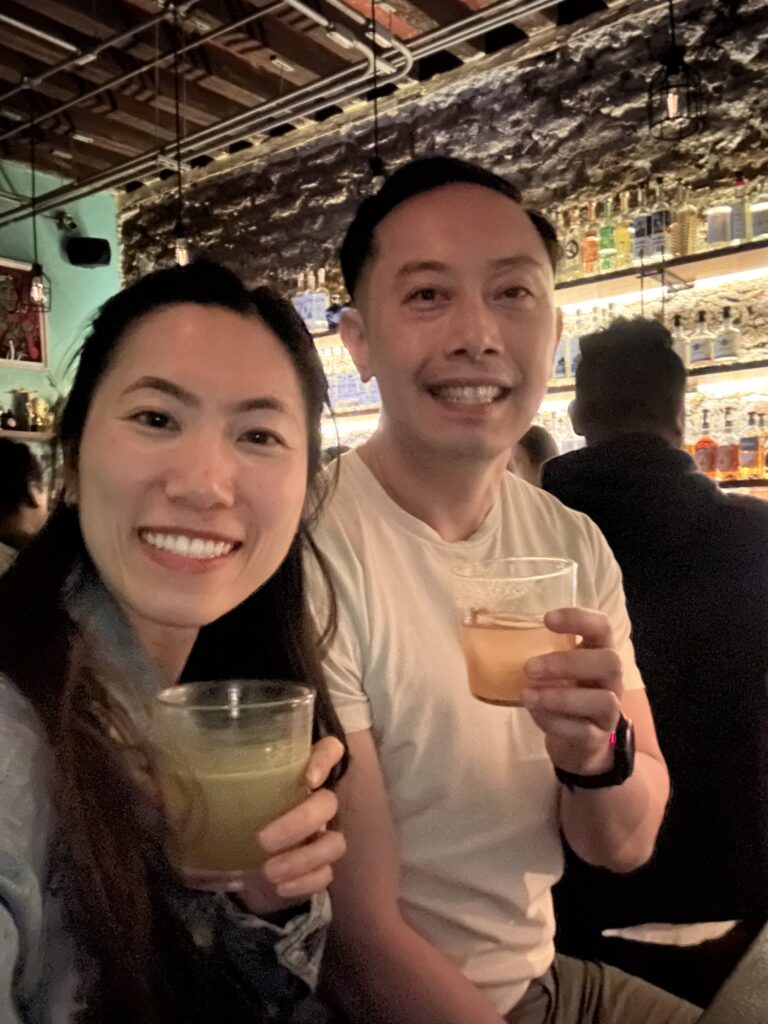
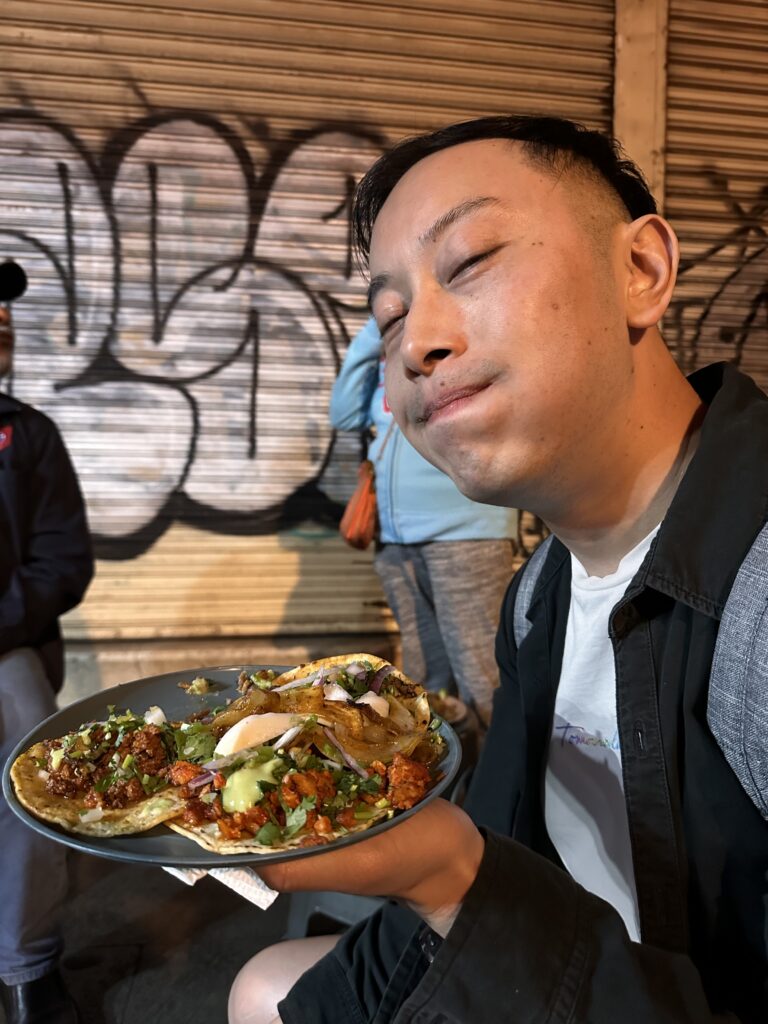
Still full from Smoke Hall and feeling chilly, we skipped the rooftop and visited Sabine Sabe, a popular cocktail bar. This place has been named in North America’s Top 50 bars for several years! We ordered a couple of mezcalitas, because who doesn’t come to Oaxaca and not have mezcal? 90% of Mexico’s mezcal production is from Oaxaca, and is made from the agave plant native to Mexico. Losing track of time, we passed Taqueria Chaguita’s for some late night tacos. Manned by a jolly chef and surrounded by hungry patrons seated around his stand, the tacos were soooo juicy (and yes greasy!) and just hit the right spot.
Day 3: Take a free walking tour. Explore Oaxaca city and try street food.
For breakfast, we earmarked Restaurante Las Quince Letras to try the Oaxacan staple, chapulines (grasshoppers). I proceeded to order the omelette with chilli and chapulines, whilst Sherry ordered the pork with black mole sauce. The chapulines had a crunchy texture and were seasoned with a bit of salt and chilli. Sherry’s black mole sauce had an intense mixture of sweet, savoury and chocolate flavours. It was nice to try, but not one she would re-order.
Pro Tip
Tipping is expected. Some restaurants we went to had automatically allocated 15% tip to the bill.
Speaking of mole, known as the “land of seven moles,” Oaxaca offers a rich variety of these complex sauces, each made with a unique blend of chilies, spices, nuts, seeds, and sometimes chocolate. Mole is more than just food—it’s a cultural expression passed down through generations, often served during celebrations and special occasions. A visit to Oaxaca isn’t complete without tasting this flavourful culinary tradition.
Before the start of our scheduled walking tour at 11am, we ordered some coffee whilst basking in the sunlit terrace at Ama Terraza. To get here, you need to walk through Muss Cafe into a beautiful courtyard and up a staircase in the top right corner.

The first half of the walking tour was enjoyable, but it ended with shop visits that dulled the experience. Afterward, we searched for Mezcal to bring home. Mezcal Oro de Oaxaca offered free samples before purchase, but if you’re a mezcal enthusiast, book a tour to taste the state’s best.
We headed back to Mercado 20 de Noviembre for lunch to try one of the many other food stalls. We ordered some memelitas and a plate of yellow mole with chicken thigh. Each mole offers a distinct flavour, influenced by the peppers and ingredients used, and we preferred this over the black mole we tried earlier.
After our meal, we explored Mercado Benito Juarez hunting for souvenirs. We tried Tejate from the market, a sweet, chalky Oaxacan drink, but it didn’t impress us. Still worth a try for an experience!
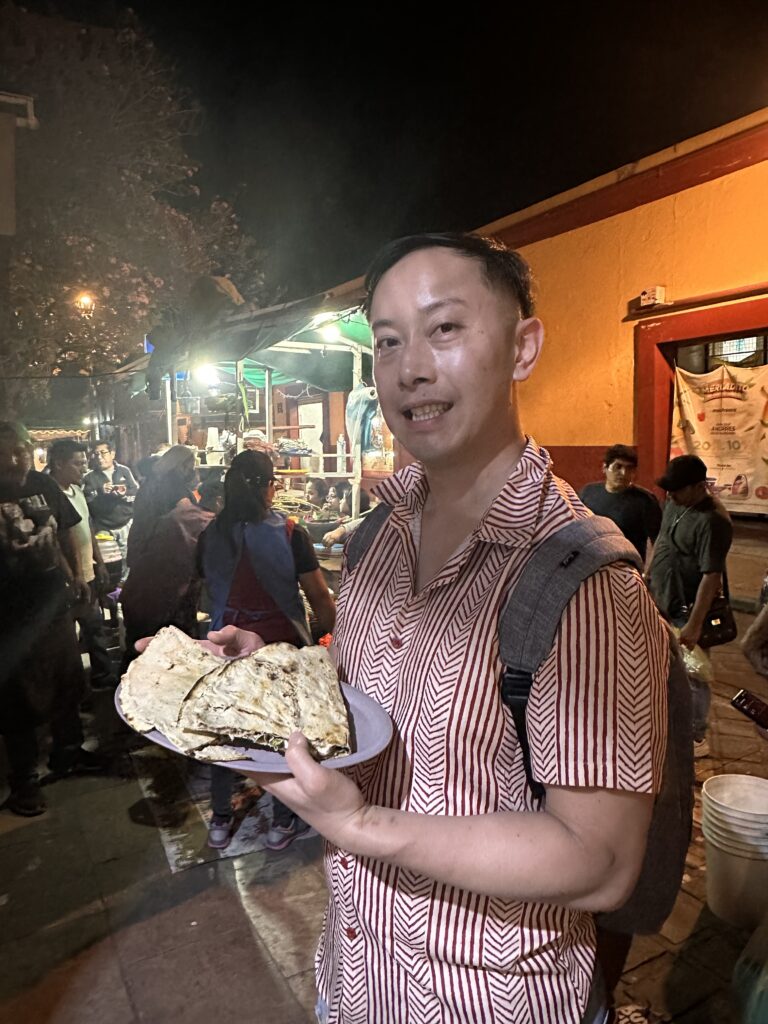
For dinner, we went to Las Tlayudas de Mina y Bustamante – a MUST try. It is an unassuming stand near the Mercado 20 de Noviembre, but it was the best tlayudas of our trip. Tlayudas are simply a flat crunchy tortilla with toppings and Oaxaca cheese – essentially a Mexican pizza. The crispiness and crunchiness, as well as the Oaxaca cheese sent this to our list of Top Mexican Food To Try!

Day 4: Day trip to Hierve el Agua. Last night in Oaxaca with dinner at Levadura de Olla.
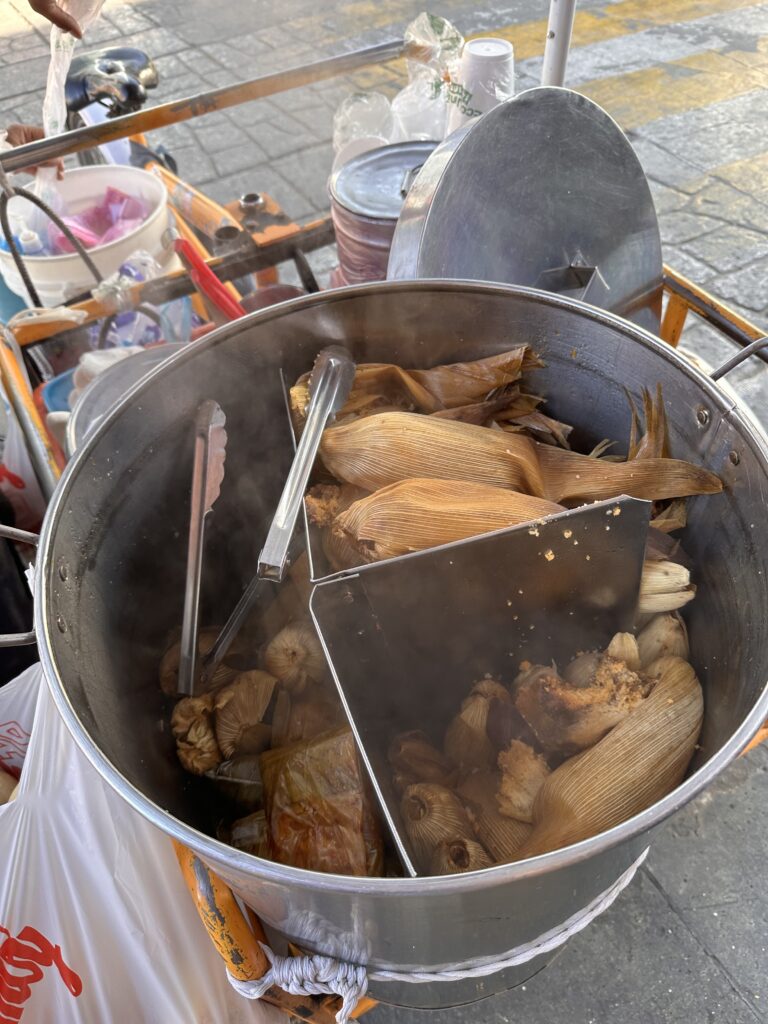
The pick up for the half day trip was at 10am which came with no lunch. Sherry and I were looking for the closest thing to a packed lunch – a tamale with baguette as optional. We headed to Tamales Doña Mari and got yellow, green, and red mole tamales – all with chicken.
The yellow mole tamale came in banana leaves, while the green and red ones were wrapped in corn husks. The yellow was by far our favourite, and these were the best tamales of the entire trip. The stand had an English menu and they also served atole, which is a hot corn-based drink. For MX$120 altogether, it’s cheap and cheerful.
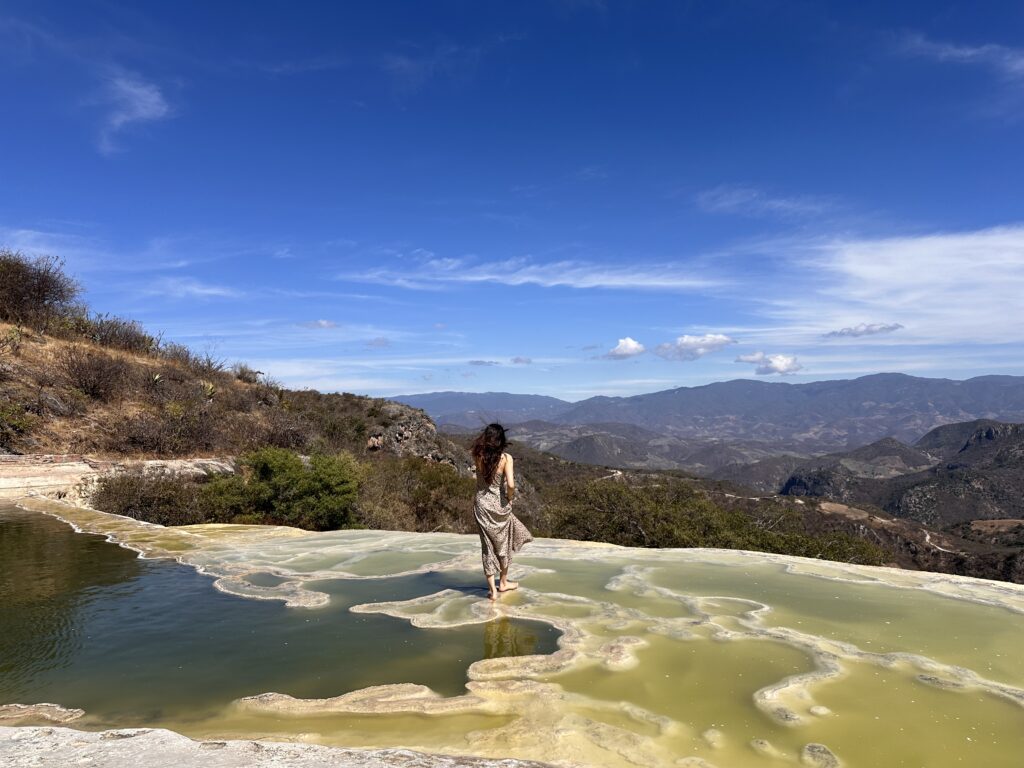
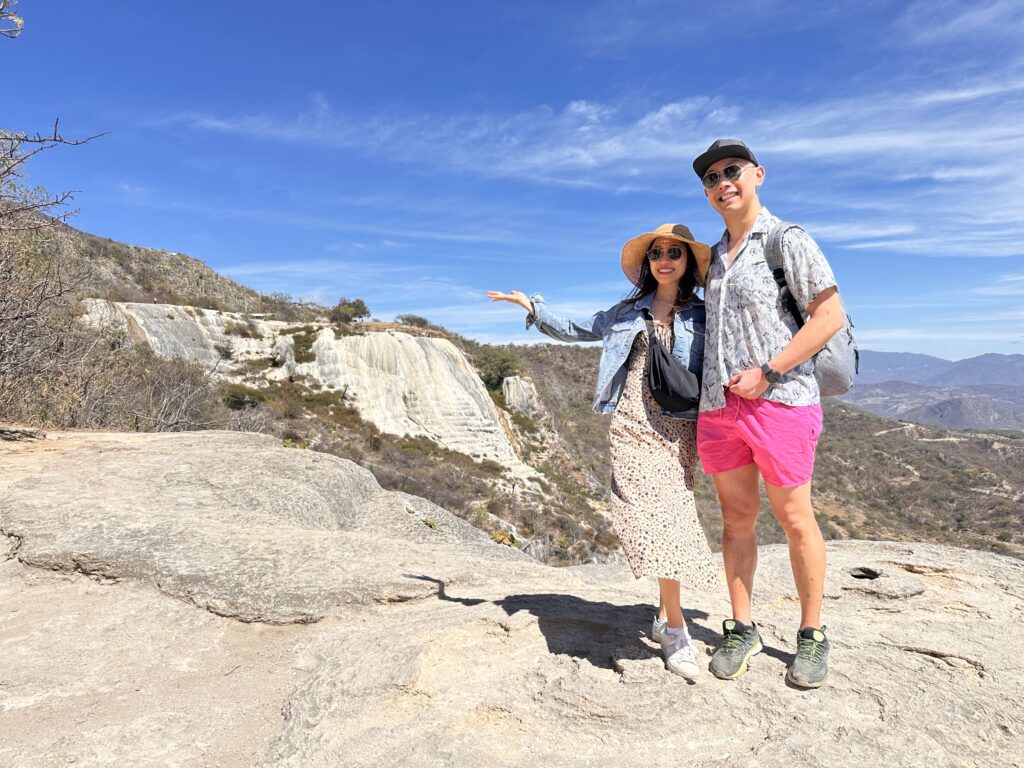
We boarded a minibus to Hierve el Agua, the famous petrified waterfalls just outside Oaxaca. A local guide offered a free English tour with scenic viewpoints and closer looks at the stunning waterfalls. The view was breathtaking, and so were the steps back up. Perched on top of the waterfalls are natural pools for visitors to swim in, so bring your swimsuits! Even in winter, set against a beautiful mountainous backdrop, it was the perfect tonic to cool down after the hike. There are toilets and showers on site for a small fee.
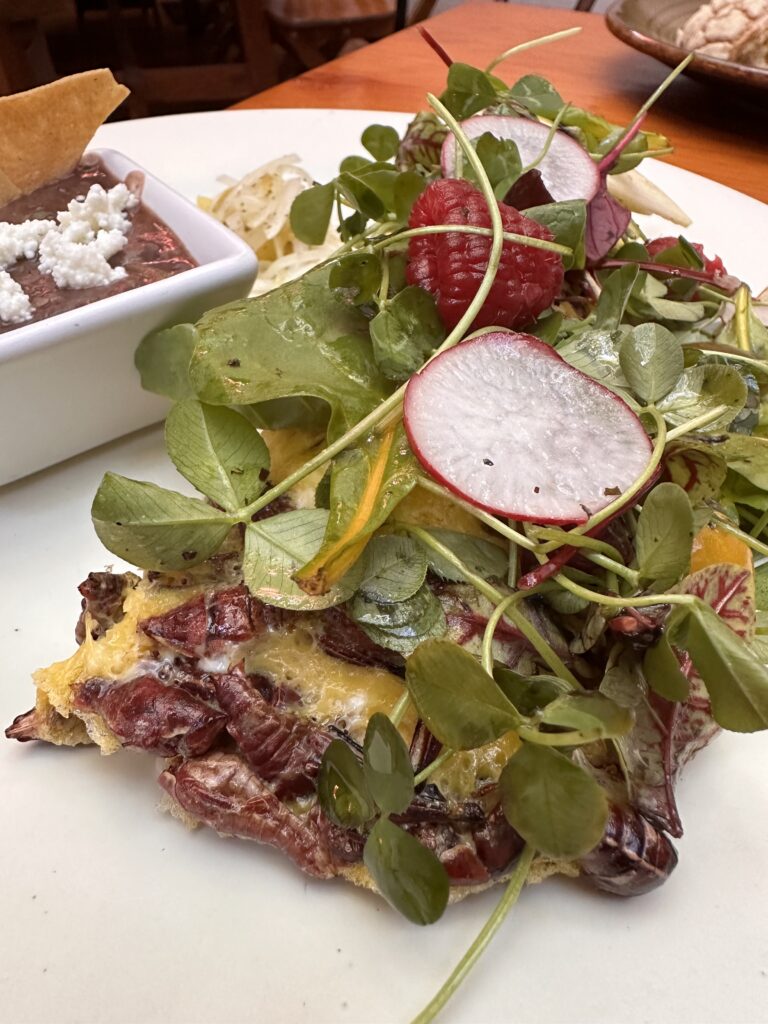
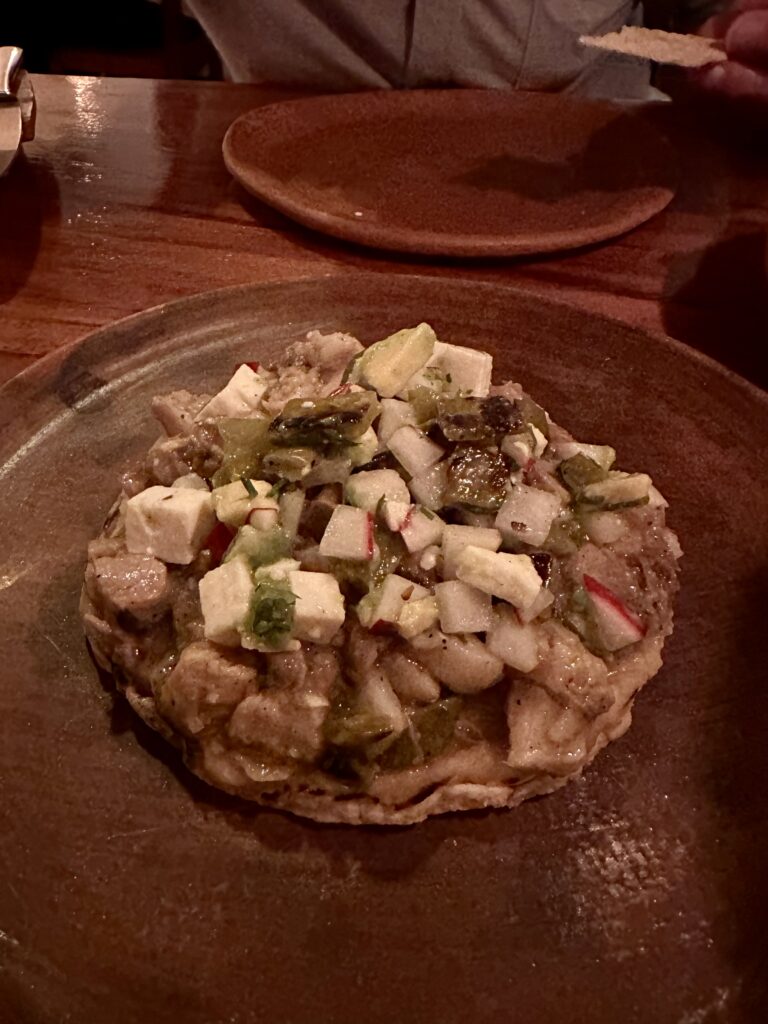
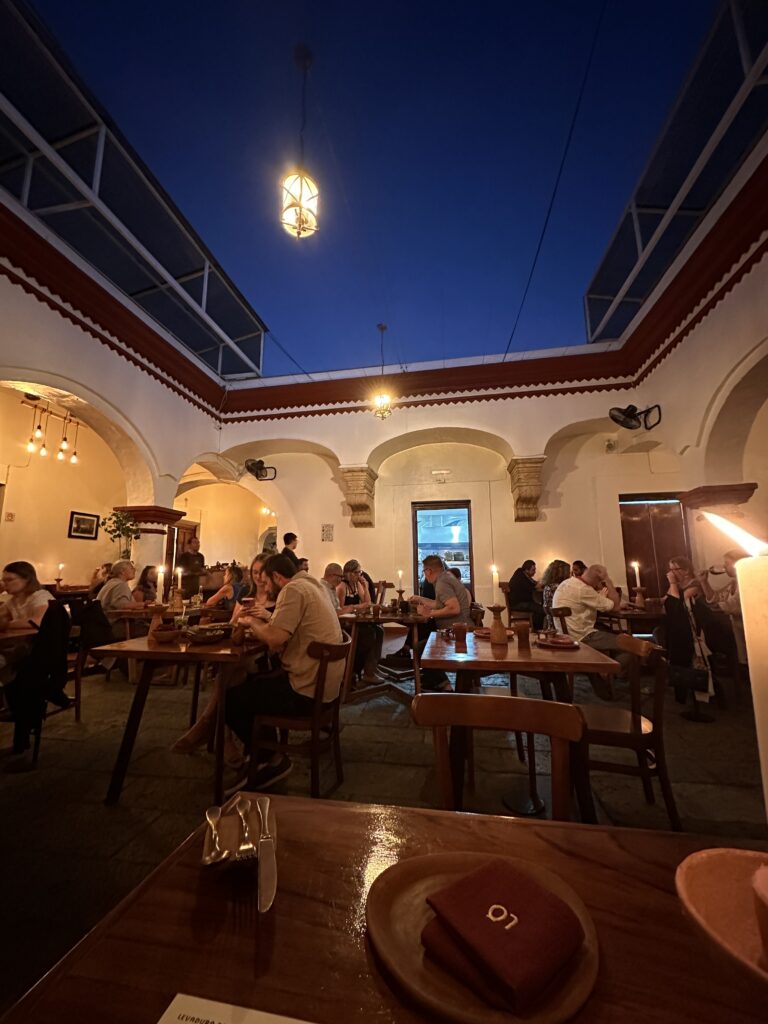
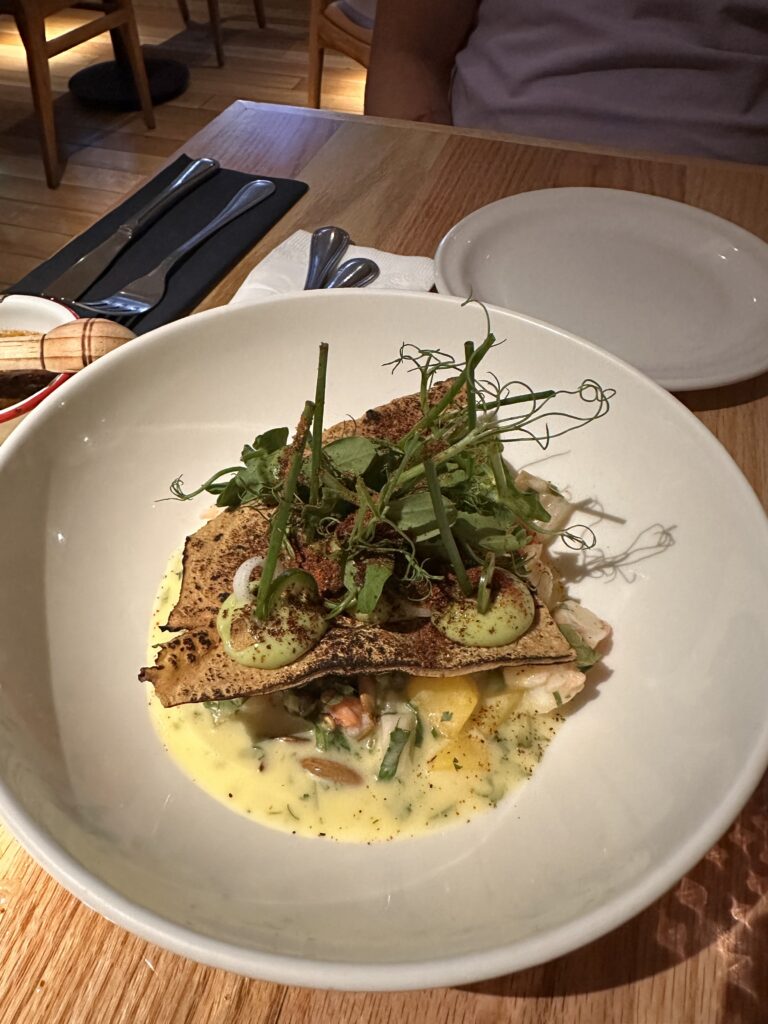
As we got back to Oaxaca city, we looked forward to the dinner reservation at 1 Michelin Star restaurant Levadura de Olla. To bide our time? You guessed it – more mezcal on a rooftop terrace at La Tizateria, just a short walk away. When it was time for dinner, we arrived in a lovely courtyard and they had English speaking staff. This restaurant ranked first in our 5 Top Restaurants to Try list and is a MUST visit.
The chopped pork head in green sauce, fresh cheese and cactus was the stand out dish. Our eyes were rolling at the back of our heads and our taste buds were savouring every bite. The bill including tip was MX$2200, a low sum for a hugely impressive meal.
We planned to visit Selva Oaxaca Cocktail Bar , but our amazing meal ended the Oaxaca leg perfectly, so we headed back. With an early flight to catch, our host offered to arrange a taxi to the airport for MX$250. Especially where it was located, it was a good place to stay.
Day 5: Fly to Cancun and start the road trip. Drive to Playa Del Carmen.
This marked our first day in the epic 9 day road trip throughout the Yucatan Peninsula. We arrived at the airport and went through security. We wish we had some of those tamales on hand right now! We boarded the 2 hour flight from Oaxaca to Cancun, but with the time zone difference landed 1 hour later.
Pro Tip
There is only 1 cafe after the security gates at Oaxaca airport. Therefore, ensure you are well fed and not needing to rely on the limited choices on offer.
Mexico has four standard time zones! Flying from Oaxaca to Cancun, the clock adjusted forward an hour. Driving along the east coast to Playa Del Carmen from Cancun Airport took an hour elapsed time, but the two hour drive inland to Valladolid turned into one hour elapsed because the clock adjusted back an hour. As we then made the drive down to Bacalar, the clock adjusted forward an hour again. Keep this in mind if making any reservations!
We picked up our bags and made our way to the Alamo car rental desk to start our reservation. As I picked up the car, the attendant showed me the spare tire. Perplexed having never being shown this with a rental, I would come to know why.
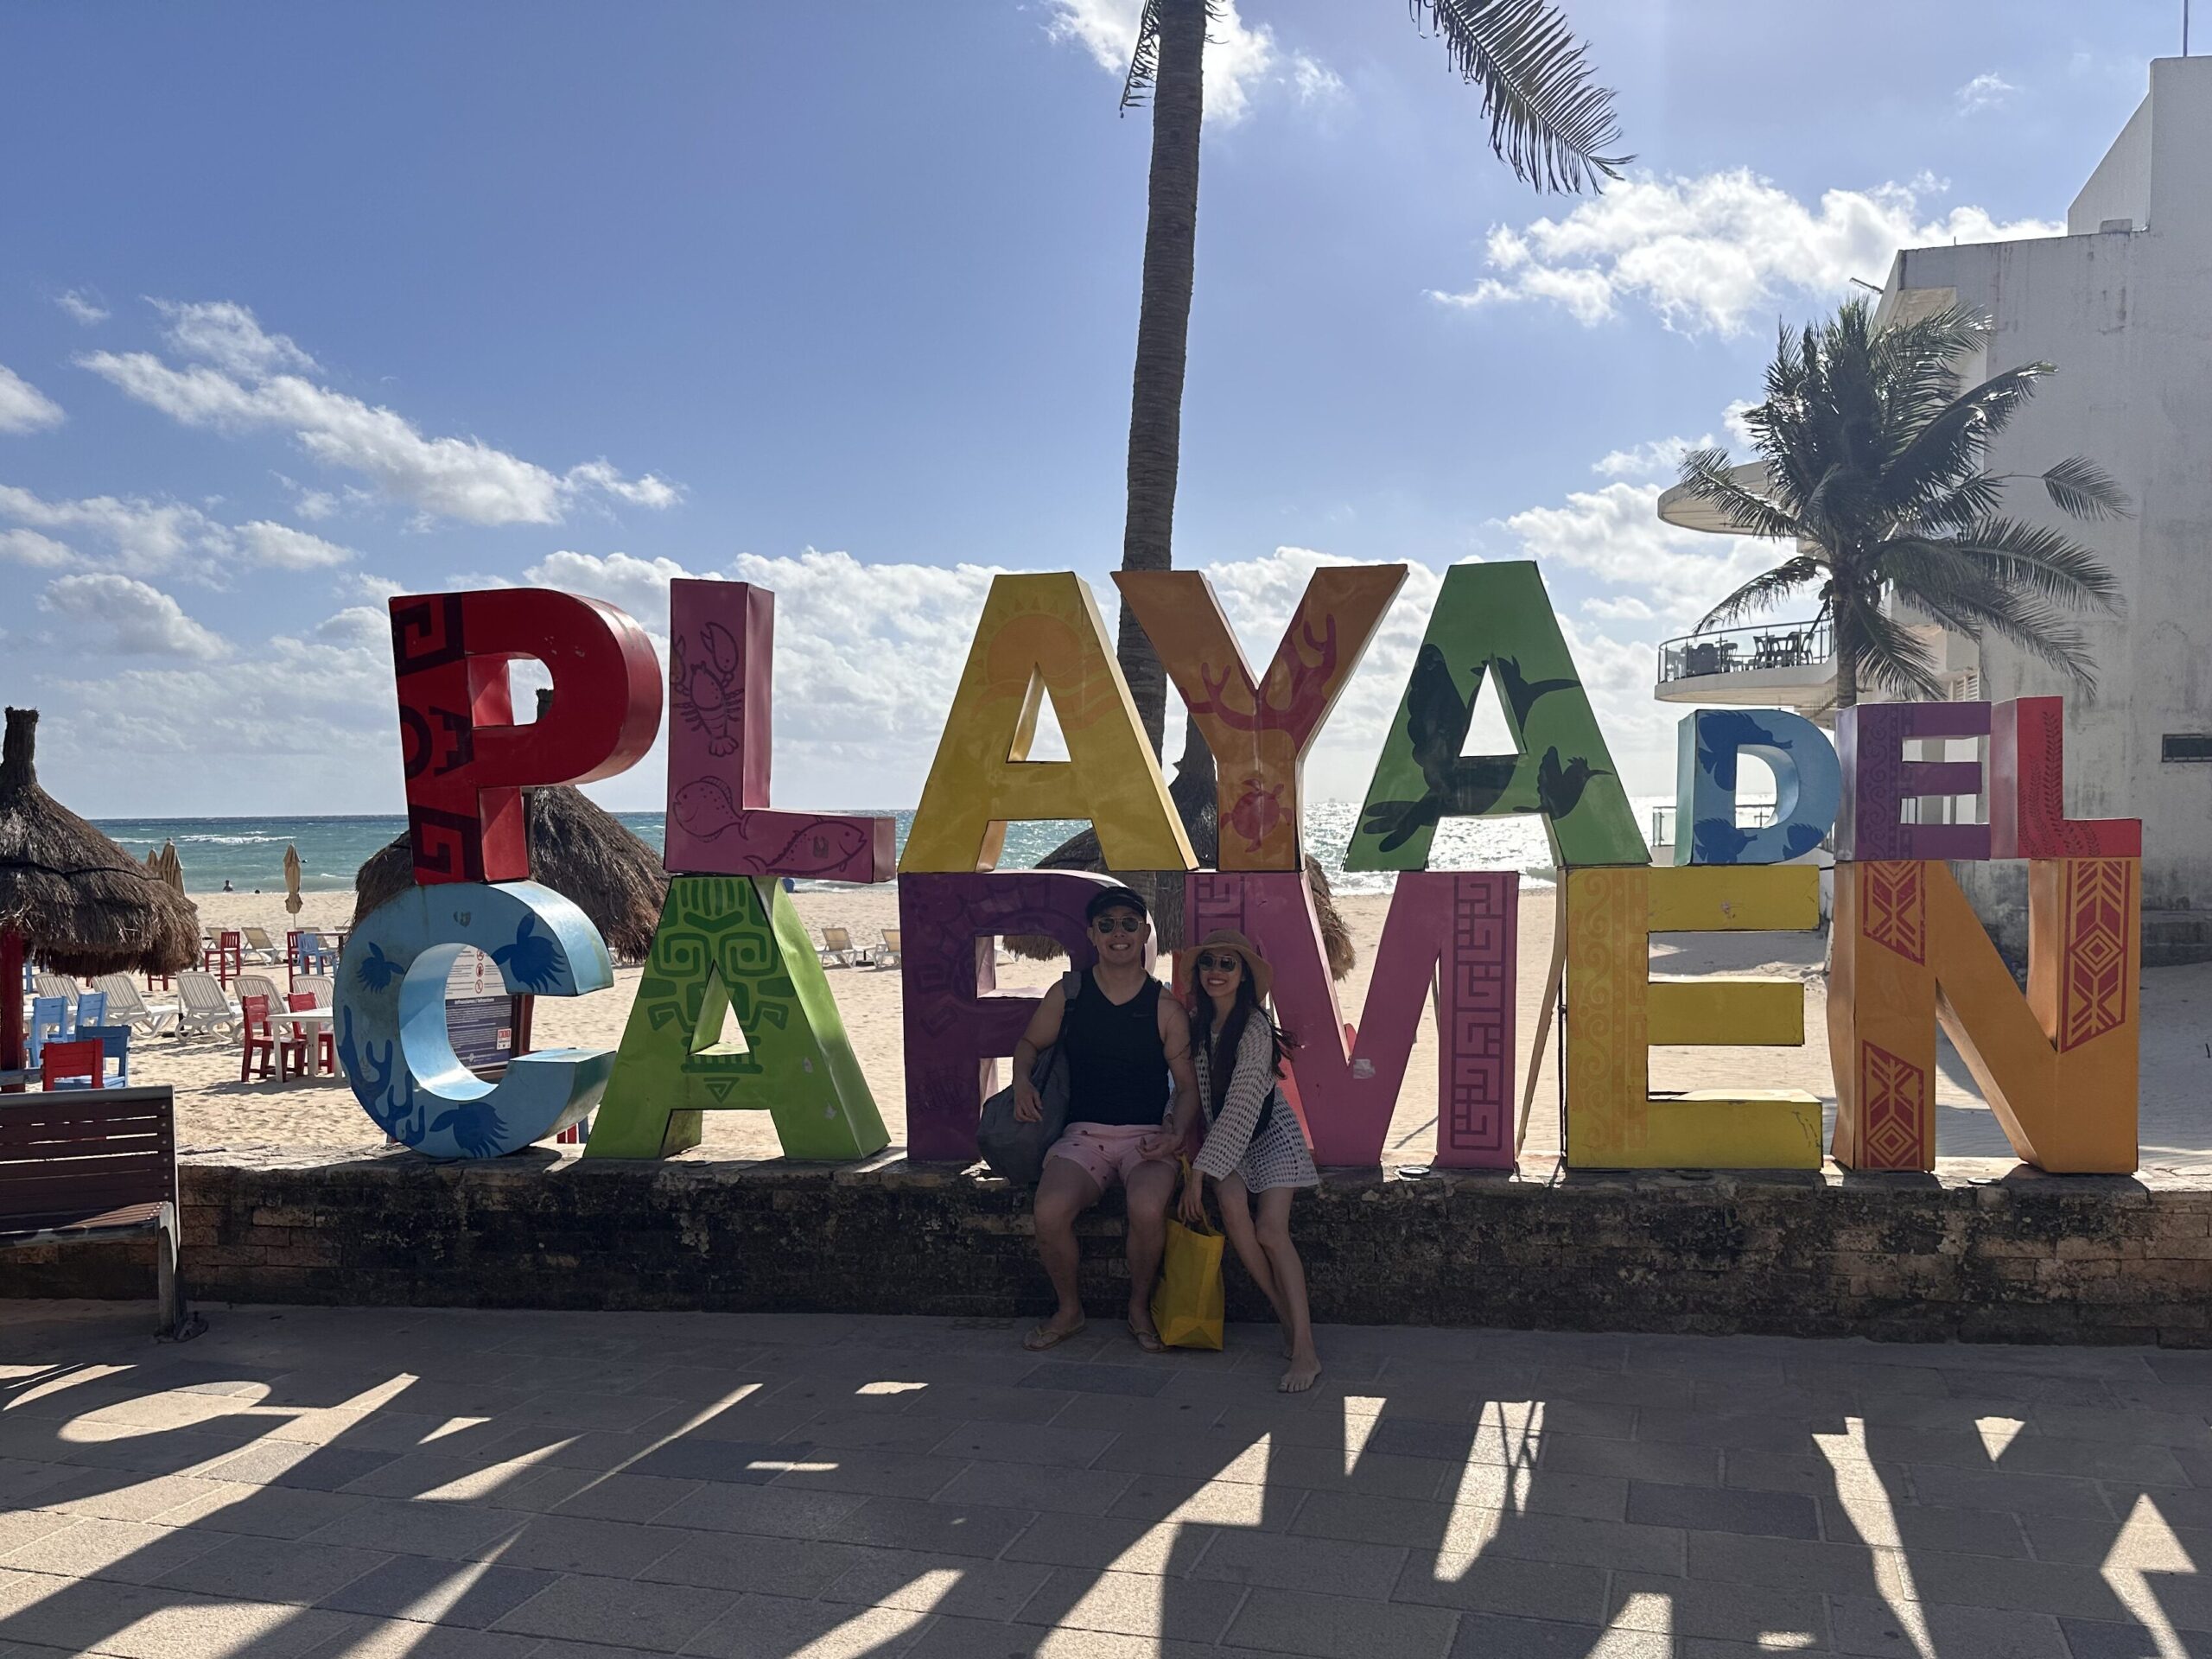
We drove one hour to our hotel in Playa Del Carmen and went past a MX$340 toll booth along the way. We checked into our hotel and met up with our friends who were staying at a nearby resort for lunch. After lunch, we walked along the main strip 10 Avenida Norte and browsed the street vendors and stalls.
Pro Tip
Get full car insurance if hiring a car for peace of mind. There are A LOT of massive potholes stretching across freeways and roads, and many speed bumps, some of which aren’t marked and indistinctly the same colour as the road. I booked via Discover Cars and had no issues, even though I thought I had a tiny scratch on the front rims because of a speed bump I didn’t notice.
Book a Cozumel snorkelling tour with a company along 10 Avenida Norte in Playa Del Carmen. We pre-booked our tour on Get Your Guide and for a slightly cheaper price, found a deal that involved a catamaran with a bathroom on board, and was inclusive of reef taxes and the ferry cost to get to Cozumel. Unfortunately it was too late to cancel.
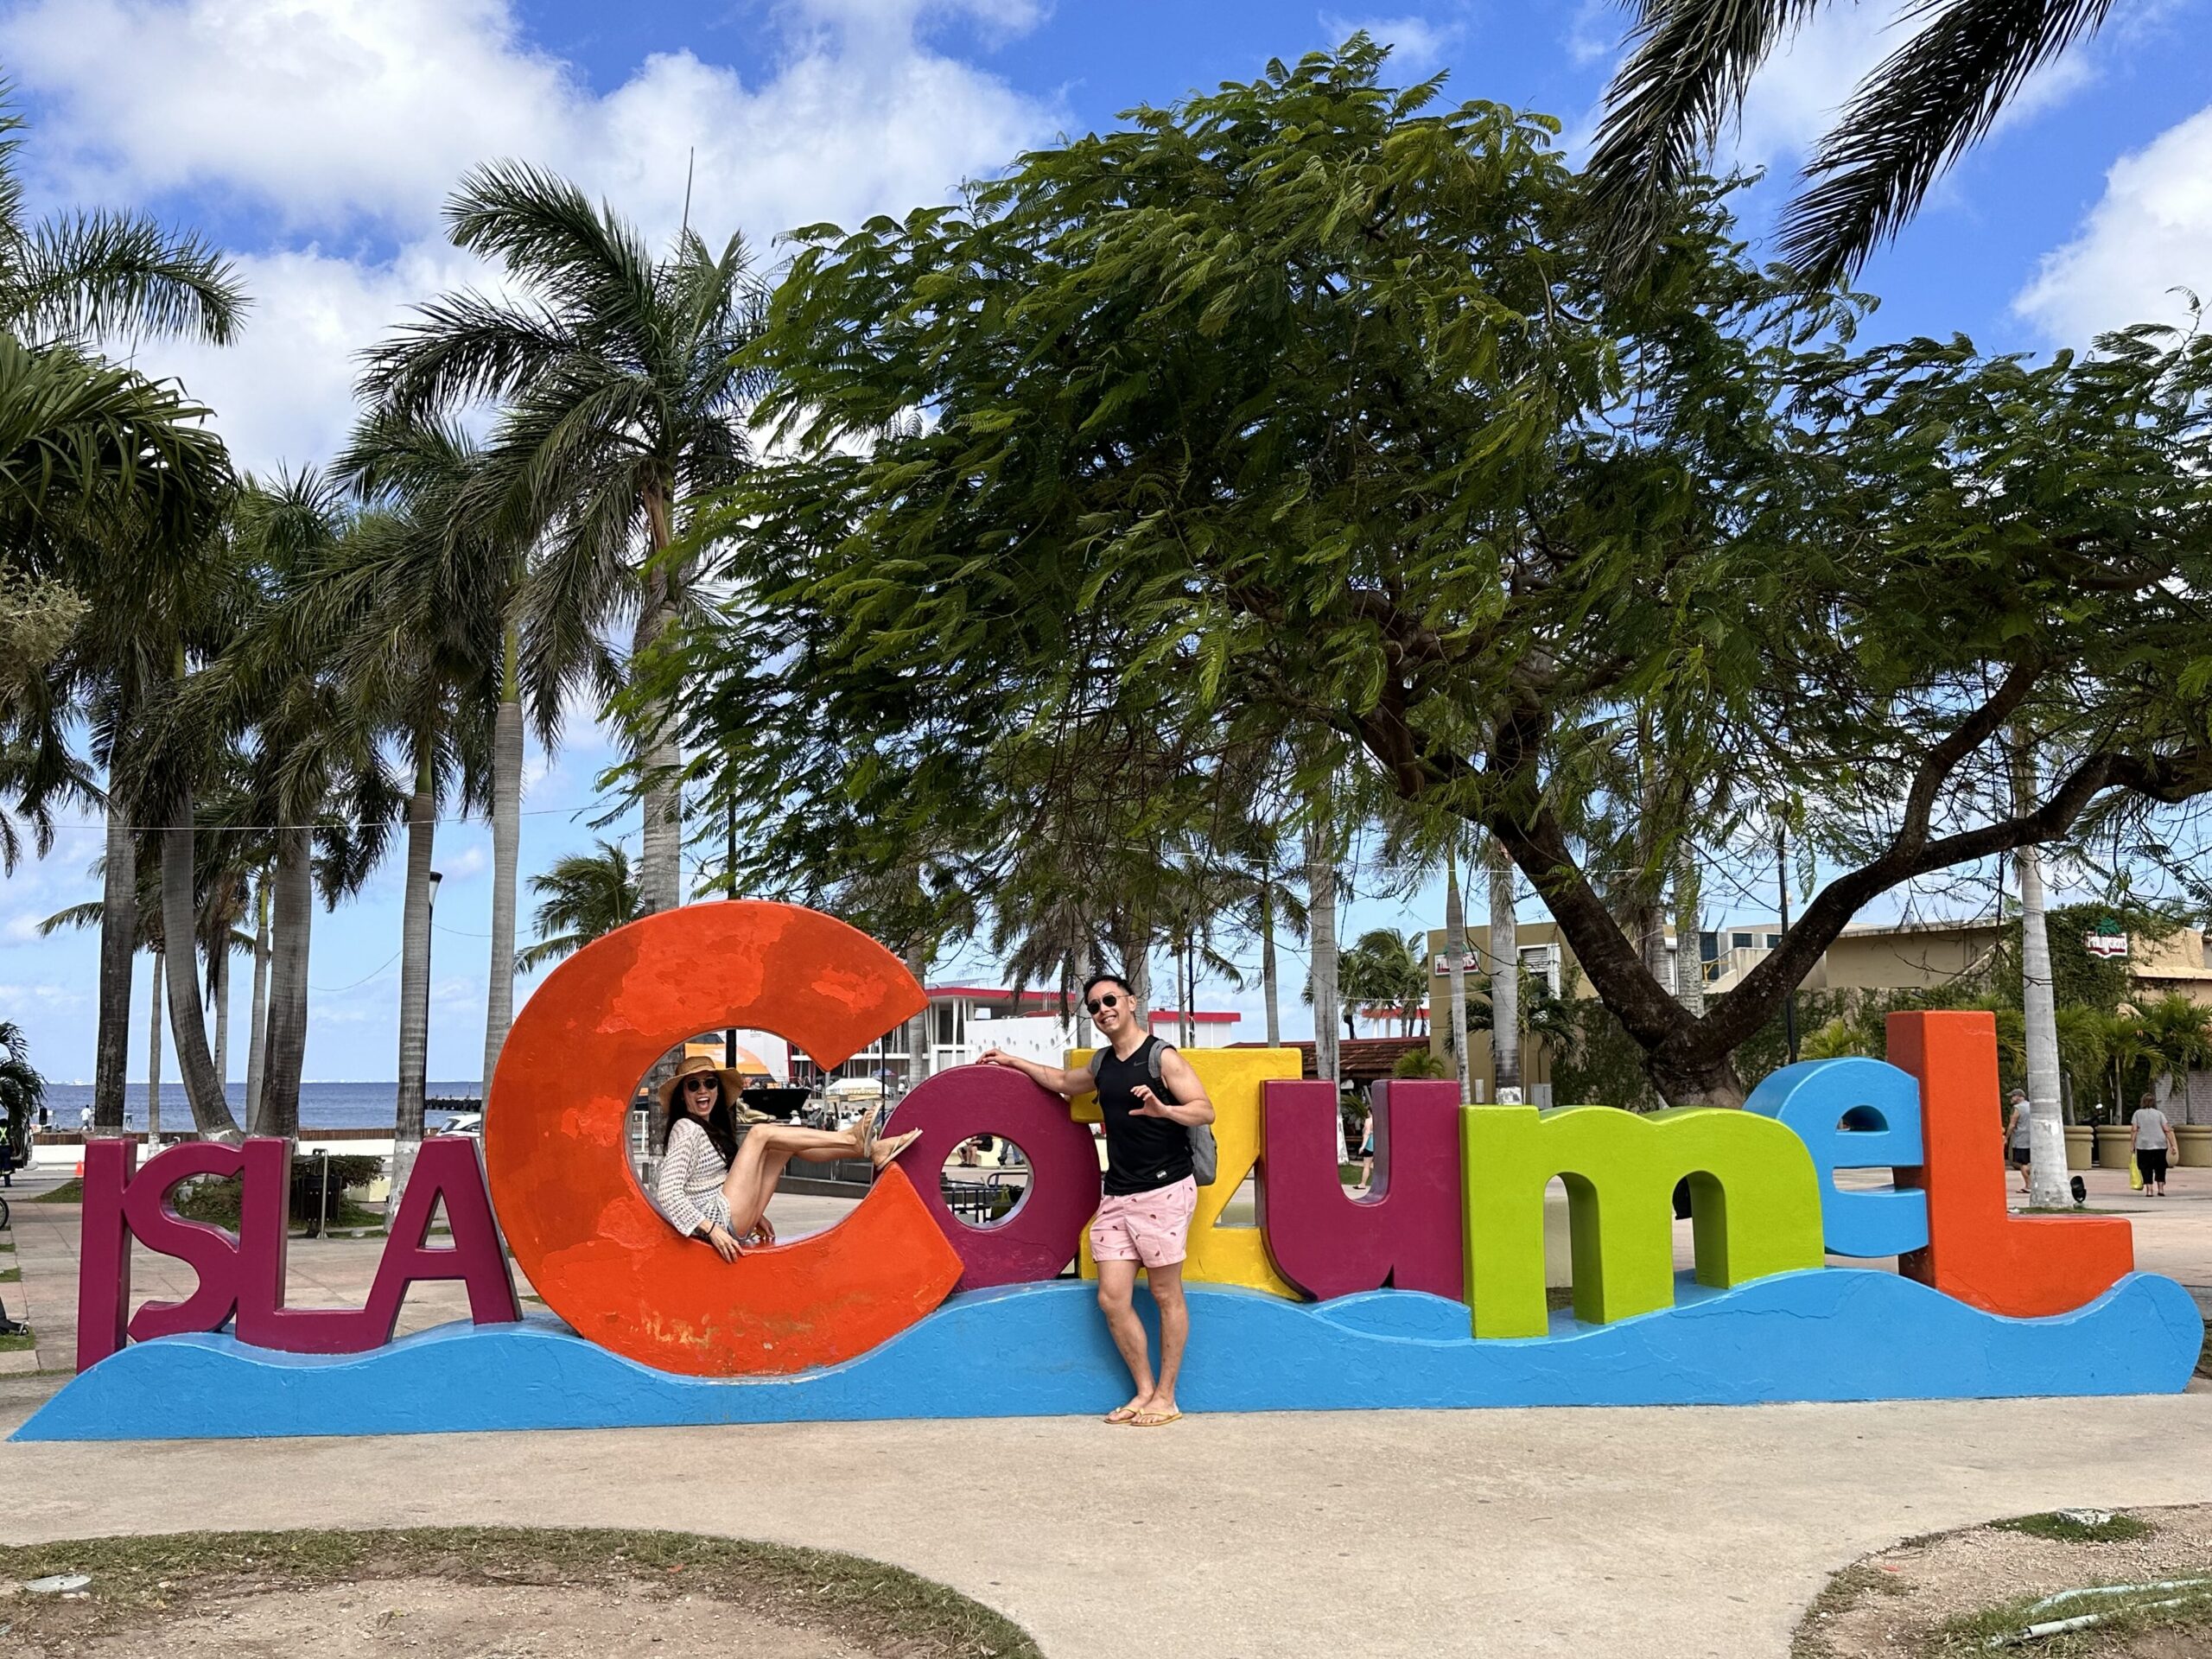
Day 6: Take the ferry to Cozumel and do a snorkelling tour. Have tacos at El Fogon.
The pick up for our tour was at noon on Cozumel island, which meant we had to get ourselves across separately. There are three ferry operators whose tickets you can buy at the terminal. As you walk along 10 Avenida Norte however, there will be vendors trying to sell you tickets, as well as other tours and activities.
Return tickets start from MX$560 depending on the frequency of the return services. We went with Winjet, which had a ferry back every 2 hours compared to 1, but we wanted to chill out after the snorkelling activity and have some food to eat. It takes 45 minutes on the ferry, and there is a live singer with a guitar on the Winjet services.
The snorkelling tour takes you to four spots to see fish, turtles, star fish and stingrays. Our tour company was Moxo Tours and our guides were a helpful crew. They had three pick up points so it took a while to actually pick everyone up before we could start the activity.
Pro Tip
When doing water based activities, do not use conventional sunscreen because it can harm the environment. Instead, use biodegradable sunscreen or wear protective clothing. This applies (but is not limited to) swimming in Cenotes, in Cozumel and in Bacalar Lagoon. Life jackets are provided for these activities.
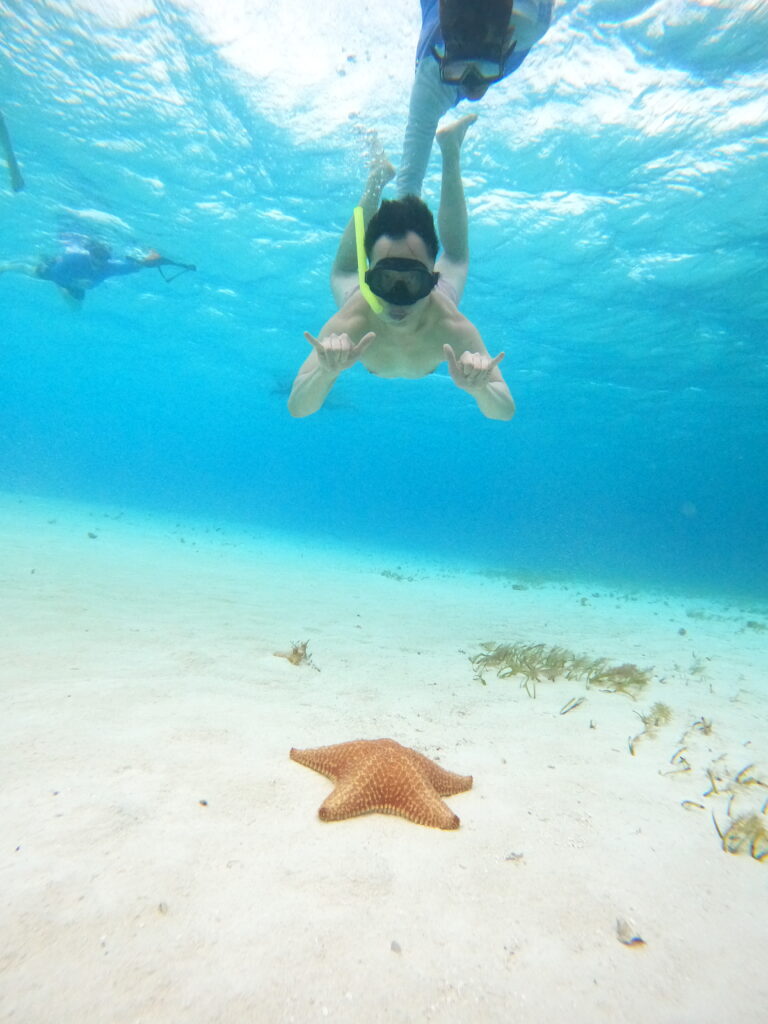
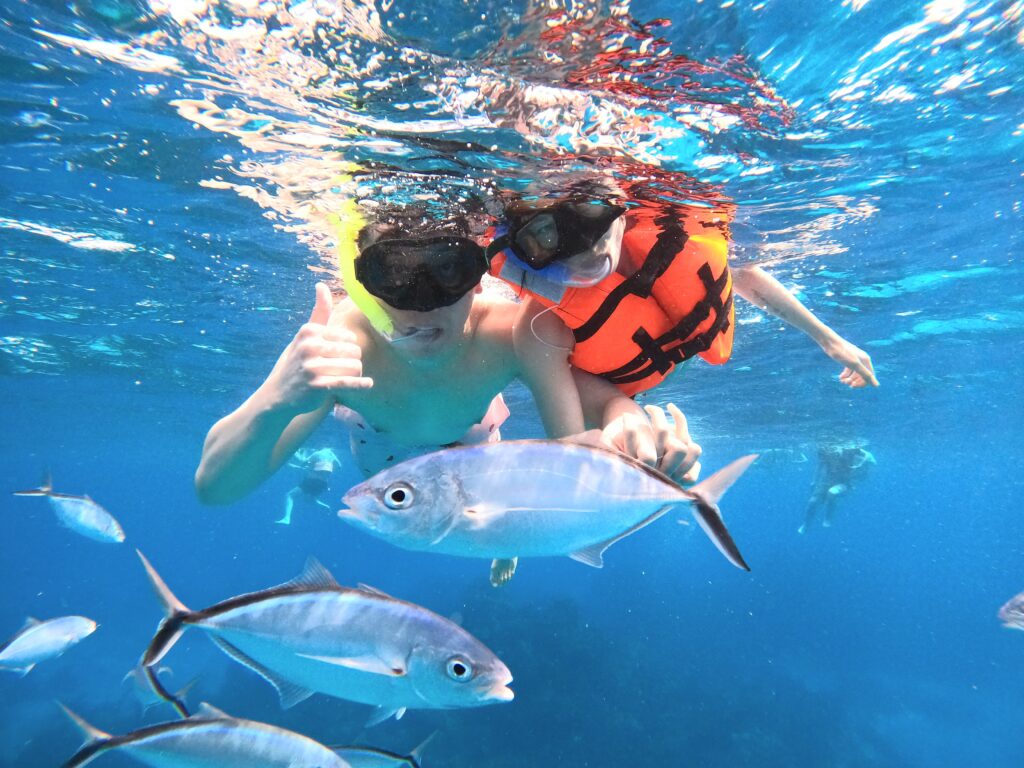
We were blessed to see a lot of marine life. Sherry isn’t a strong swimmer but they provided a lifebuoy ring for extra support. They served ceviche and tortilla chips at the final spot accompanied with drinks, whilst stingrays drifting amongst us. It is definitely a must do activity and we ended up buying the photos the crew captured on their goPros (US$30 per person).
After making the return drop offs along the way, we were back to shore and wandered across the road to the Thirsty Cougar for fish tacos and some drinks. These were definitely on the pricier side but were a good filler before the ferry journey back to Playa Del Carmen.
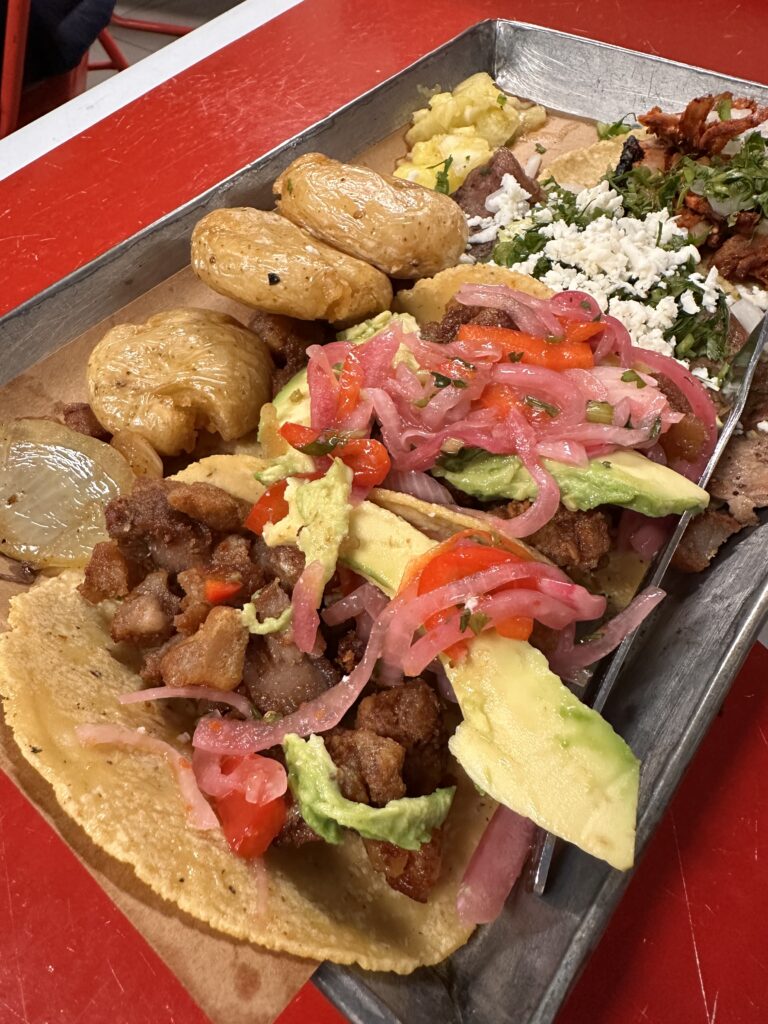
After making our way back to our hotel and showering off the ocean essence, we set forth to El Fogon for tacos. This place is popular, and for good reason – it made it onto our Top Delicious Tacos list.

Day 7: Check out the beach. Drive to Valladolid and relax in Cenote Zaci.
La Cueva del Chango has nice decorations with a jungle theme which is where we went for a nice breakfast. Sherry ordered the breakfast special whilst I ordered the chilaquiles with red and green salsa. We then went to Coco Beach and did some sun bathing before the noon check out. Next destination: a two hour drive to Valladolid, where we experienced the best day of the whole trip!
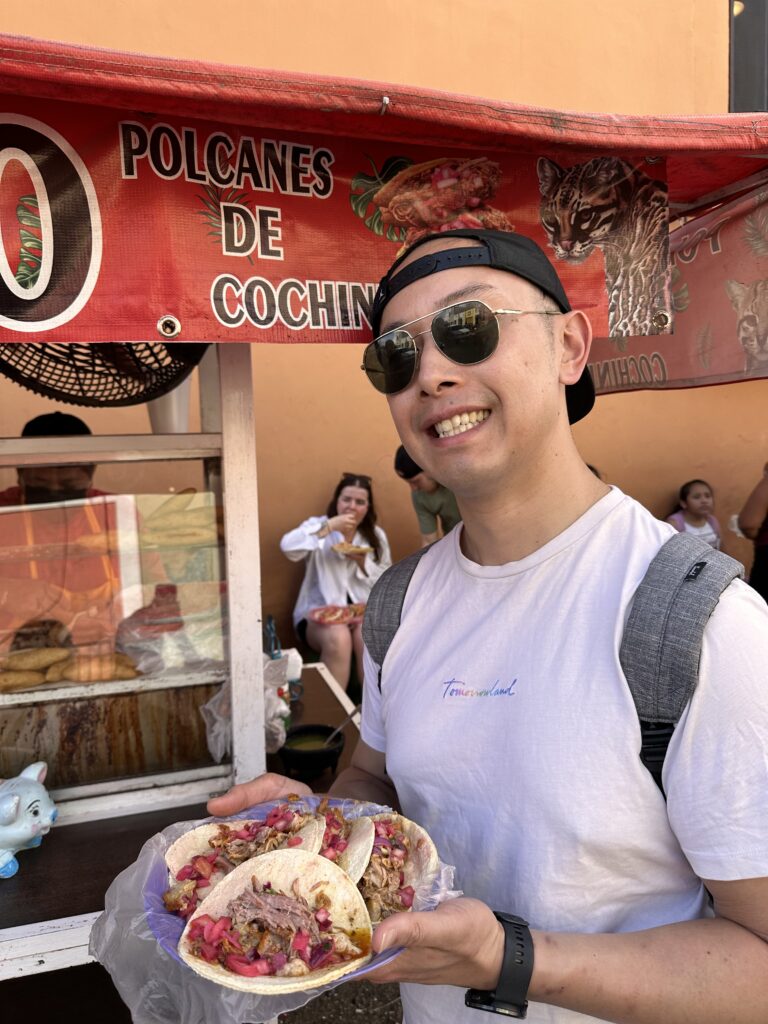
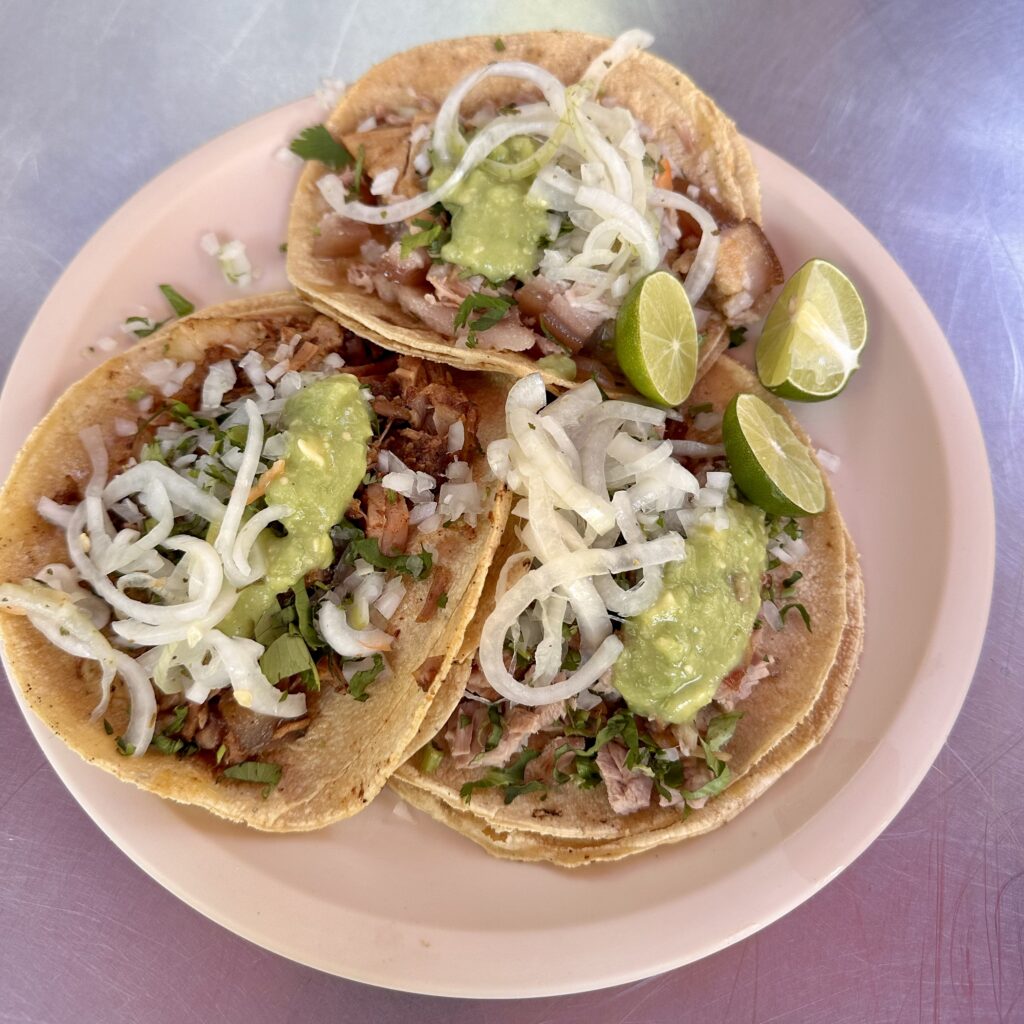
We checked into our hotel, changed into our bathing suits and headed to El Tigrillo taco stand for lunch. This stand specialises in cochinita pibil – pork cooked by a Mayan technique (more on this in Day 8) and ranks third in our Top Delicious Tacos list. The meat is tender and juicy; we happily ordered a couple more and devoured our tacos amongst the throng of happy customers.

We walked off our lunch by visiting the city park just up the road, featuring a fountain in the middle and facing a Catholic Church. There were market stalls set up around the park selling food and souvenirs. Surrounding the square, there were terraces from which you can see some good sunset views. We left the park and walked 10 minutes to Cenote Zaci where we spent the remainder of the afternoon.
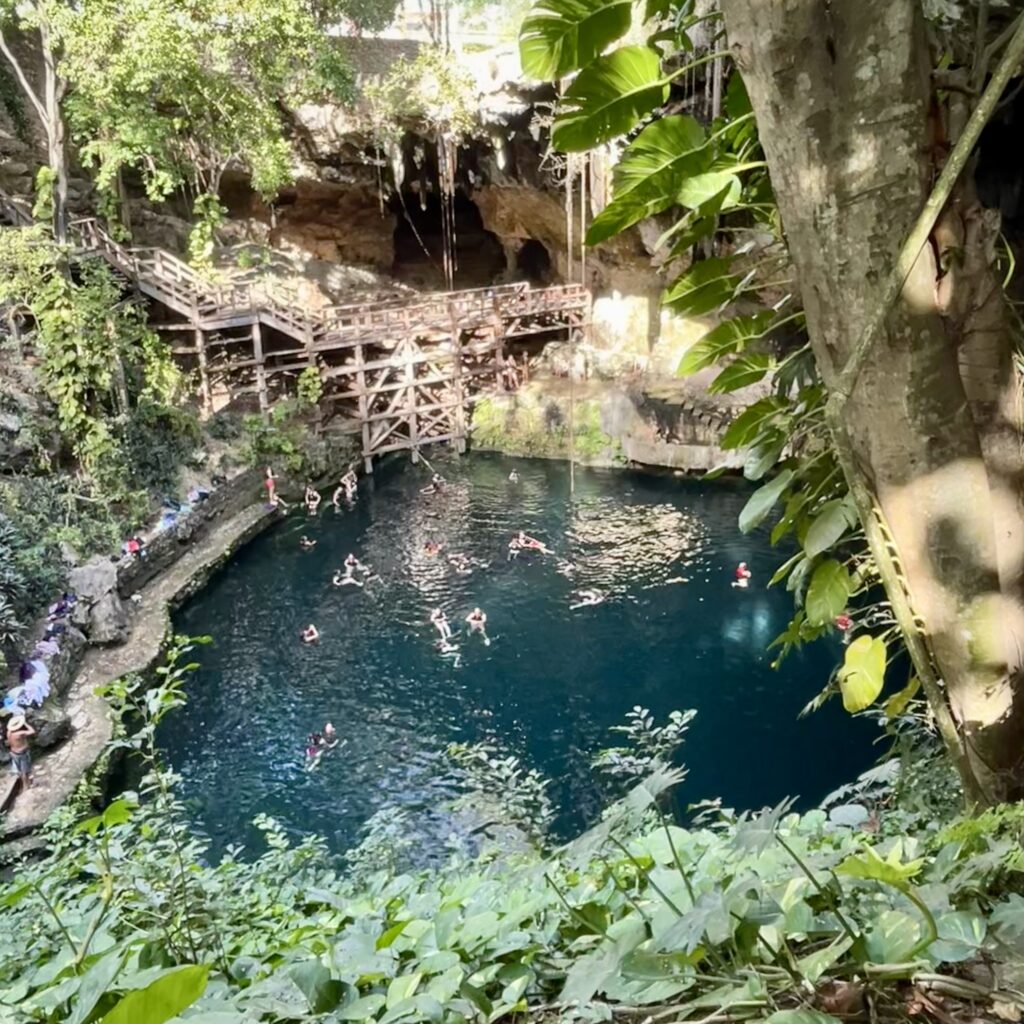
Cenotes form when the limestone bedrock collapses to reveal a natural sinkhole of crystal clear water. Mexico has the largest concentration of cenotes in the world, with “cenote” originating from the Mayan word for sinkhole. Cenote Zaci closed at 5pm, with last entry at 4pm – a MX$150 entrance fee provided you a wristband and a life jacket. There were no lockers available so people were leaving their items on the bank. There are steps leading down into the cenote, but the braver ones were jumping off a 20m ledge and making a splash.
Floating in the cenote was such a peaceful feeling, and the best way to beat the heat of the day. Staring up into the sky, the visual is framed by the crater from which the cenote was formed. There aren’t any showers available or towels provided so we headed back to our accommodation to freshen up before dinner at Yukanaj Cocina Mexicana. This restaurant was bookmarked because I wanted to try the tangerine cheesecake dessert, which although looked nice, fell flat in taste and had too much gelatin.
Day 8: Explore Chichen Itza and visit Chef Rosalia Chay.
This ultimately turned out to be the best day of the trip, with all highlights making it into several of our top lists.
It is a 45 minute drive from Valladolid, one of the main reasons we chose to stay there for 2 nights. As you approach the site, there are several people trying to usher you into parking bays. These all have a fee ranging from $MX50 but are less than the closest parking area which is $MX120. When you get to the ticket office, the entrance fee of MX$648 is made in two payments at separate counters.
Pro Tip
Tour companies reach Chichen Itza from 10am, with the area opening from 8am. Best get there early to get the best photo opportunities.
There is a MX$50 fee for anyone bringing a goPro or photography equipment like a gimbal into Chichen Itza. Your bag is checked before entrance when you scan the ticket and they will look out for these items.
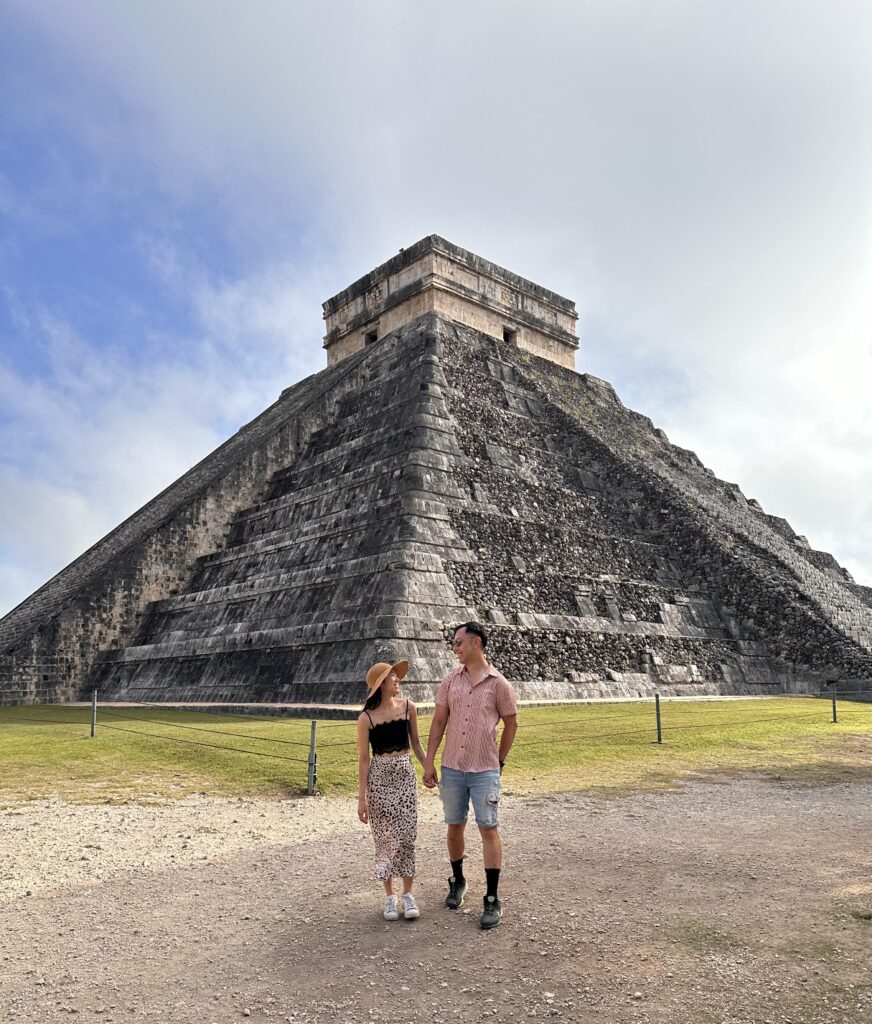
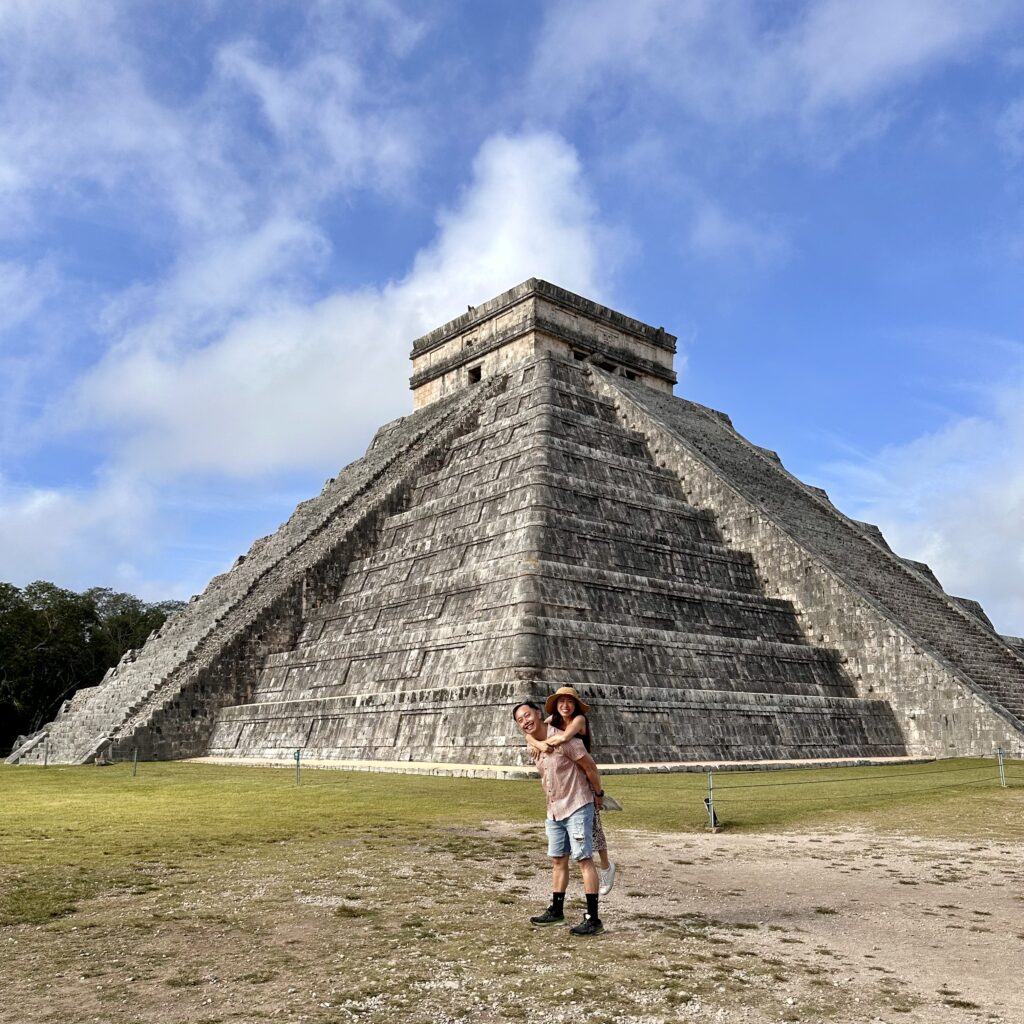
Guides are available to help talk through the history and wonder of the site, for a fee. However, with Chef Rosalia Chay’s cooking experience booked for 11am, we explored the site ourselves. Arriving on the site early, we were able to absorb the wonder of El Castillo and take some wonderful photos before the crowds gathered. We heard people clapping at the base of the temple and only learned from our friend afterwards that the resulting echo sounds like the call of the sacred Quetzal bird.
Along with the main site, there are temples, courts and the Sacred Cenote to explore. Market stalls were being set up to welcome the throng of tour buses looking to descend upon site, with a few selling whistles mimicking the growl of a panther. We left just after 10am as it became crowded to start our 45 min journey to Yaxunah for lunch.
If you’ve watched the Chef’s Table show on Netflix, you would know Chef Rosalia lives in a rural town. The roads leading up to it are filled with massive pot holes, and so it was a slow drive slaloming through. The dish we all ventured to Yaxunah for is cochinita pibil – which was our number 1 in our Top Delicious Tacos list.
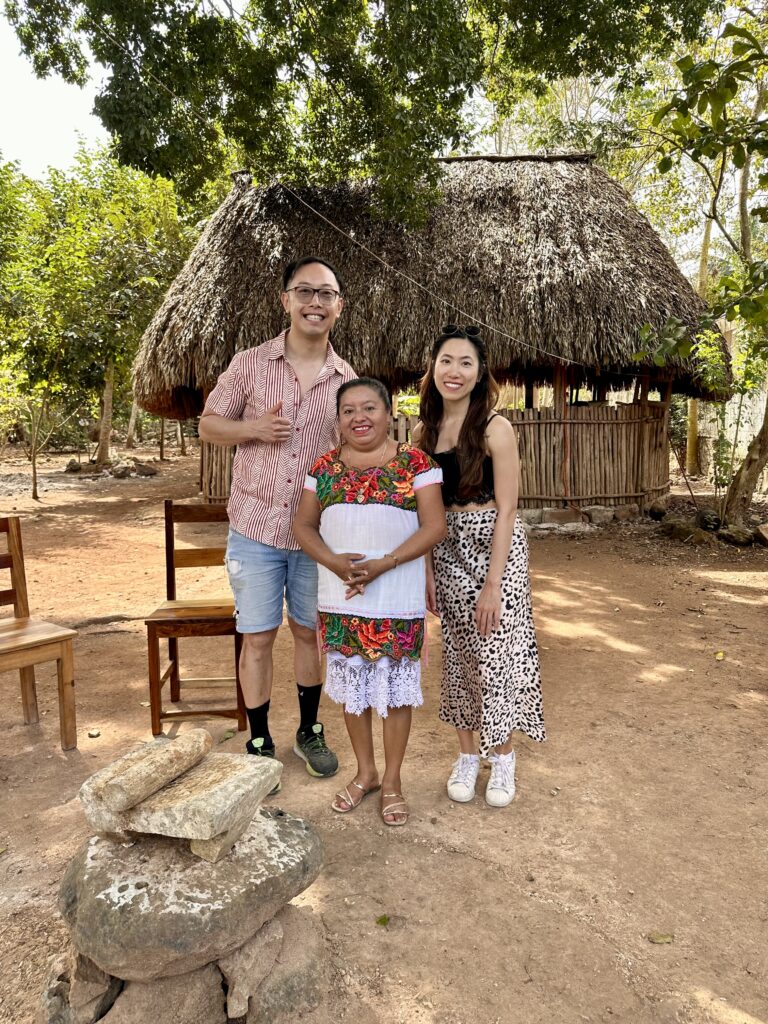
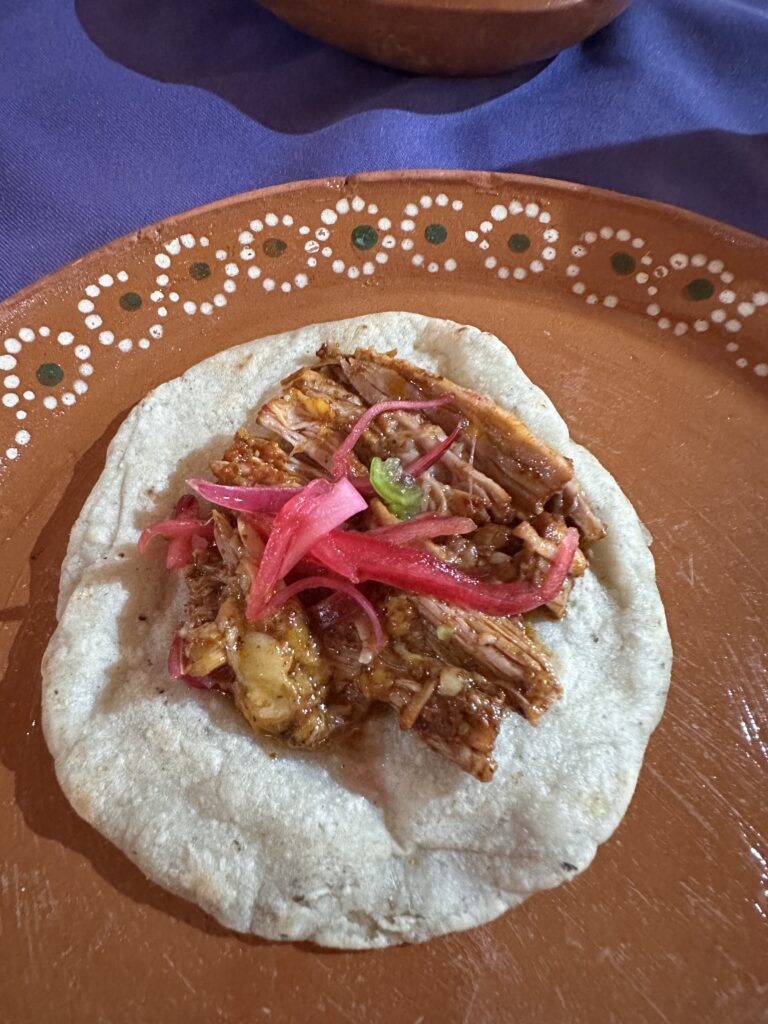
The cochinita comes from rare black hairless pigs raised by the Mayans and the pibil references the underground oven used. Rosalia demonstrated how she prepares her recados (spice pastes), the corn tortilla and the salsa as we got a little taste to whet our appetite. She signalled for her son Carlos to dig up the cochinita, as we congregated around the pibil site. He had dug the hole, strategically placed some big stones in its cavity and covered the site with big banana tree leaves before setting it all ablaze earlier in the day.
The tortillas were then oven roasted above an open oven in her backyard kitchen. These were thicker than what we’d been having throughout Mexico and our host Claudia explained how tortillas are thin now via mass machine production and is why tacos stands give two tortillas for each tacos – in case they break. We were shown to our lovely dining setting and were served a lovely two course meal. They served the cochinita pibil two ways, with the negro recados and without, with tortillas and salsa on the side for you to construct. The best part – they will keep refilling the cochinita pibil until you’re absolutely full!
For US$100 per person, it is definitely a pricey meal when you factor in the average spend in Mexico. Sherry and I agreed that for the unique experience and learning about the Mayan culture, it was well worth it. Rosalia is slowly learning English but her hospitality is second to none – definitely a highlight.
After being well fed, the plan was to visit Cenote Il Kil on the way back. However, I’d forgotten to pack my swim trunks so unfortunately we had to go back to our accommodation (remember to pack these!). Arriving back in Valladolid around 4:30pm, we were looking for any cenotes that were still open and luckily came across Cenote Xkeken. This cenote is right next to Cenote Samula, so if you’re visiting with more time, you can easily visit both. Entrance for the two cenotes is MX$220, but as we were short on time, it was only MX$150 per person for visiting one.

Cenote Xkeken is within an underground cave, such a contrast to the open air Cenote Zaci of yesterday. You had to rinse in the outdoor showers before picking up your life jacket. There were fish swimming amongst the stalactites draping from the cavernous ceiling. I’m certain I saw some bats flying about as I floated around relaxedly.
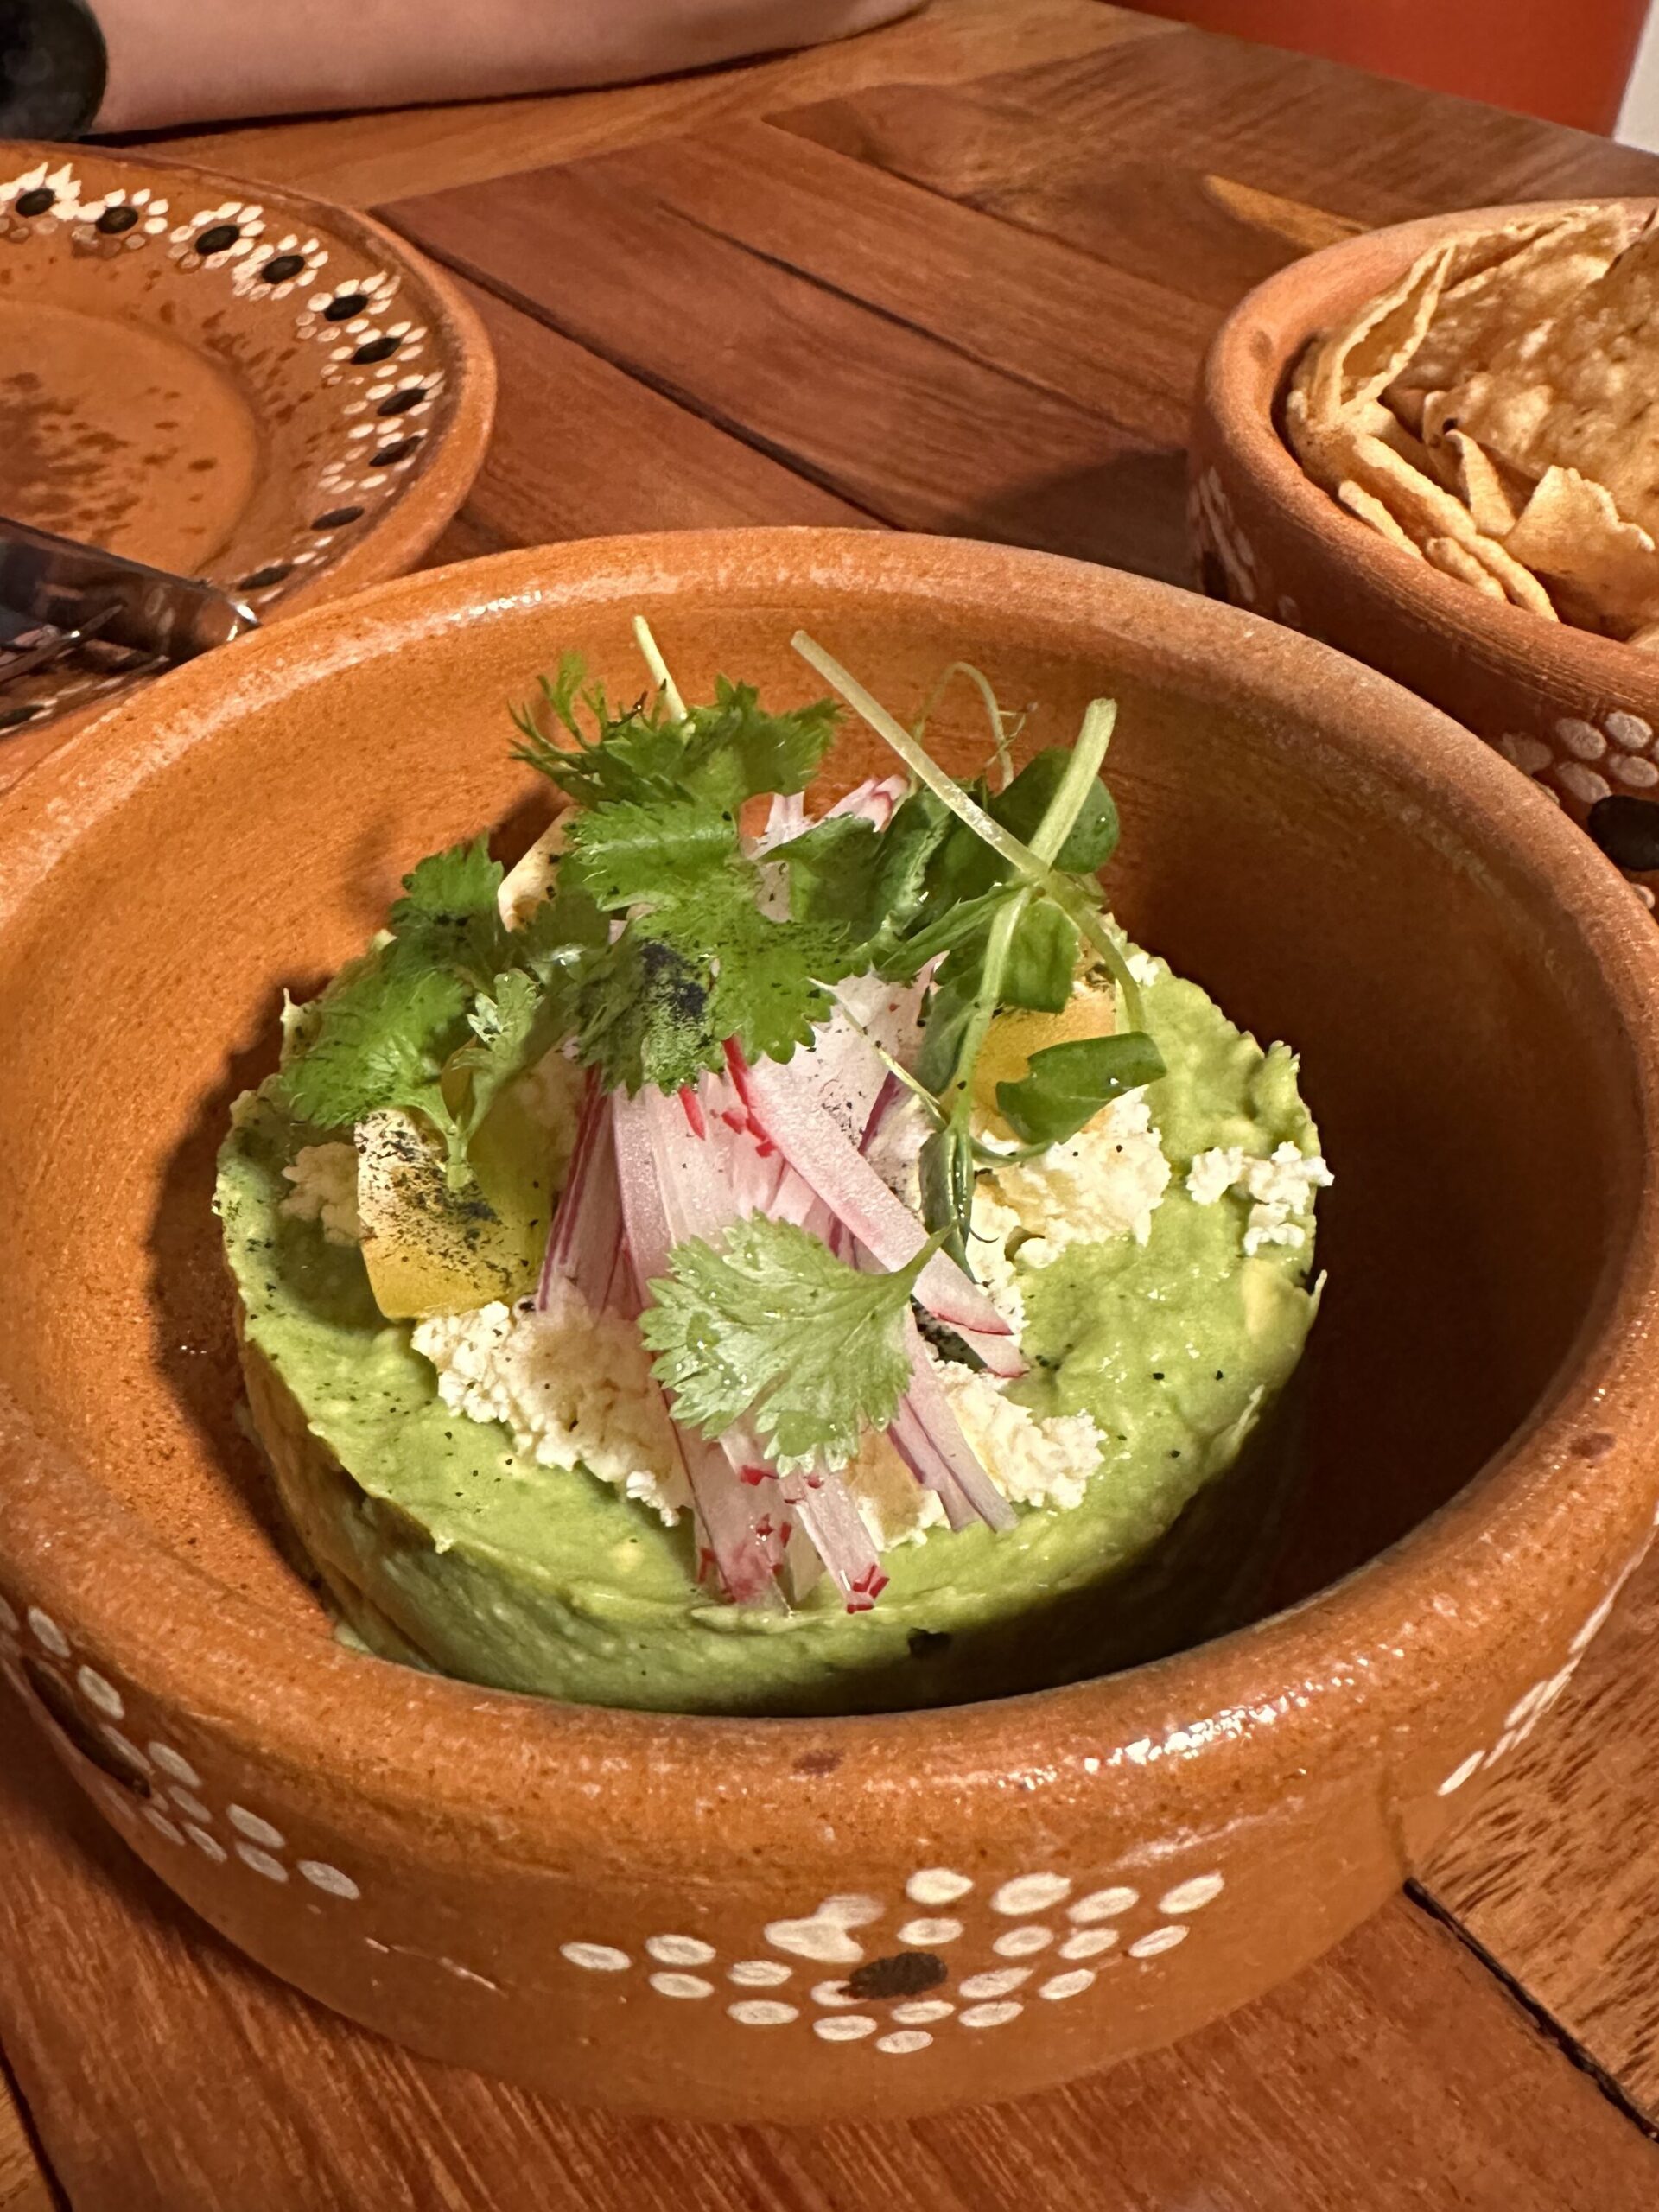
As we made it back to the hotel, we passed Casa Oaxaca Antojitos and made a reservation for dinner. Thankfully we did, as it was a small restaurant and busy throughout with people being turned away. Our host Julia is from Valladolid and her husband, the chef is from Oaxaca and hence the restaurant was born. We started with the rib tacos and the guacamole, our first guacamole of the trip surprisingly! They served lager from bottles but poured into a frosted pint glass.
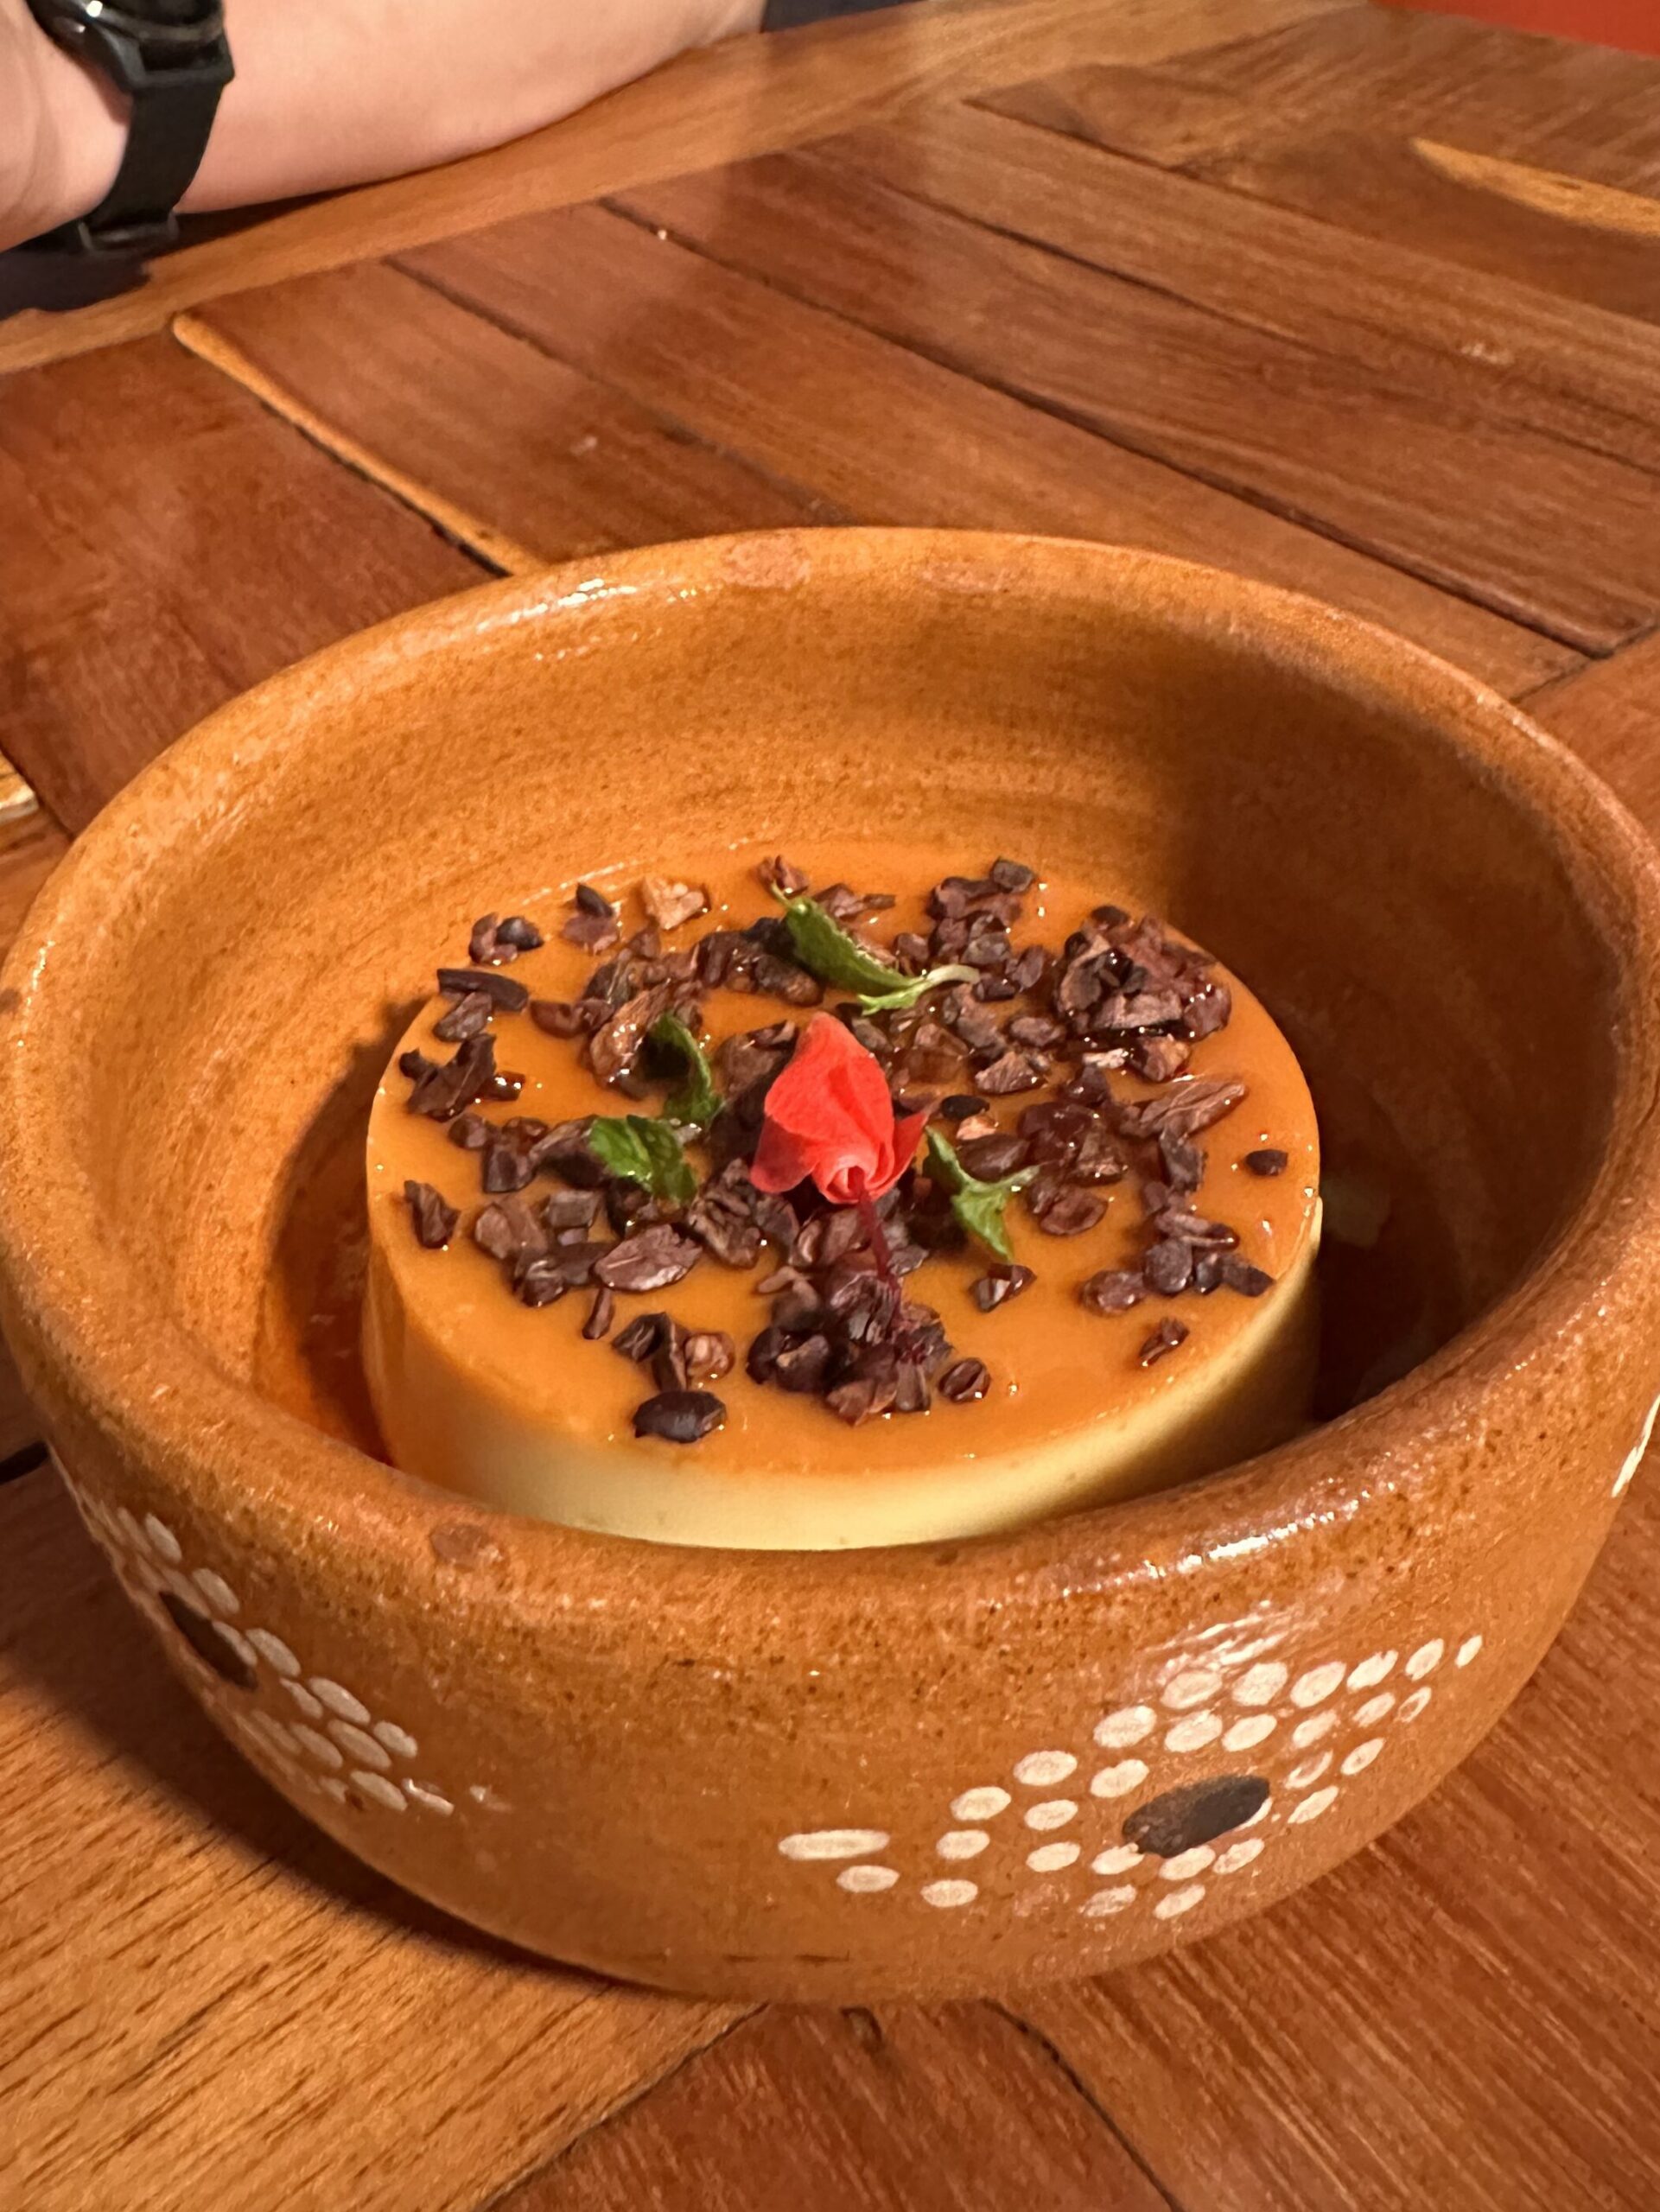
For our main, we ordered the tlayuda which turned out to be massive – befitting of the Mexican pizza analogy. It was packed with filling compared to the one in Oaxaca but just as crispy and crunchy. I preferred the one in Oaxaca because the ratio of filling and crisp was more balanced. Even after finishing this monster, we had room for a delicious flan. Presented beautifully, it topped off an amazing meal and an amazing day.
Day 9: Drive to Bacalar and have drinks by the lagoon at La Playita.
Our hotel came with breakfast so we made our way to the dining area by the pool before check out. I ordered the trusted chilaquiles with Valladolid sausage, as I hadn’t tried it yet. Our hotel was nice, conveniently located where we walked to most places, and had parking allocated in the lot across the road. The only downfall was that the soundproofing could be better.
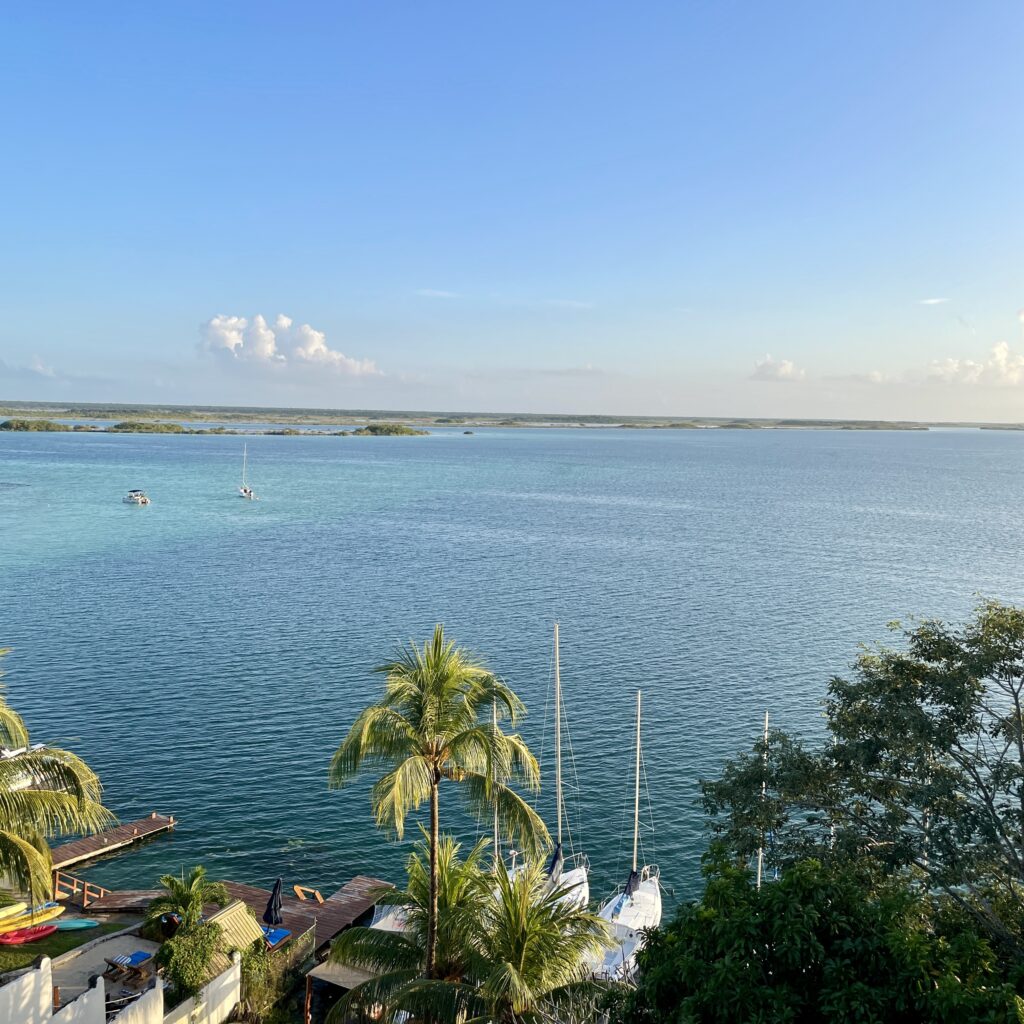
We then made the 4 hour drive down south to Bacalar, the lagoon of the seven colours. We love being by the water and we managed to secure an AirBnB right on the lagoon. It also took us back to our honeymoon memories when we went to the Maldives so we were super excited about spending a few days relaxing.

As we exited Valladolid, we were stopped at a military checkpoint for the first and only time on the trip. I rolled down my window and greeted the officer who gave me one look and ushered me past. I’d read online these are nothing to worry about but was prepared nevertheless as there are also stories of corruption.
Along the route, there are vendors at the bigger speed bumps, approaching as you slow to try and make a sale. Make sure you have enough petrol to make the journey as there aren’t a lot of gas stations along the way.
Pro Tip
Don’t keep all cash on you, keep a small amount in your wallet. Split the rest amongst yourselves and amongst your luggage. Avoid driving at night and have a photocopy of your passport on you.
When filling up petrol in Mexico, stay in the car. The service attendant will ask whether you want the tank filled to full and proceed with cleaning your windscreen. The attendant would have thought me a fool when I first filled up, as I proceeded to exit the vehicle, open the petrol door and stand awkwardly making small talk as he connected the nozzle.
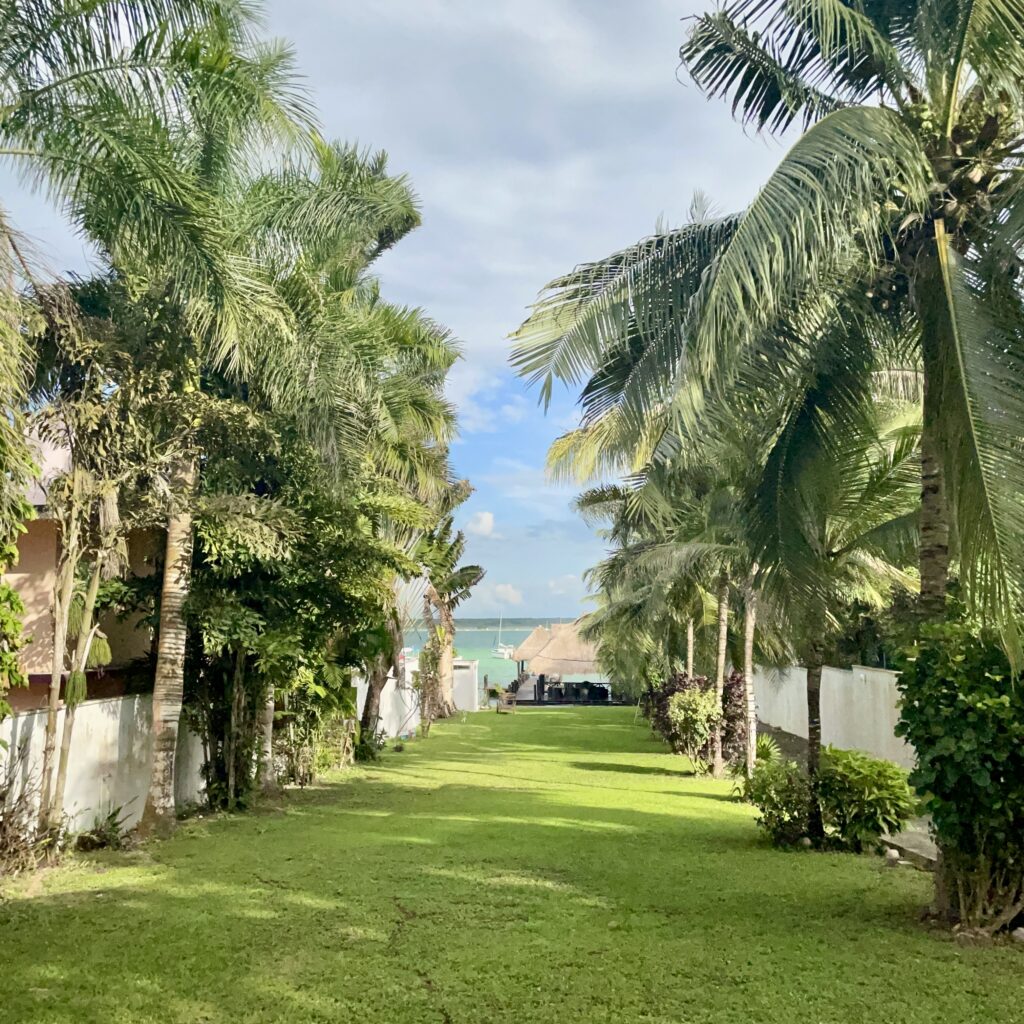
We arrived at Bacalar and checked in to our AirBnB. We rented out the bottom floor, whilst the owners occupied the top. It is also home to 9 rescue dogs and a cat, all of whom are very friendly. The main perks were the beautiful backyard and private dock, with kayaks and bikes free to use.
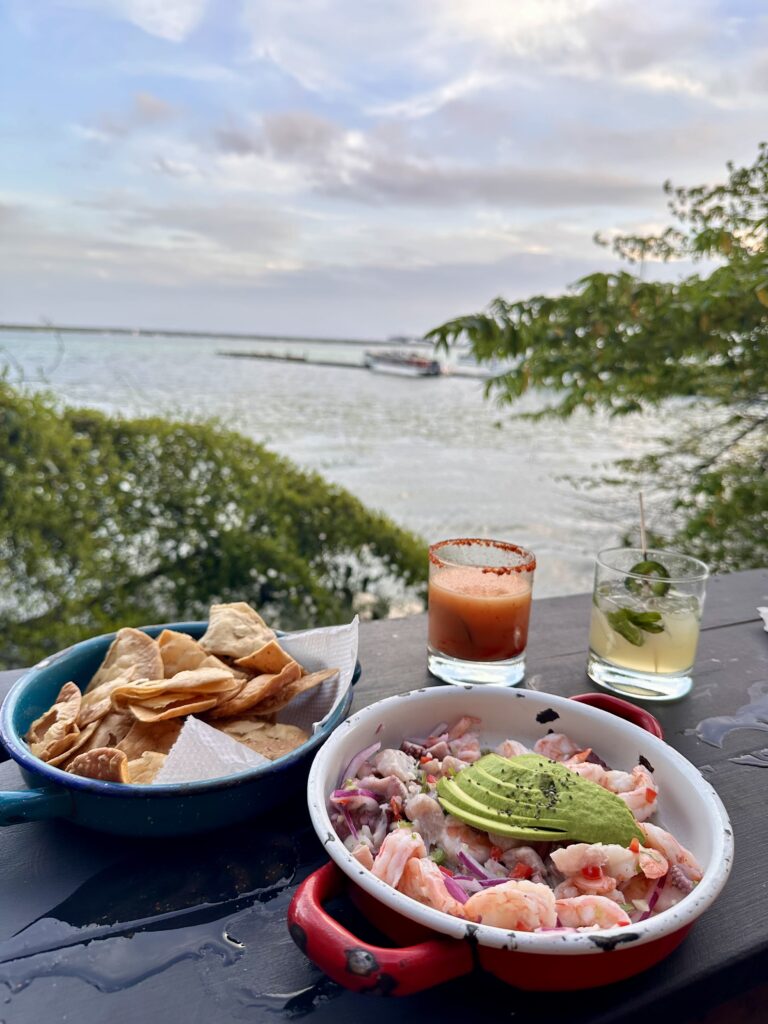
We explored the zocalo and visited La Playita for pre dinner refreshments which we definitely recommend. We grabbed some mezcalitas and a prawn ceviche whilst taking in the beautiful lagoon. For dinner, we headed up the road to Mr Taco to get our daily fix. The tortilla here were underwhelming and is not a place we recommend.
Day 10: Take a boat tour and explore the Bacalar lagoon.
We checked out the breakfast and brunch joint Enamora to start the day. We had a boat tour to look forward to, which was a 10 minute bicycle ride down the road. Our Airbnb had bicycles that were free to use so the plan was to ride to lunch, and then ride to the tour.
For lunch, we wanted to try aguachile after the taste of ceviche the day before. Aguachile is similar to ceviche but with aguachile, the lime and chilli juice is added for taste as opposed to curing the seafood like a ceviche does. Upon inspecting the bikes, we found they had no brakes! Sticking to the original plan, we rode to Bacacrudo Cruderia Mazatleca slowly along the mostly flat route and using our feet to stop where required, reminiscent of the Flintstones. Sherry did not like that one bit so after lunch, we rode slowly back to the AirBnB and drove to the boat tour meet up point instead.
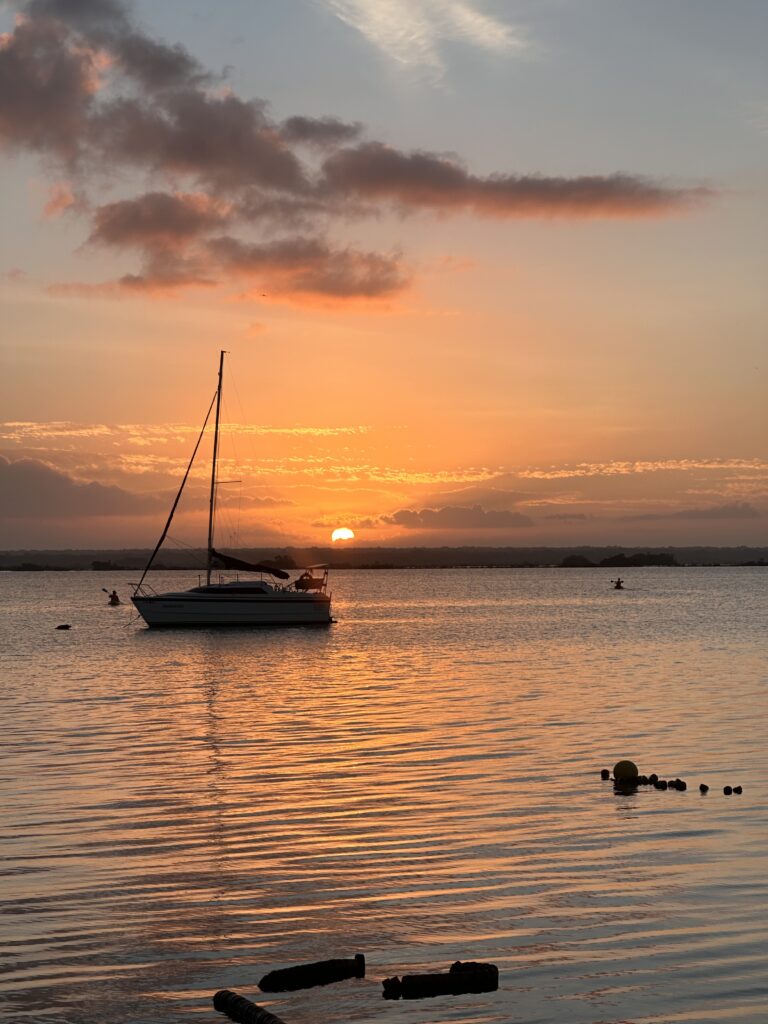
As for the aguachile, the salmon was very tender but the dish was very sour. It was served with corn chips but thankfully we could wash it down with BYO beer, as there was a convenience store across the road. We then made our way to the boat tour where they took you on a catamaran to different parts of the lagoon to spot its different colours and swim in its beautiful waters.

We later found out the sun set on the other side as we headed back to shore. The boat company had an observation deck which we quickly climbed up to soak in the views. They also had kayaks available to use, included in the tour price. We headed back home to freshen up first before going to the zocalo to find some tacos. With our first option closed, we came across Taqueria El Trompo De K’los. We pointed at some items on the menu and ordered a few tacos to start. We reordered the chorizo and al pastor tacos as they were quite tasty.
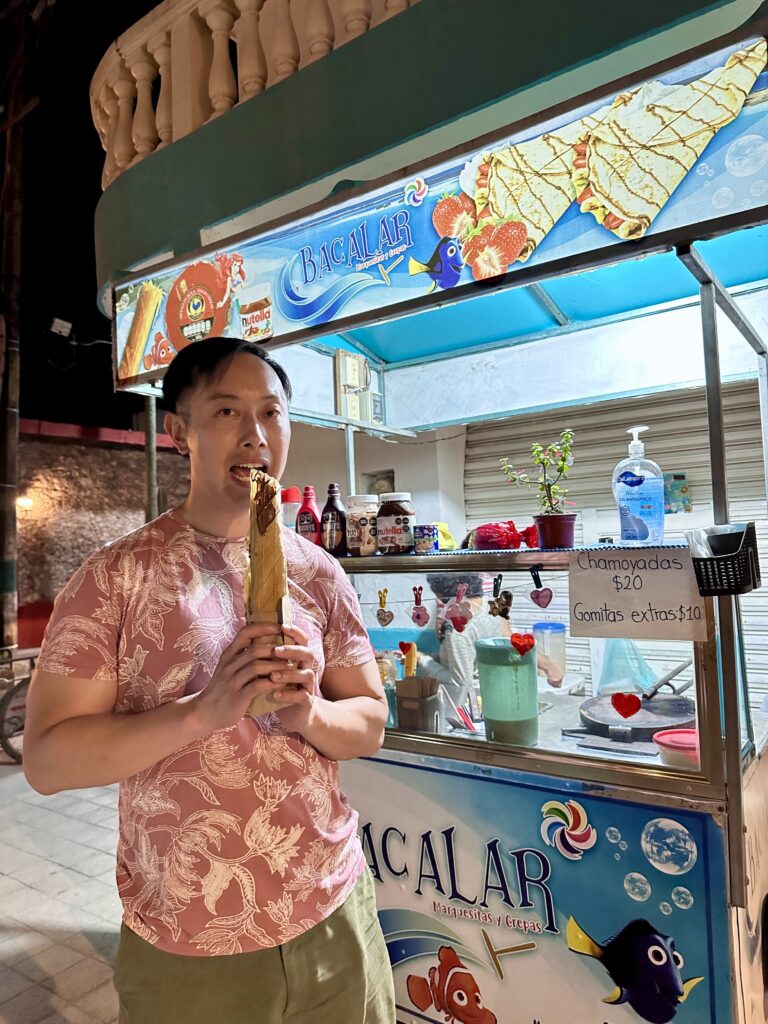
In our walk back, we stopped by an unassuming marquesitas stand, Guerra’s at the zocalo. A marquesita is a dessert originating in the Yucatan region consisting of a thin crepe filled with spread and fruit and rolled into a thin pipe and topped with cheese. If you’re a sweet tooth like me, you’d LOVE this – it made our Top Mexican Foods to Try.
Day 11: Visit Los Rapidos and swim in Cenote Azul.
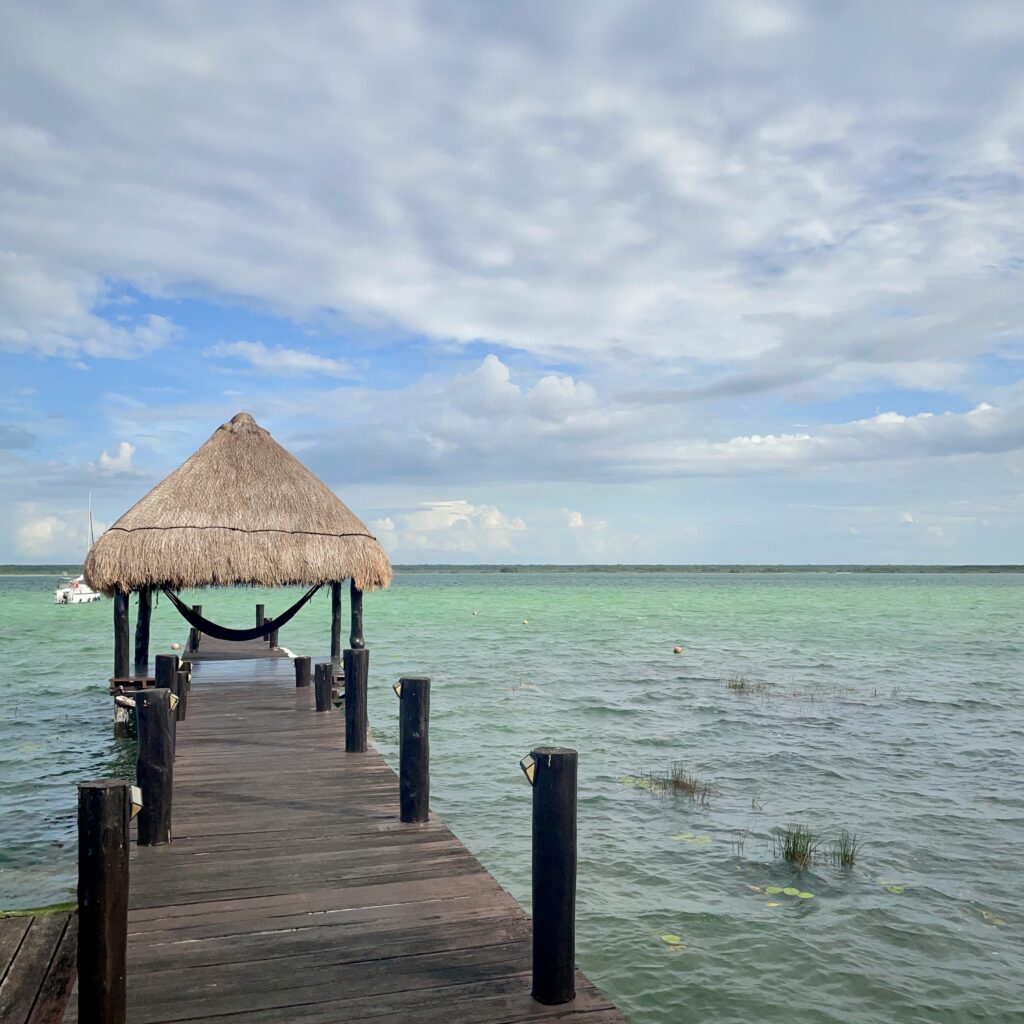
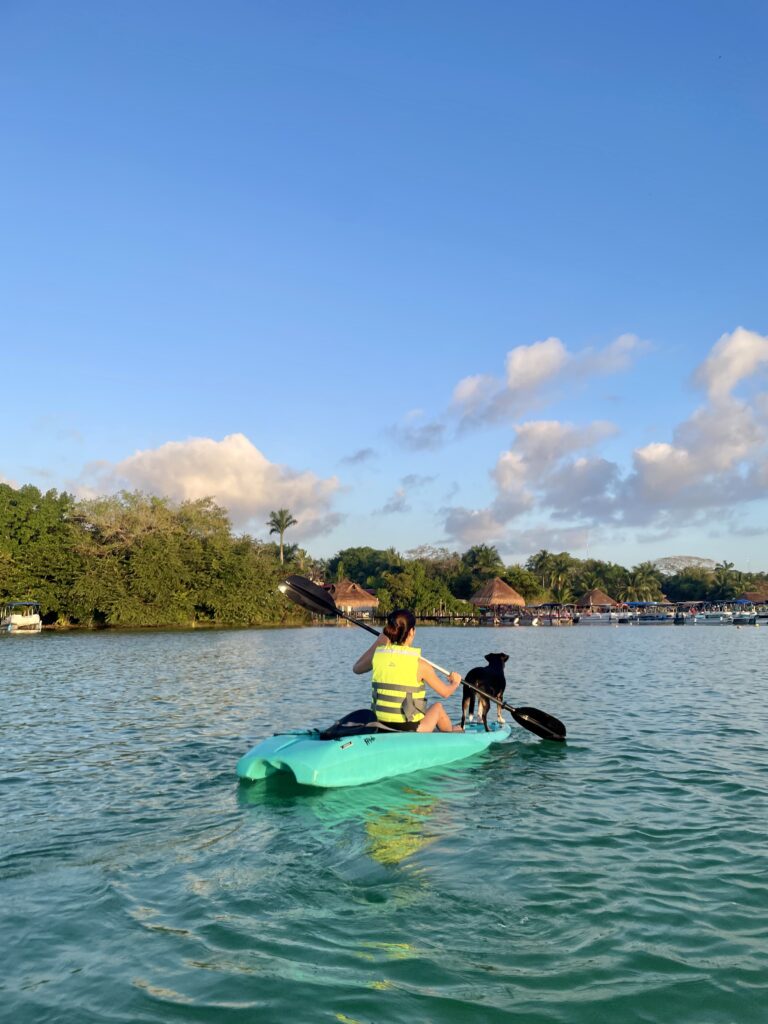
We got up early as we planned to watch the sunrise from the private dock in our AirBnB, accompanied by a couple of our furry landlords. With the water being still, we set out in our kayaks for an uninterrupted view in the calm lagoon. Sunrise kayaking is one of Bacalar’s most magical experiences and we would definitely recommend you try! There are many tours available if you do not have access to a private dock. We then refuelled by breakfast in the beautiful outdoor courtyard of Picaflor Bacalar.

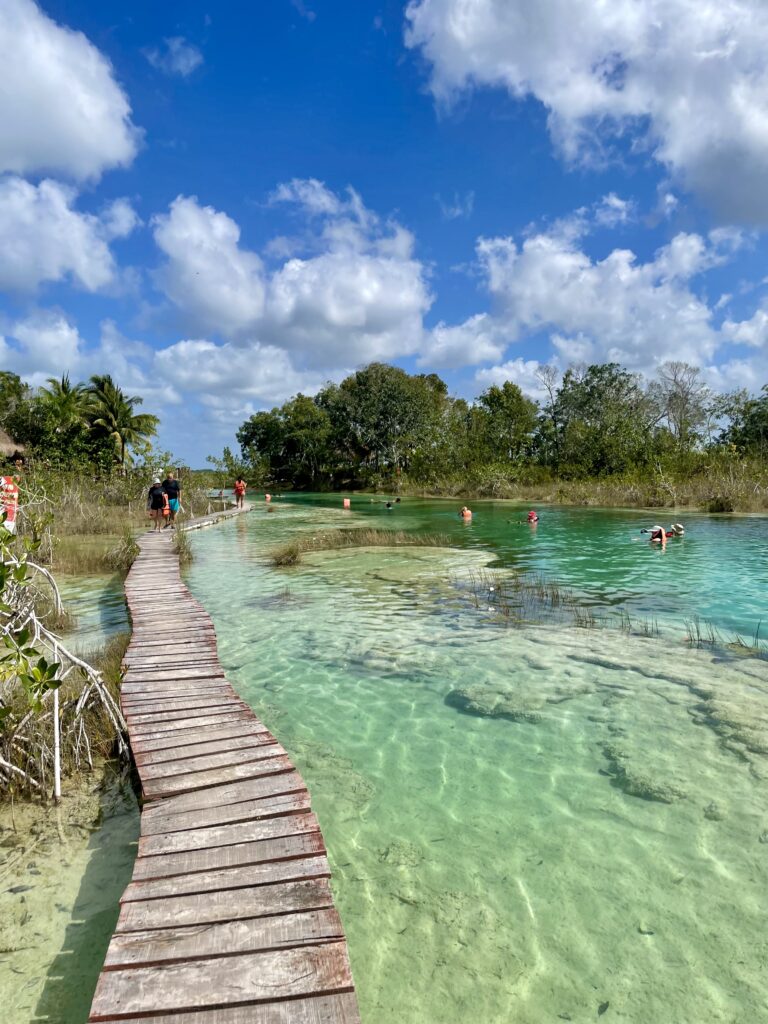
Today we were checking out Los Rapidos – a natural lazy river! Amongst the beautiful waters is a narrow channel of stromatolites (oldest living fossils on Earth!), where a current allows you to float downstream. The MX$200 entry per person grants you a lifejacket, with kayaks available to hire. With drinks served along the bank, it is a perfect way to relax and you watch the world drift by.
To get into the stream, there is a wooden pathway along the channel so as to not disturb the stromatolites. You’ll then effortlessly drift with the rapids to the other end of the channel, where you’ll need to swim a short distance to then repeat as many times as you like. We ordered a couple mezcalitas and perched on one of the sun lounges to enjoy the setting and the weather.

With more water activities lined up in the afternoon, we left Los Rapidos in search of tacos. We came across a restaurant on the highway and ordered some tacos by pointing at the menu. The tacos were much better than Mr Taco so we ordered some more to get our fill. Satisfied, we headed to Cenote Azul Bacalar to get our cenote fix. Cenote Azul Bacalar is massive (so much so that Sherry had a lot of fun practicing swimming), in an open air setting, and costs only MX$30 for entry. Lifejackets were not mandatory and required an extra $MX50 each for rent. There was a restaurant and changing facilities on site, as well as stalls selling souvenirs.
We spent the rest of the afternoon here basking in the nice winter sun. Afterwards, we headed back home to refresh before heading to La Cabañita Grill and Cantina for dinner to end the night. We would recommend this restaurant for fresh seafood dishes, especially their tuna tartare!
Day 12: Drive to Tulum and relax at the beach.
Our last day in Bacalar. We wanted to utilise the private dock as much as possible so we did some yoga with the mats provided. The dogs of course, joined and made it a casual session. We headed across the road to look at Hotel Makaaba Eco-Boutique’s breakfast options and to our surprise we saw cochinita pibil! Crestfallen, they didn’t have any available so I ordered my favourite chilaquiles and Sherry got an omelette.
The drive to Tulum was only two hours and we made it to our hotel without issues. We talked to reception about the best beach to visit and he provided us a hot tip.
Pro Tip
For access to a private beach in Tulum, head to Delek Tulum. There will be parking lots along the way but if you tell the valet you’re eat/drink at the restaurant, the valet will allow you to park in their car park. You’ll have to show your receipt when you leave.
Before heeding his advice, we tried to access a public beach in the national park. However, we were stopped at the entrance and advised we’d need to pay MX$380 for the national park entrance fee so we could access the beach. There was also no plastic allowed in the park, and there were guards searching cars. We therefore headed to Delek Tulum and were so glad we did, the beachfront and water is absolutely beautiful. We spent the rest of the afternoon sun bathing and hearing the sound of the waves crashing onto the shore.
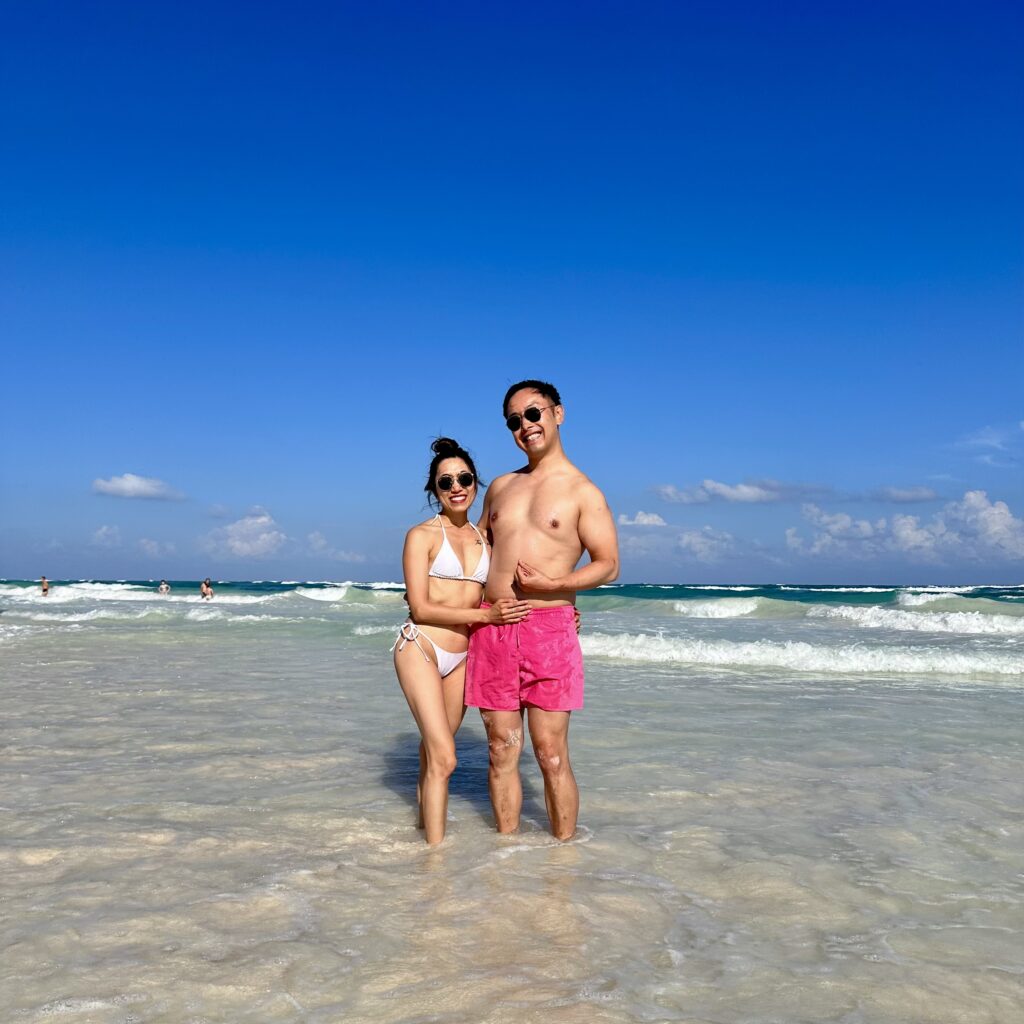

True to our word, we ordered some food and drinks at the restaurant right on the beach. Again to our surprise, we saw cochinita pibil on the menu which was available this time! We ordered three tacos and two drinks, which turned out to be MX$1000, definitely Tulum prices. The cochinita pibil wasn’t as good as the ones we had at Chef Rosalia’s or El Tigrillo taco stand, but it definitely hit the spot.
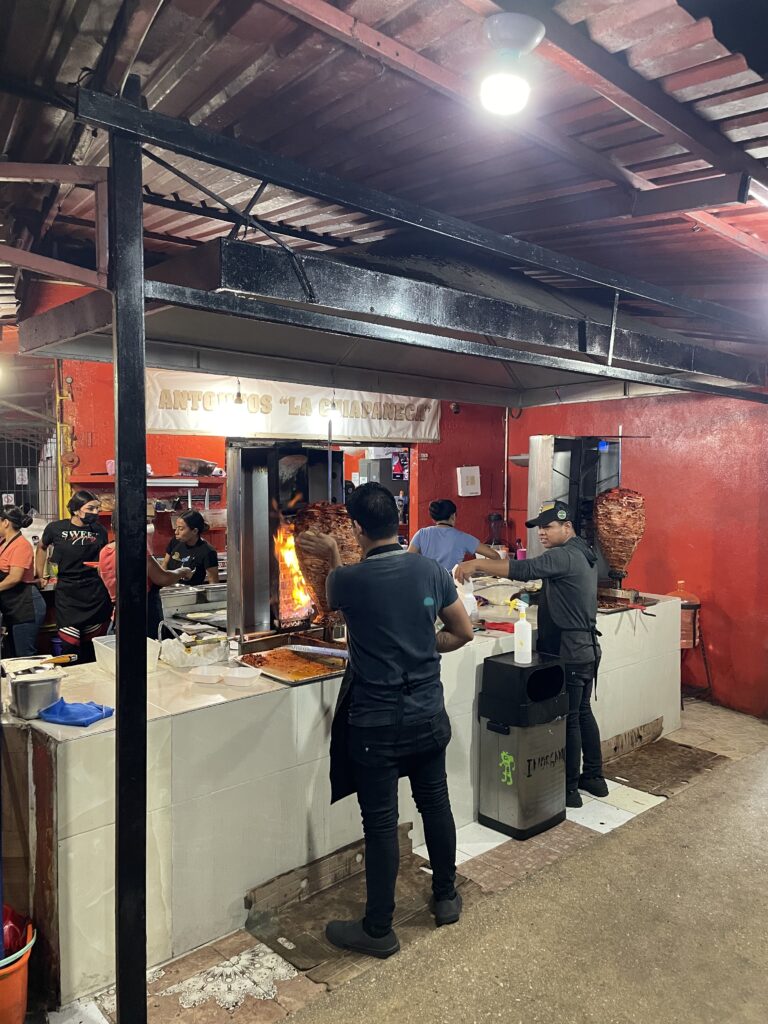
We showed the receipt to the valet and headed back to the rooftop pool of our hotel to soak in the sunset. They had 2 for 1 cocktails and some banging tunes. The rooms were spacious and parking was available in their garage. As we were checking out early the next day and breakfast was included in the price, they packed some boxes for us to bring with us. After freshening up, we hit the town in search of tacos and headed to Taqueria La Chiapenca. The tacos here are really cheap (which is a surprise for Tulum), yet oh so good – it makes our Top Delicious Tacos list.

Day 13: Fly to CDMX and enjoy sunset views at Torre Latinoamerica.
We were heading back to CDMX today to round off an epic trip. We checked out of our hotel and dropped off the car back at Cancun Airport, waving goodbye to our amazing 9 day road trip in the Yucatan Peninsula. We landed in CDMX after two hours and winded our watches back an hour.
Pro Tip
For domestic flights, we went with carriers Aeromexico and Volaris. All flights left on time. If flying back to NLU, the destination on the flight boards will display Santa Lucia. This caused Sherry and I a bit of confusion as we couldn’t spot Mexico City in the departures board. This is because NLU was originally named Santa Lucia Airport Base and only opened for civilian use in 2022.
When flying back domestically to CDMX, try to book a flight landing at Mexico City International Airport. Felipe Angeles Airport (NLU), whilst modern, is further out and difficult to get an Uber from. We had to arrange for a taxi with the booths in the arrival hall which turned out to be almost double the price of an Uber from the city to NLU. In the grand scheme of things, it was MX$800 (taxi) instead of MX$450 (Uber to NLU), and 1 hour (NLU) instead of 30 mins and MX$250 from Mexico City International, so factor this in when comparing flight arrival times and costs.
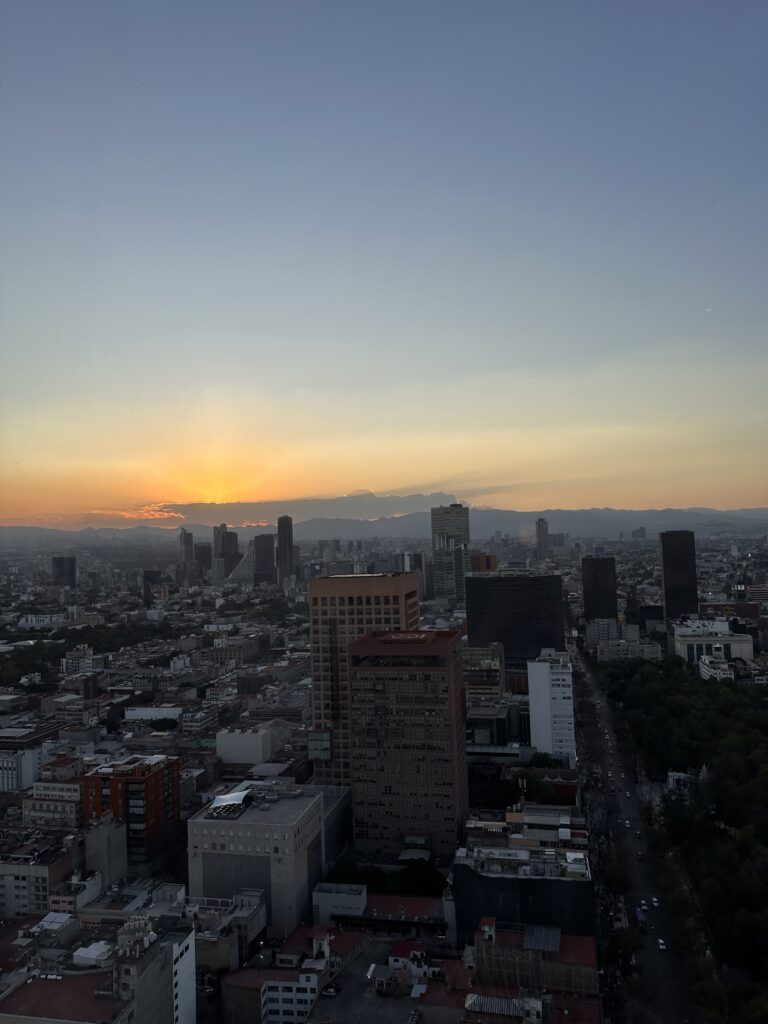
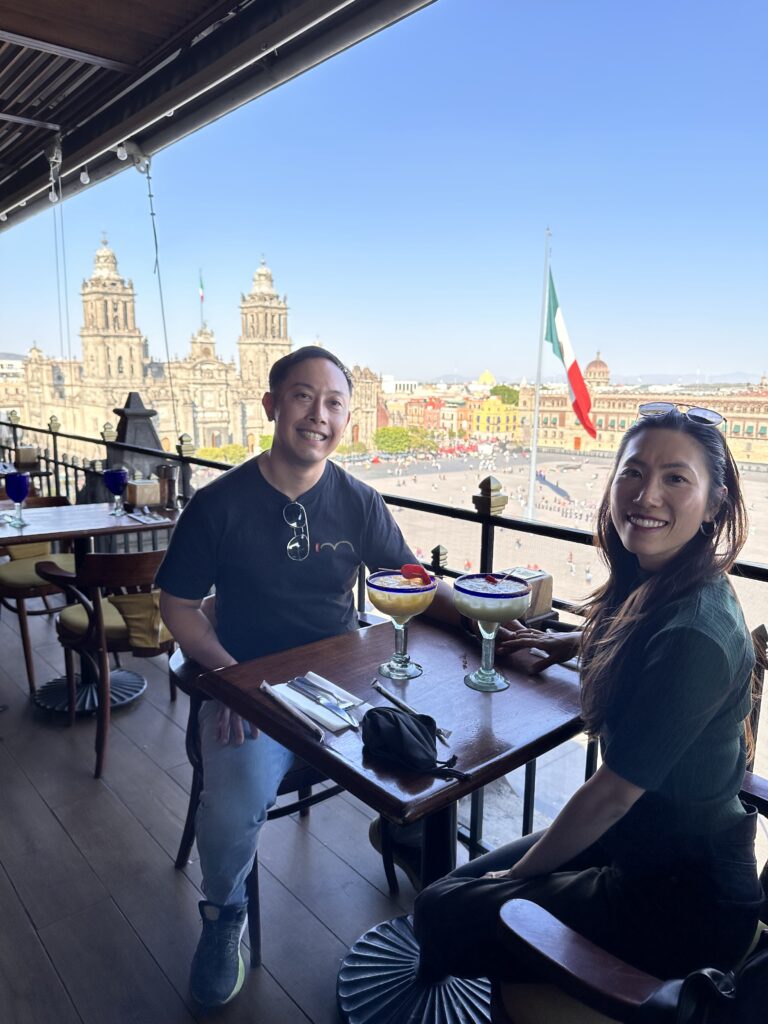
We stayed in an AirBnB in Condesa this time and liked the vibe of the area, although the room was quite small. We took an Uber to explore sunset views at Torre Latinoamericana. This 44-story tower is one of Mexico City’s most iconic skyscrapers, and once was the tallest building in Latin America.
Pro Tip
Panoramic 360 views at Torre Latinoamerica are on the viewing deck on the 42nd floor. The entrance fee is MX$200. One floor below, there is a restaurant offering the same views but without the crowd and the fee. Advise the lobby/lift attendant you’re after the restaurant and enjoy the views with some drinks or food.
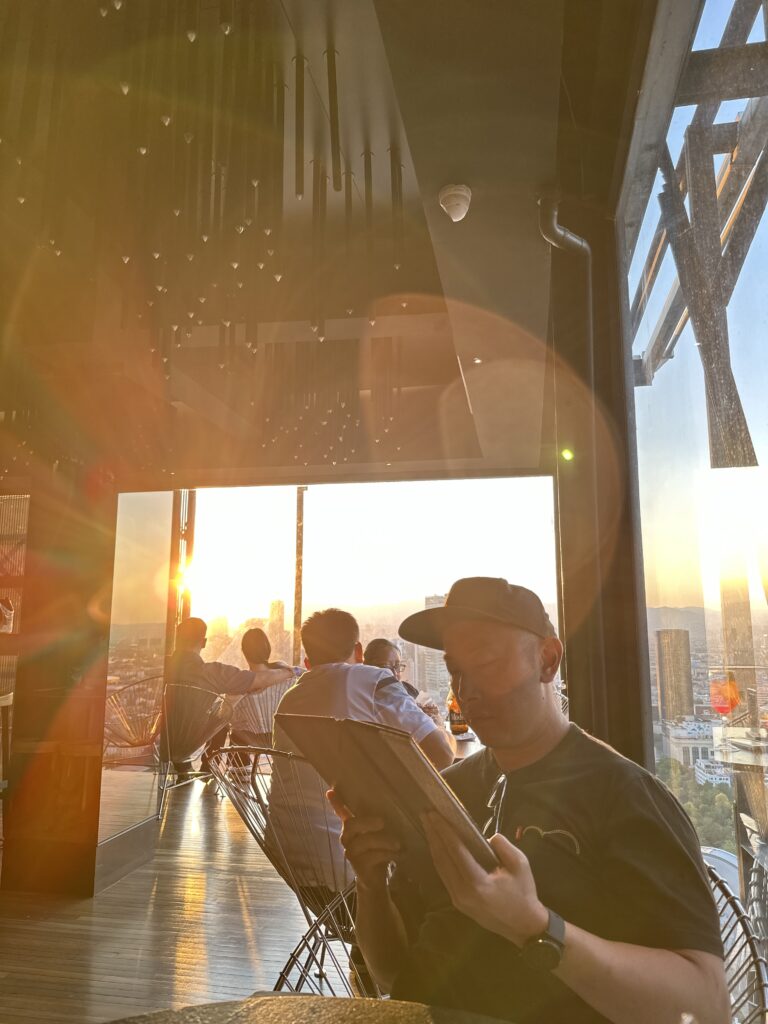
We didn’t eat at the restaurant but instead headed to La Capital, a recommendation from our AirBnB which ultimately made our list of 5 Top Restaurants To Try! By this time, we were starving and ordered a mango ceviche to start. We spotted cochinita pibil and Sherry ordered it for our last time. I eyed the half chicken and we were both filled merrily to the brim. It felt safe enough to walk back so we did that without issues, which was good to work off the feast.

Day 14: Take a free walking tour and attend a Lucha Libre match.
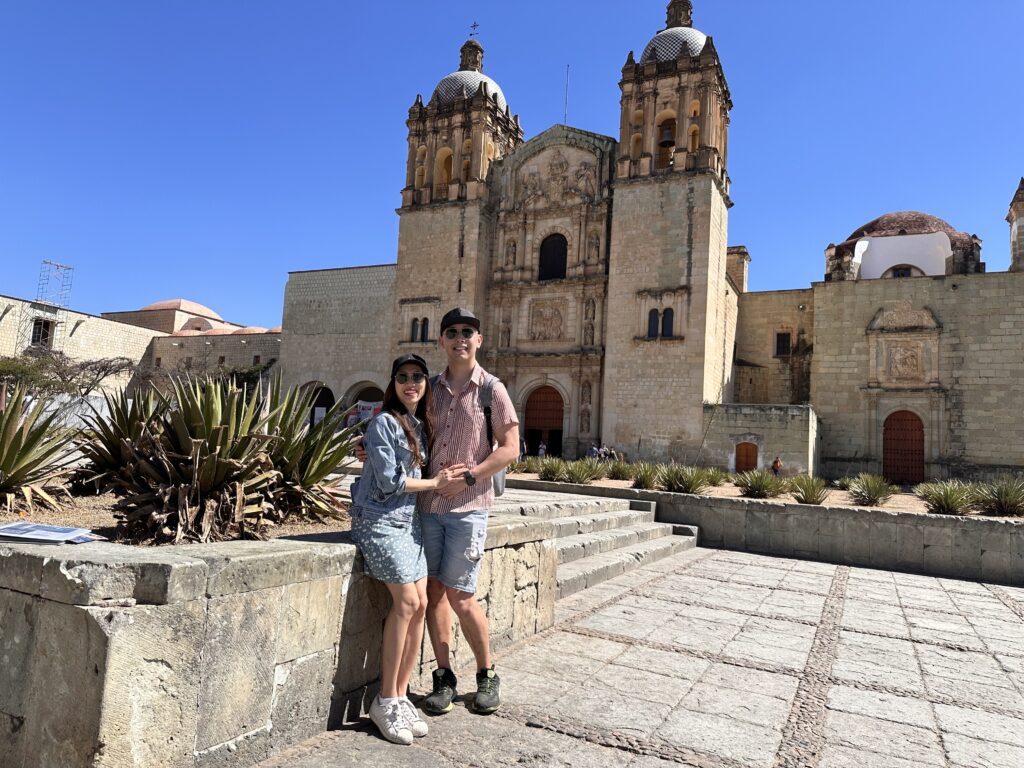
We booked a free walking tour of historic downtown today starting from 11am, so we got an Uber to Cafe De Tacuba for breakfast to fuel up. This historic restaurant has been around for well over 100 years and is popular with its charming decor. The meeting point for the tour is at the CDMX Metropolitan Cathedral, set in a massive square. There are market stalls selling souvenirs out front, and spiritual healers extravagantly dressed with bells strapped to their feet to ward off negative energy. It was interesting to hear the history of how CDMX was rebuilt and its role in the Independence of Mexico.

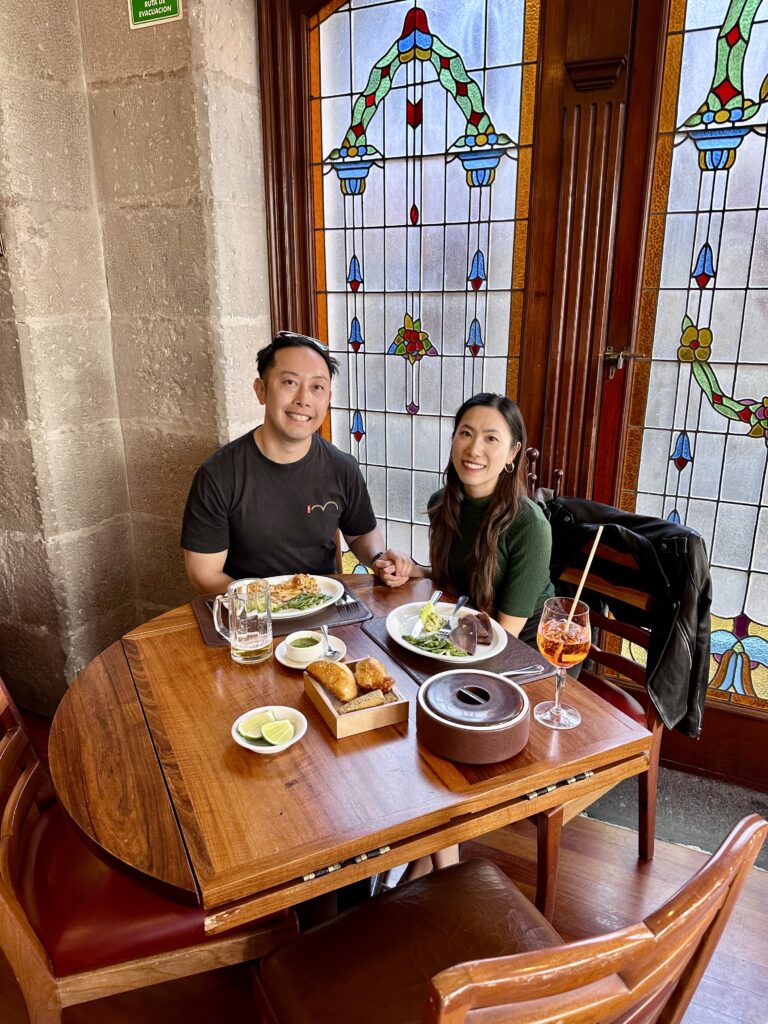
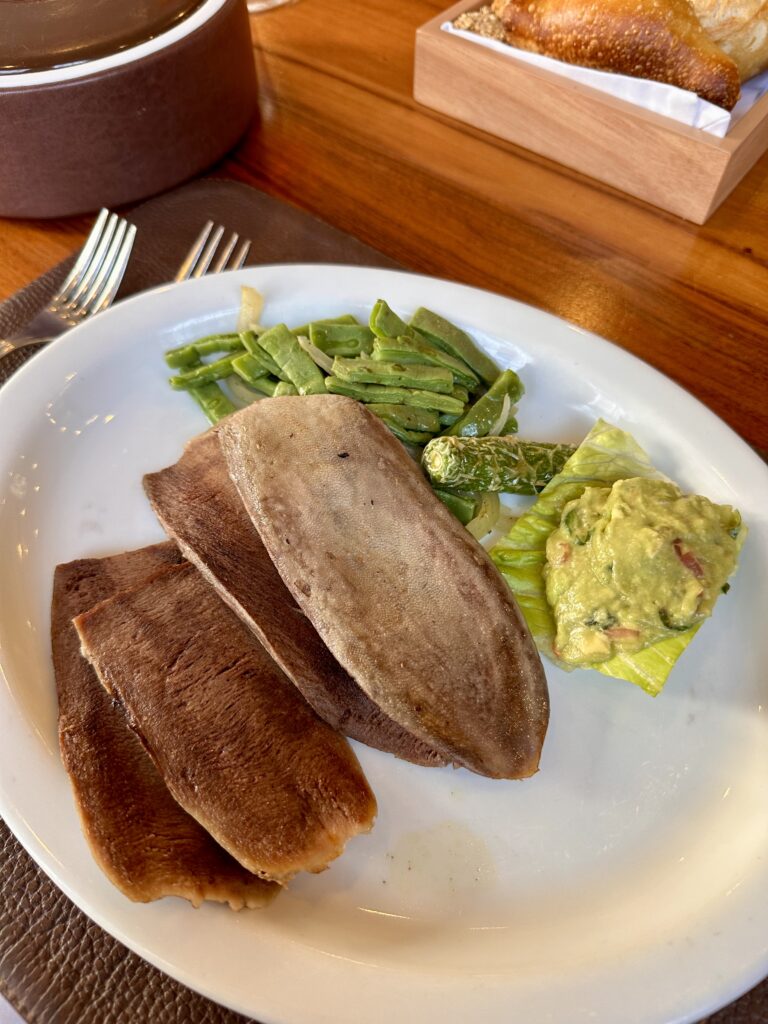
Once the tour concluded, we headed to San Juan Crafts and Curiosities Market and Mercado de San Juan Pugibet in search for souvenirs – the two markets were within walking distance of each other. We would recommend you check out those markets if you are a fan of arts and crafts. We then walked to El Cardenal for lunch, a recommendation from the walking tour and one we had bookmarked before. It did not disappoint and ranks third in our 5 Top Restaurants To Try list with the delicious beef tongue with tortillas dish. It might not look appetising to those who are unfamiliar, but it can’t be missed!
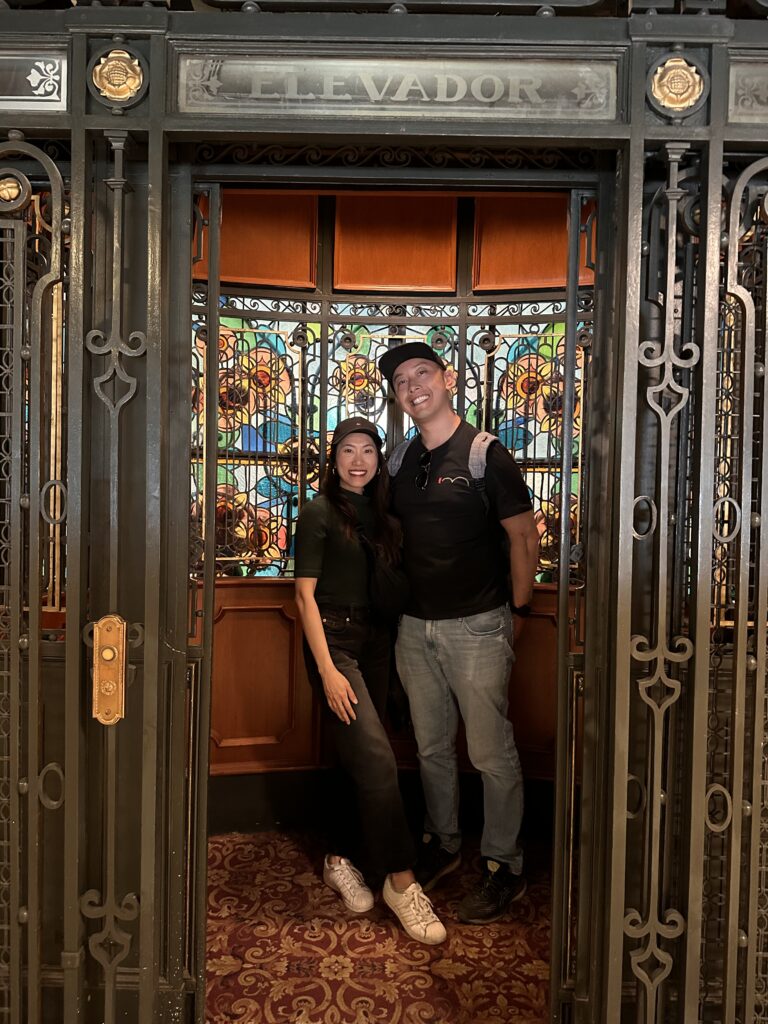
After lunch, we walked to Gran Hotel Ciudad de Mexico to have drinks on the terrace. This beautiful establishment has a stained glass ceiling and was converted into a hotel in celebration of the 1968 Olympic Games.
Pro Tip
Be mindful of restaurant and bar reservation openings for the ones you’ve bookmarked. Reservations for the Gran Terraza Bar opened a fortnight before. Reservations for Contramar opened 30 days beforehand and because of the time zone differences to London were quick to book out. We managed to get a reservation at noon for our last day.
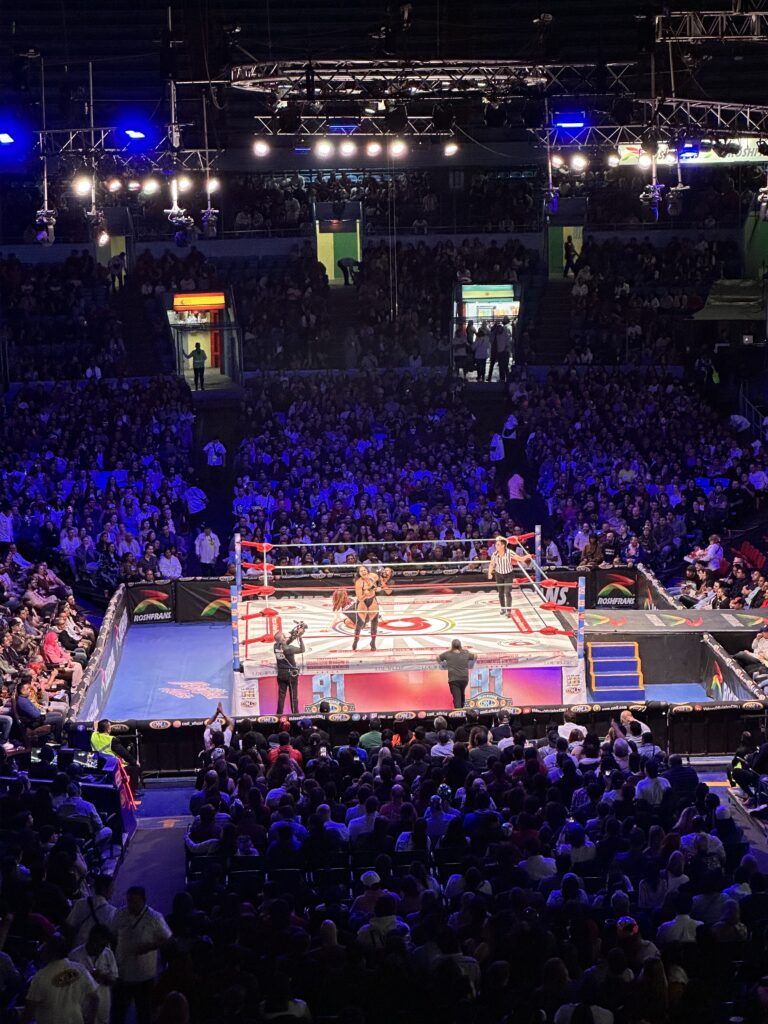
After marvelling at the ceiling, the receptionist escorted us into its antique elevator, said to be one of the first elevators in Mexico. The terrace overlooks the massive square and cathedral in a beautiful setting. We ordered some mezcalitas and Sherry was “lucky” enough to find a worm floating in hers. We discussed plans for the evening and booked two tickets (MX$122 each via ticketmaster) to the Lucha Libre match at Arena Mexico for 8pm. This was recommended by the walking tour guide as an authentic Mexican experience and even though we weren’t into wrestling, we thought it was something that shouldn’t be missed. After the drinks, we also managed to grab some delicious freshly made churros from Churreria El Moro Centro. They have a few locations across the city so check them out if you are near one.
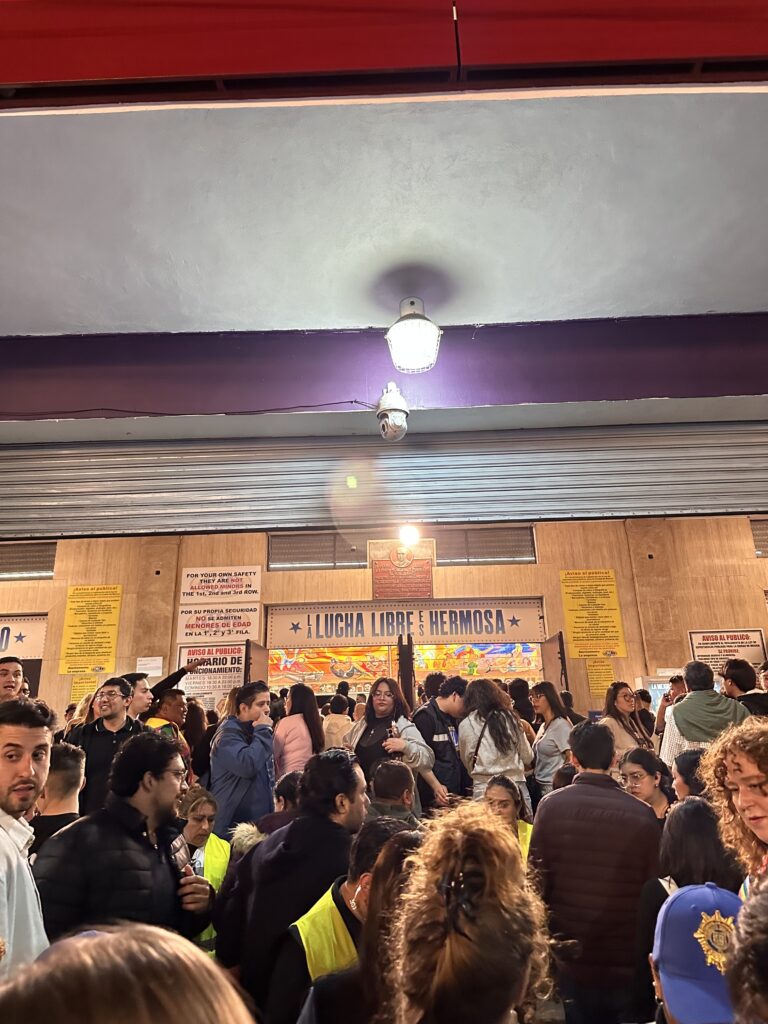
Lucha Libre is Mexico’s iconic version of professional wrestling, known for its colourful masks, high-flying moves, and dramatic storylines. In Mexico City, it’s more than just a show—it’s a cultural experience. Whether you’re a wrestling fan or not, attending a Lucha Libre match in Mexico City is a fun and unforgettable way to experience local culture. Grab a beer, some snacks, and let yourself be part of the action! Make sure to check what you are allowed to bring into the Arena as there are security checks. We had to go back to our BnB to drop off our backpack as that was not allowed in.
Having read online that there is a part of the Arena outside that you should avoid, we got an Uber directly to the front and followed the throng of people queueing to get in. We got tickets on the upper tier (balcon) and had to walk around to another entrance for our ticket to be scanned. Once inside, you are directed to sit anywhere on the bleachers with refreshments available for purchase. The match was chaotic and it was fun to hear the crowd immersed in the entertainment. The wrestling was aerobatic and theatrical; the costumes were extravagant.
Pro Tip
If interested in a Lucha Libre match, join a guided tour in your native language. The walking tour we went on had a Lucha Libre tour for $US30 which included pulque, shepherding to the safe side of the Arena after the match for you to order an Uber, and most importantly a guide. We didn’t choose this option, and although we enjoyed the energy of the crowd and the theatrics of the performers, we didn’t understand what the hell was going on!
It was also at this exact moment, Sherry’s eSIM used up all the allocated data. Thankfully, the stadium had wiFi for us to connect and top up so we could order an Uber home – so make sure you have enough data when out and about! We left slightly earlier to beat the crowd and stayed within the stadium until the Uber approached.
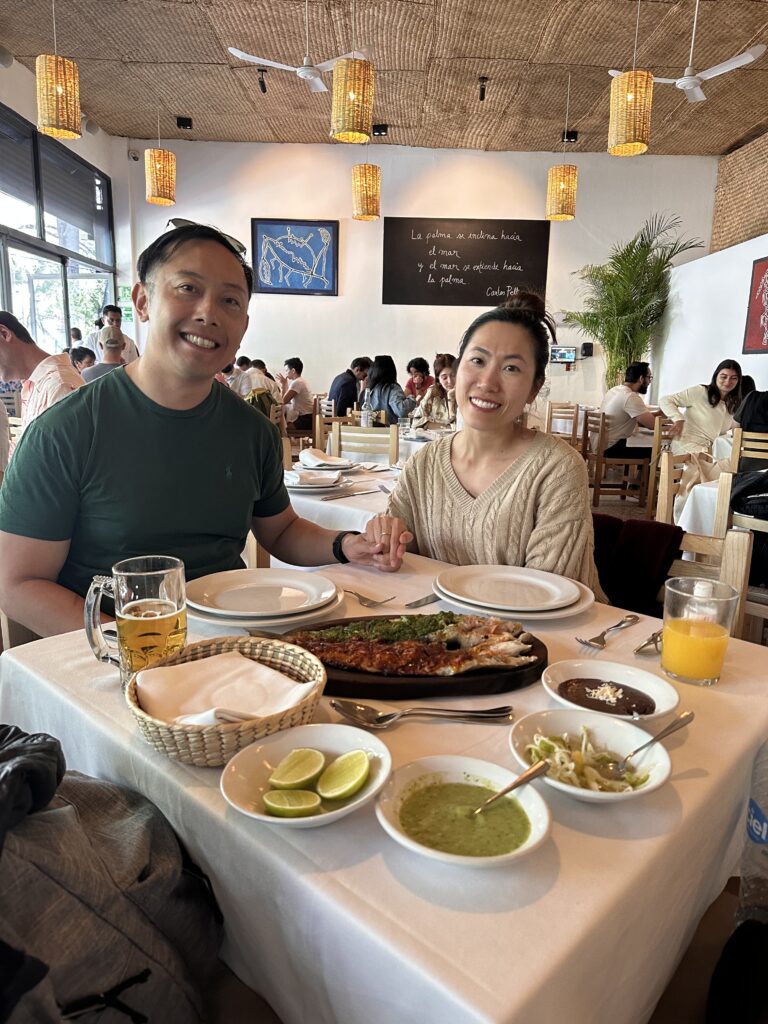
Day 15: Last Day in CDMX. Have lunch at Contramar, explore Chapultepec Castle.
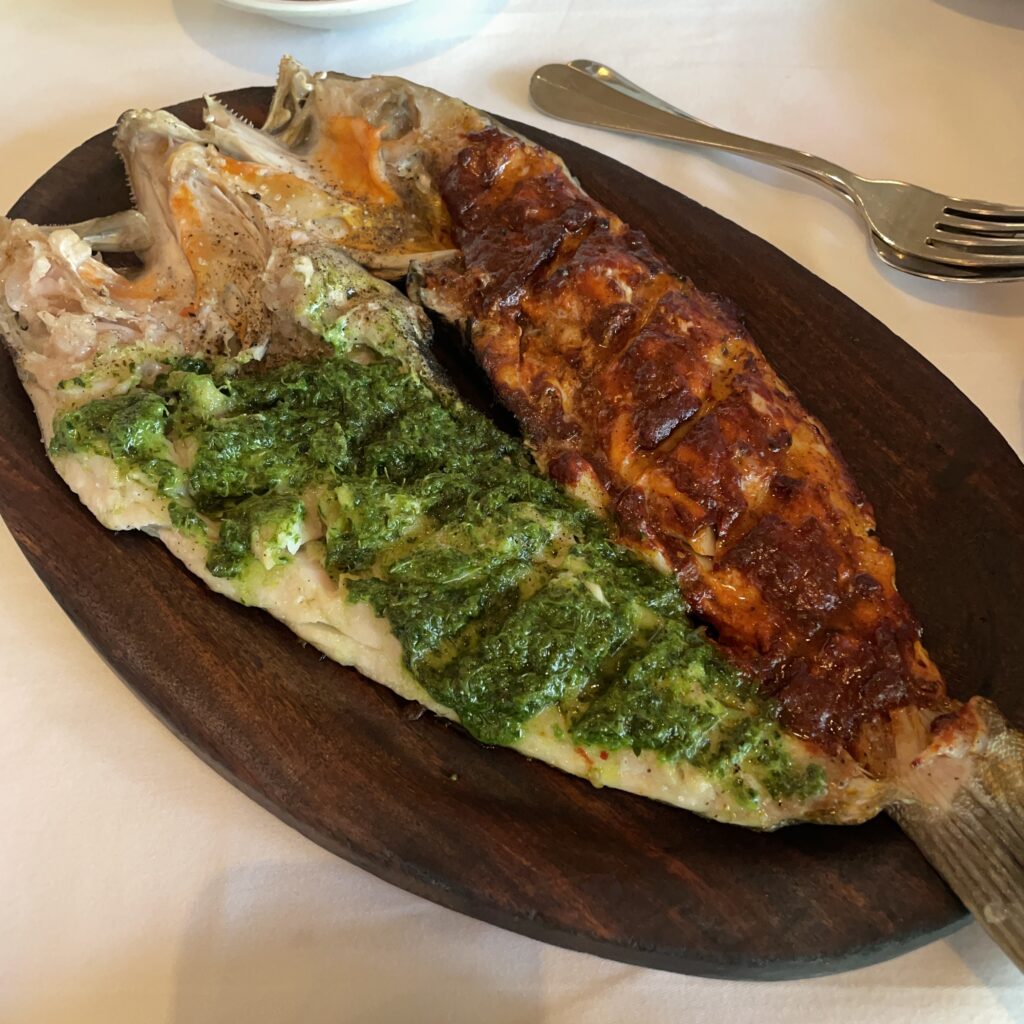
Our last day on what has been an unforgettable trip. We made a reservation at Contramar for lunch, as I wanted to try the famous grilled fish with red and green sauce. For breakfast however, we went to Taqueria Don Juan before checkout. The tacos here are amazing and made it to our Top Delicious Tacos list. We had the pork belly and pork rib tacos, and the meat is juicy, tender and plentiful. We ordered another two, mindful of saving room for the lunch reservation at noon but couldn’t resist. I got a coffee at Casa Cafe and we walked along the leafy streets to Roma Norte market to check out the street stalls, with Contramar being around the corner.
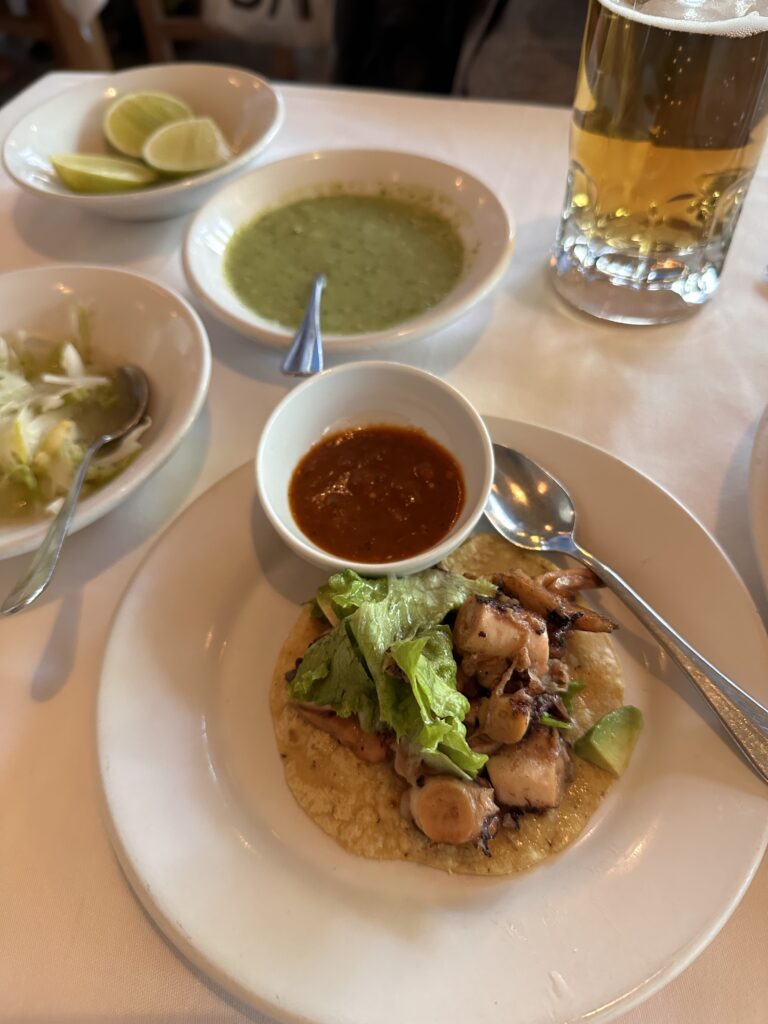
At Contramar, we ordered the octopus tacos and it was delicious highlighted by the fact it made it to our Top Delicious Tacos list. The grilled fish did not disappoint and we were looking at where we could walk off our massive breakfast and lunch. As it was a nice sunny day, we walked to Chapultepec Castle to explore the views. Entrance was MX$100 each, with lockers available for MX$10. They did not allow any water inside the Castle and it was really hot, so we each took turn to go in as we needed our water! The walk to the castle involved a gradual incline spiralling counter clockwise. We wandered inside the castle and gazed upon the CDMX skyline from the castle grounds.
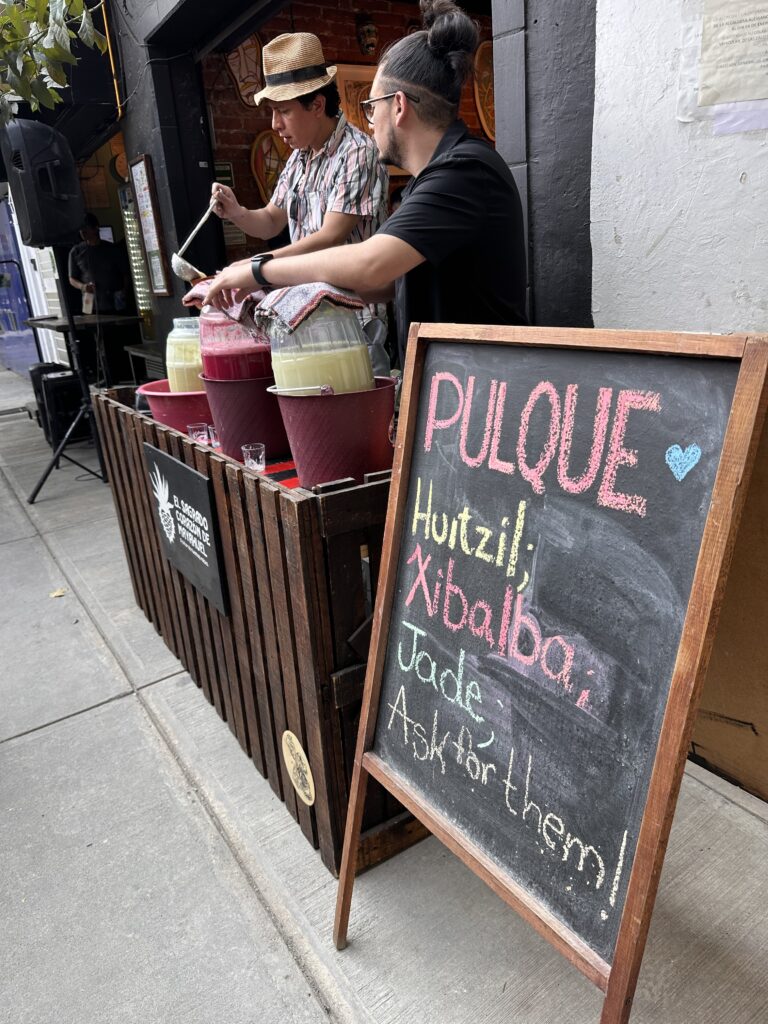
We walked back to Condesa and found a pulque bar. Pulque is a Mexican fermented alcoholic drink made from the maguey plant. It’s thick, slightly sour, and deeply rooted in pre-Hispanic culture. This was a perfect tonic to cheers to a brilliant 2 week itinerary in the amazing Mexico!
Our flight was at 9pm and we planned to have a chilled day to close out our holiday, but you could instead take an early tour to Teotihuacan to see the Temple of Quetzalcoatl and the Pyramids of the Sun and the Moon. Our friend, Lisa took the hot air balloon tour and said it was the highlight of her trip. We’d considered this but having been to Chichen Itza, we had our temple/ruins fix for the trip.
Lisa also visited the Frida Kahlo museum, a famous Mexican artist famous for her riveting self portraits, and highly recommended visiting. Again, we’re not art buffs, but we did get a mug with Frida on it to bring back to our neighbour! Make sure to book your tickets in advance as it can be quite popular. The general sale was closed for her visit, but she managed to book a tour that included a visit to the floating gardens of Xochimilco as a workaround. However, she didn’t recommend Xochimilco as it was too touristy. The main benefit was access to the museum.
So you see, there is so much to experience and do in Mexico, it was really one of the best 2 weeks ever for us! We hope we have inspired you with this 2 week Mexico itinerary for your own adventures, and we look forward to hearing your own travel stories!
FAQs
Yes, two weeks is a great duration to experience Mexico’s diverse regions. A well-planned itinerary (like the one above!) can cover vibrant cities, historical sites, and beautiful beaches without feeling rushed.
Popular destinations include Mexico City for its rich culture, Oaxaca for authentic cuisine, and the Yucatán Peninsula for stunning beaches and Mayan ruins.
The ideal time to visit is during the dry season, from November to April (we went in January). This period offers pleasant weather, perfect for sightseeing and beach activities.
Yes, it’s highly recommended to have travel insurance. It provides coverage for unexpected events like medical emergencies, trip cancellations, or lost luggage.
Mexico is generally safe for tourists. Exercise usual precautions, stay informed about local areas, and avoid risky regions. Stick to well-known tourist destinations and follow local advice. Avoid driving at night and don’t keep all your cash in one place like we’ve detailed above!
Pack lightweight clothing for warm days, a light jacket for cooler evenings, comfortable walking shoes, sunscreen, insect repellent, and a reusable water bottle.
Planning a trip to Mexico?
Here are all of our Mexico travel guides to help you plan an incredible trip:
- Mexican Food: Authentic Dishes You Need to Try
- Top Delicious Tacos in Mexico: Must-Visit Local Gems
- 5 Restaurants in Mexico That You Can’t Miss!
- The Perfect 2 Week Mexico Itinerary – A Complete Travel Guide
- Epic 9-Day Yucatan Peninsula Road Trip in Mexico: 1,000 Kilometres of Adventure & Best Kept Secrets


